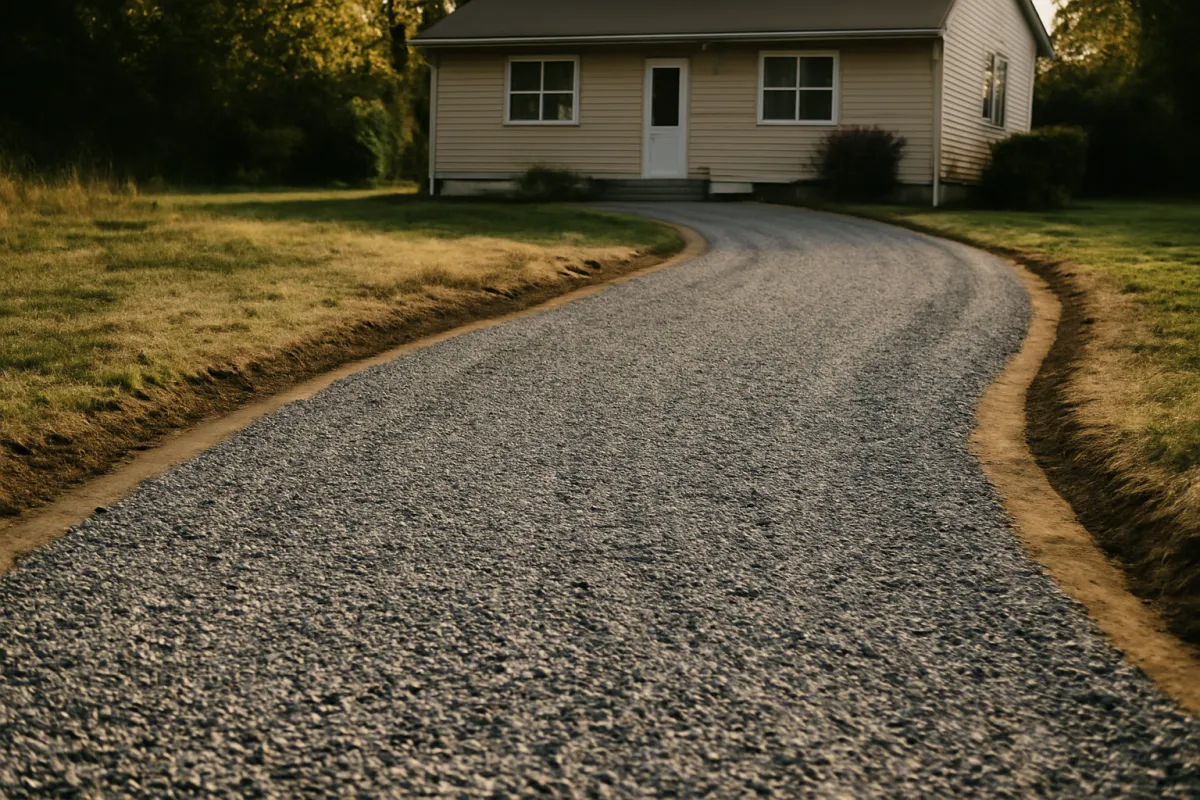
What's on this page
- Before you start: dimensions, tools, and gravel
- Step 1: Measure and plan the driveway
- Step 2: Calculate how much gravel you need in yards and tons
- Step 3: Mark the area and excavate to depth
- Step 4: Install a base layer and geotextile fabric
- Step 5: Add the middle and top gravel layers
- Step 6: Grade for drainage and compact each layer
- Step 7: Maintain the driveway over time
- A worked example: a 40 by 12 foot driveway
- Why a gravel driveway is built in three layers
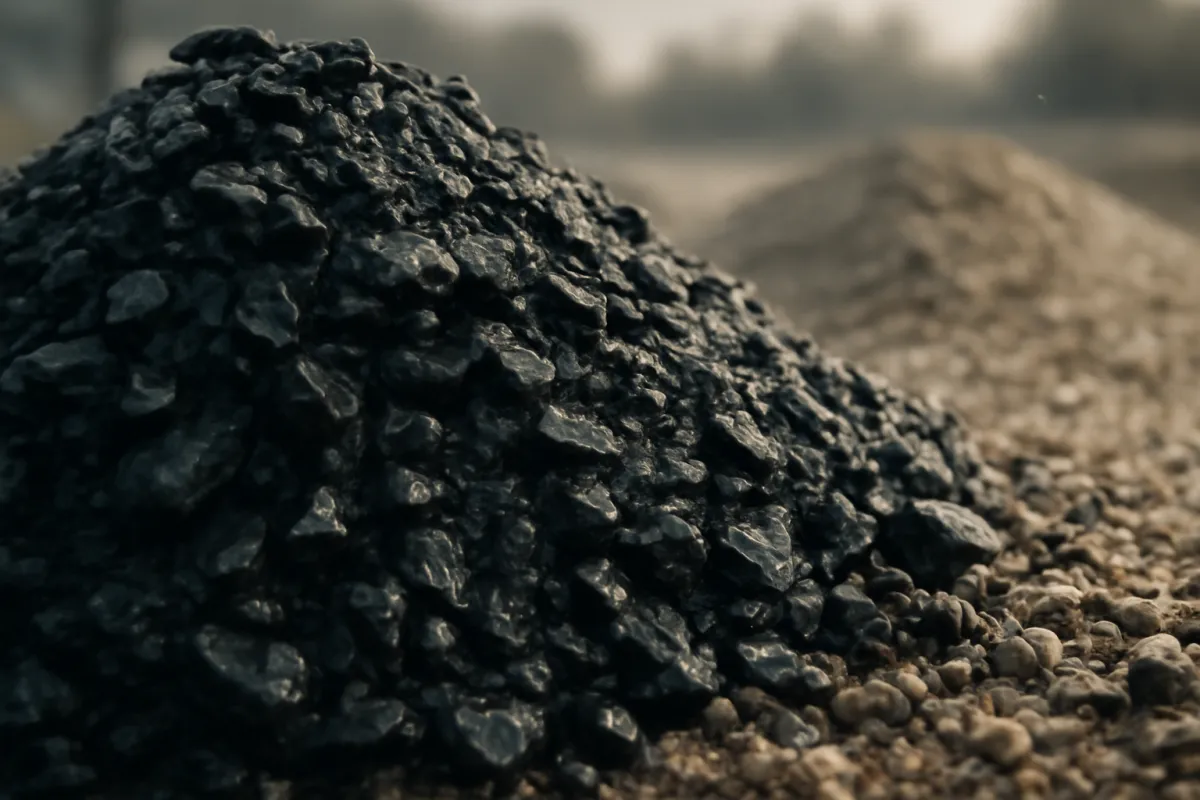
- Angular versus rounded stone, and why it decides the build
- Drainage: the crown, the slope, and where water goes
- Buying gravel by weight, not by volume
- Common mistakes when building a gravel driveway
- Troubleshooting: soft ground, ruts, snow, and slopes
- Your gravel driveway checklist
- The bottom line
Short answer: Build a gravel driveway in seven steps: measure and plan, calculate the stone (length times width times total depth in feet, divided by 27, plus about 20 percent for compaction, times roughly 1.4 for tons), excavate, lay geotextile fabric, spread commonly three layers of angular crushed stone from coarse base to fine top, compact each layer, and grade a crown. An illustrative 40 by 12 foot drive at 12 inches needs roughly 29.9 tons.
Some jobs you can hire out without ever understanding them, and a gravel driveway is not really one of them: whether you build it yourself or watch a contractor do it, the difference between a drive that holds for years and one that ruts into mud by the second winter comes down to a handful of decisions you make before the first stone is spread. Depth, layers, fabric, drainage, and compaction are the whole game, and none of them are visible once the job is done, which is exactly why they get skipped.
This manual builds a gravel driveway in seven plain steps, from stretching a tape across the ground to raking a maintenance top-up years later, with a worked example carried all the way through to yards and tons on the truck. It leans on the volume math in our how much gravel do I need manual and the yards-to-tons conversion in our how much a yard of gravel weighs note, and narrows both to the single build people most often ask about. Run your own dimensions through the material coverage estimator in about a minute, and the companion below recalculates the gravel order against your numbers as you read.
Key takeaways
- A gravel driveway is built in layers, commonly three: a coarse base for load, a middle binding layer, and a finer top that packs to a driving surface, usually over a geotextile fabric.
- The order is length times width times total depth in feet, divided by 27 for cubic yards, plus about 20 percent for compaction, then times roughly 1.4 for tons.
- An illustrative 40 by 12 foot drive at 12 inches in three layers is about 17.8 cubic yards, near 21.3 with the allowance, and roughly 29.9 tons ordered.
- Use angular crushed stone that locks under compaction, not rounded stone that rolls and ruts, and compact each layer before the next goes on.
- Grade a crown or cross slope so water sheds off, because standing water softens the base and is where every pothole starts.
Before you start: dimensions, tools, and gravel
A gravel driveway is a real project, not a five minute calculation, so the setup matters more than for a simple order. Before any stone is booked, three things need to be settled: the dimensions and depth you are building to, the tools and equipment on hand, and the gravel types for each layer. Rushing any one of them is where a drive starts to go wrong underground, where you cannot see it later.
What to settle and gather:
- The dimensions and total depth. Length and width in feet across the footprint, and a total stone depth, commonly 8 to 12 inches for a residential drive, split into layers. Depth is the input that moves the order most, so decide it deliberately against your traffic and ground.
- The drainage picture. Look at where water flows across the site now. The finished drive has to shed water, so note the natural fall and any low spots before you dig.
- Tools and equipment. A tape measure, marking paint or stakes and string, a shovel and a mattock or a hired mini-excavator for the dig, a landscape rake, a wheelbarrow, and, importantly, a plate compactor, which you can rent by the day.
- The gravel types. Angular crushed stone for the layers, a larger stone for the base and a finer stone for the top, plus geotextile fabric for the footprint. Confirm the local product names with the yard.
Time and difficulty: a modest driveway is a weekend or two of real labor, more if you dig by hand, and the arithmetic itself takes about ten minutes. The genuine skill is not the math, it is patience with the invisible layers, digging to depth, laying fabric, and compacting each lift before covering it. For a driveway that is one line in a bigger site plan, our how to estimate materials for a project manual frames this same takeoff as part of a full job. Get the plan honest and the seven steps that follow are mostly careful repetition.
Step 1: Measure and plan the driveway
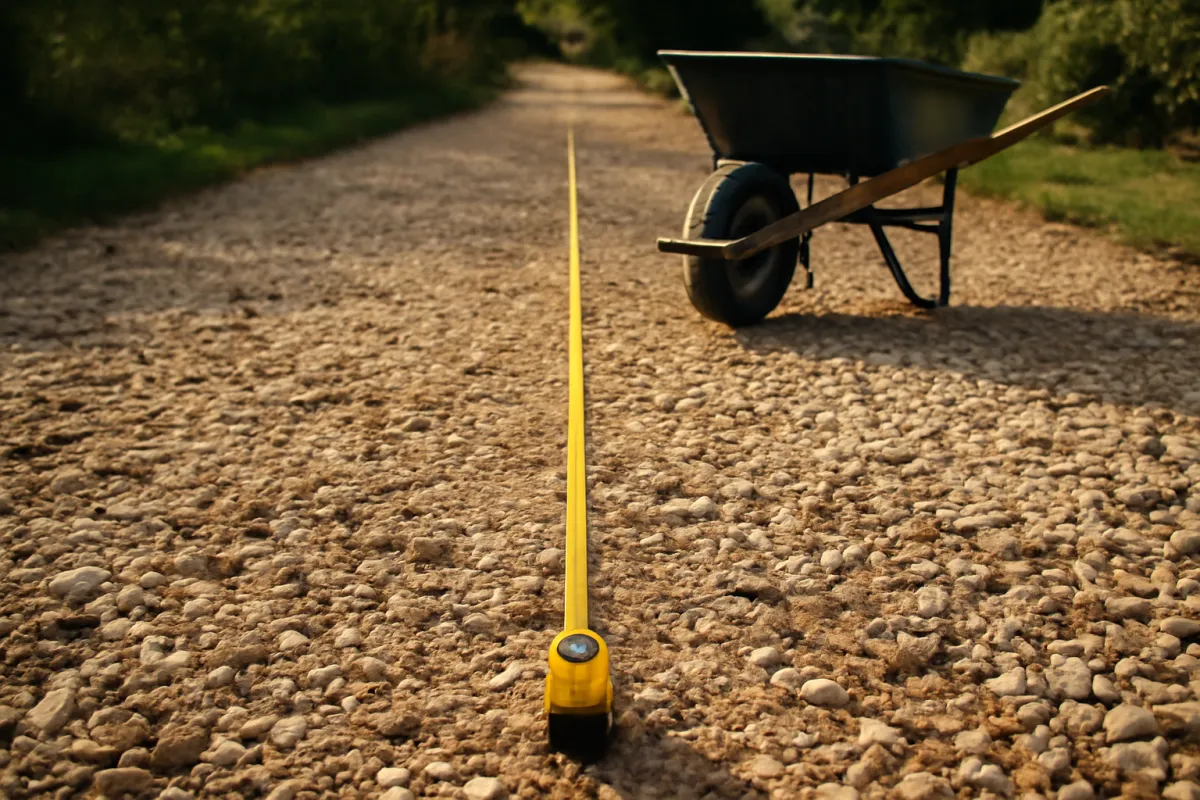
Start with the three numbers the whole build rests on: length, width, and total stone depth, all headed for feet. Measure the length and width in feet across the footprint the driveway will actually occupy, including any widening for a parking apron or a turnaround, because those are gravel too. Write them down as feet. A common single-vehicle drive runs about 10 to 12 feet wide; a double or a drive with passing room runs wider.
Depth is the third and most consequential number, and unlike length and width you do not read it off the ground, you choose it. A residential gravel driveway commonly totals about 8 to 12 inches of stone, split into layers, with the deeper end for soft ground or regular heavy vehicles. Decide the total depth now and note it in inches; you will convert it in the next step.
Planning is the other half of this step, and it happens with the tape in hand. Walk the run and read the drainage: which way does the ground fall, where does water collect, and where will the finished surface send it. A driveway must shed water sideways off a crown or a cross slope, so identify the low edge now. Note any slope along the length too, because a steep grade changes both the drainage plan and how loose stone behaves underfoot and under tires.
Watch out for planning a driveway with no fall at all. A perfectly flat drive holds water, and water is what kills a gravel surface, so if the ground is dead level you will build the drainage shape into the layers yourself. Also confirm the width you actually need, because an extra foot of width across a long drive is a surprising amount of extra stone.
Step 2: Calculate how much gravel you need in yards and tons
With the footprint and total depth set, this step turns them into an order in the two units the yard speaks: cubic yards for volume, and tons for the truck scale. The core line is the same one our how to calculate cubic yards manual works in full: length times width times depth, all in feet, divided by 27. The trap, every time, is that depth arrives in inches, so convert it first by dividing by 12.
Take the running example: a 40 foot by 12 foot driveway built to 12 inches total. Area is 40 times 12, or 480 square feet. Depth in feet is 12 divided by 12, which is 1 foot. Volume is 480 times 1, which is 480 cubic feet, and 480 divided by 27 is about 17.8 cubic yards. That is the formula figure, before the real world touches it.
Now the two adjustments that make it an order. Loose gravel compacts when placed and driven on, so add a compaction allowance of about 20 percent: 17.8 times 1.2 is roughly 21.3 cubic yards, the loose volume you actually buy so the packed layers reach full depth. Then convert to the unit the truck delivers in, because most yards sell by weight off a scale. At roughly 1.4 tons per cubic yard for typical crushed stone, 21.3 cubic yards is about 29.9 tons. Our tons to cubic yards conversion note works that crossover both directions, and the how much a yard of gravel weighs manual explains why 1.4 is a planning figure, not a constant.
Gravel needed by driveway length
Tons ordered for a 12 foot wide drive at 12 inches of stone, with a 20 percent compaction allowance, at about 1.4 tons per cubic yard.
The order scales straight with length: the 40 foot example drive is about 30 tons, and doubling the length to 80 feet doubles it to about 60 tons. Bar widths track the tonnage, each figure the same length times 12 feet times 1 foot, over 27, plus 20 percent, times 1.4. Width and depth scale it the same linear way.
Watch out for ordering by volume when the yard sells by weight, or the reverse, because confusing yards and tons throws the whole order off by the 1.4 factor. Carry both numbers so the invoice makes sense. And split the order by layer if the layers use different stone, which they usually do, so each gets the right product. Run your own drive through the estimator to get this chain in seconds.
Step 3: Mark the area and excavate to depth
Numbers settled, this step moves to the ground: mark the driveway’s exact outline, then dig out the soil so the finished stone sits where you want it, not proud of the lawn. Mark the footprint with stakes and string or marking paint, following the dimensions from Step 1 and squaring the corners so the drive is not a subtle parallelogram. Mark any widening for the apron at the same time.
Excavation is the part people underestimate, because a gravel driveway is built down into the ground, not piled on top of it. Dig out the marked area to the full depth of your stone plus a little, so the total layer thickness sits flush with the surrounding grade when finished. For a 12 inch build that means removing roughly a foot of soil, more if the subgrade is soft and you are digging out to firm ground. Strip the topsoil and any organic material, because roots and soft soil rot and settle, and set the spoil aside; there is a lot of it.
For the 40 by 12 foot example at 12 inches, you are removing on the order of 480 cubic feet of soil, close to 18 cubic yards, which is why a hand dig on anything but a short drive is a serious job and a mini-excavator is often rented for the day. Keep the excavated base roughly level, or better, already carrying the slight fall you want for drainage, because the subgrade shape is the foundation the layers copy.
Watch out for digging unevenly or leaving soft pockets. A low spot in the subgrade becomes extra stone the formula never counted, and a soft pocket becomes a rut later, so firm and level the base before any fabric goes down. If you hit water or persistent soft ground, that is a signal to dig deeper and build a thicker base, which the troubleshooting section covers.
Step 4: Install a base layer and geotextile fabric
This step builds the two lowest, most important elements of the driveway: the geotextile fabric and the coarse base layer that rides on it. Roll the fabric across the whole excavated footprint first, running it up the sides a little and overlapping any seams by a healthy margin so soil cannot find a gap. Geotextile is what separates the stone from the soil: it stops the base from sinking into soft ground and stops soil from pumping up into the stone, which is the slow failure that makes a drive vanish over a few wet years.
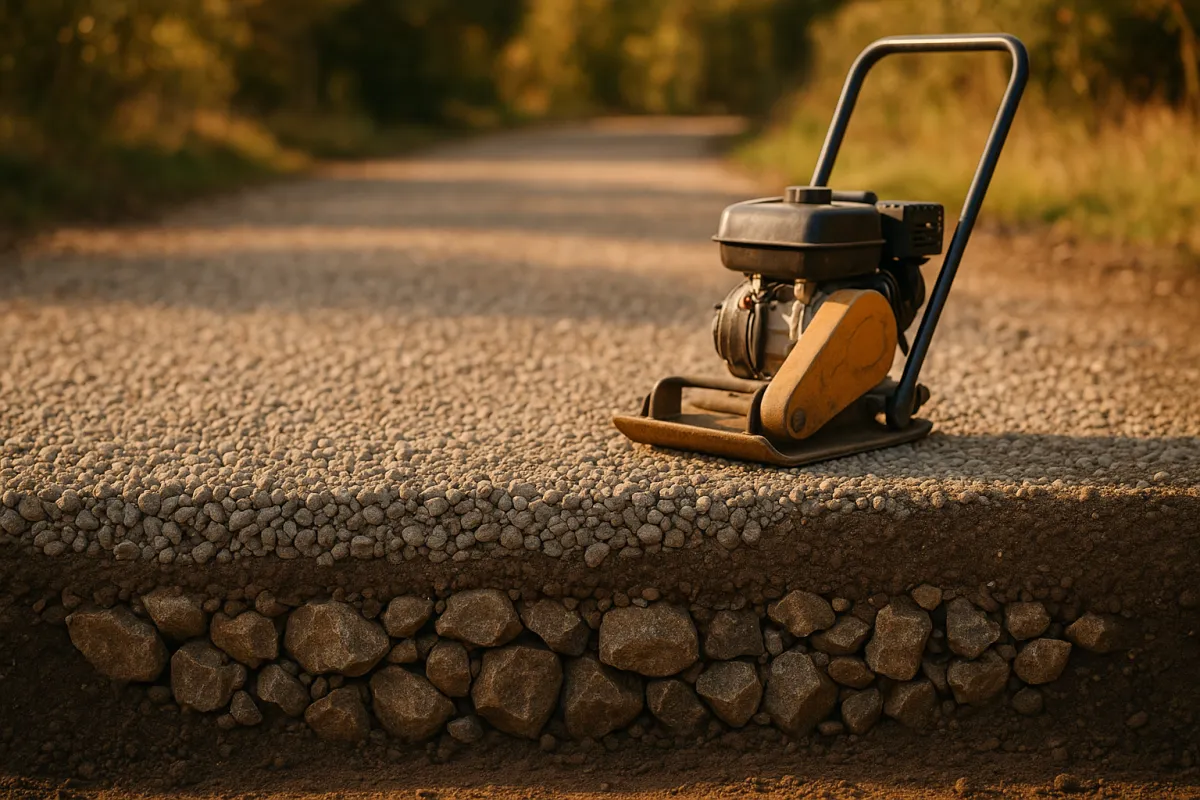
On top of the fabric goes the base layer, the structural heart of the driveway. Use a larger angular crushed stone, spread to roughly 4 inches for a three-layer build, and choose a coarse product that locks together rather than a rounded one that rolls. The base spreads vehicle load across the subgrade so tires do not punch through, so it is the layer never to skimp: if anything, a soft site earns a deeper base, not a thinner one.
For the 40 by 12 foot example, the base at 4 inches is 480 times 0.333, about 160 cubic feet, or roughly 5.9 cubic yards from the formula, near 7.1 with the compaction allowance, about 10 tons on the scale. Spread it evenly with a rake, then compact it with a plate compactor before anything else goes on top, because a base compacted now is a base that will not settle and rut later.
Watch out for skipping the fabric to save a little money, which is the classic false economy in a gravel driveway: without it, the base and the soil slowly mix and the whole build loses its depth from below. Also watch for compacting the base too dry or too thick in one pass; compactors work best on a moderate lift, so build the base in one even layer and pack it thoroughly before the middle layer covers it.
Step 5: Add the middle and top gravel layers
With the base compacted, this step builds the driveway up to grade with two more layers, each a step finer than the one below. The middle layer is a medium angular stone, spread to roughly 4 inches, that bridges the coarse base and the fine surface: it fills the large voids in the base and gives the top layer something firm and even to sit on. Spread it with a rake, keep it even, and compact it before moving on, exactly as with the base.
The top layer is the driving surface, so it uses a finer angular material, often a crushed stone with fines mixed in that packs down tight and smooth, spread to roughly 4 inches. This is the layer the tires and feet actually touch, and the one you will top up over the years, so it is worth getting even and well compacted. The choice of angular over rounded stone matters most here at the surface: angular fines lock into a firm crust, while rounded stone would stay loose and scatter.
For the 40 by 12 foot example, each of these layers is again about 5.9 cubic yards from the formula and near 7.1 with the allowance, about 10 tons each on the scale, so the three layers stack to roughly 17.8 cubic yards, 21.3 with the allowance, and about 29.9 tons total. Keeping the layers equal at 4 inches each is one common approach; deeper base builds shift more stone to the bottom.
Watch out for using a single deep layer instead of graded layers, which leaves a surface that is either too coarse and loose to drive comfortably or too fine and weak to carry load. The layered build is what gives a driveway both strength at the bottom and a good surface on top, and neither works well without the other.
Step 6: Grade for drainage and compact each layer
This step is where a driveway earns its lifespan: shaping the surface so water runs off, and compacting the stone so it stays where you shape it. As you place and level the top layer, build in a drainage shape rather than a dead flat surface. The two common shapes are a crown, where the center is slightly higher than both edges so water sheds to each side, and a single cross slope, where the whole surface tilts gently to one edge. A crown suits a drive open on both sides; a cross slope suits a drive against a wall or a bank.
A common target is a modest fall of roughly a quarter inch or so per foot from the high point to the edge, enough to move water without feeling tilted. On the 12 foot wide example, a crown means the center sits about an inch and a half higher than each 6 foot edge, a shape you build with the rake and set with the compactor. That small shape is the whole difference between a drive that dries after rain and one that holds puddles.
Compaction is the other half. Each layer is compacted as it is placed, not all at once at the end, because a plate compactor only reaches an inch or two down and cannot pack a foot of loose stone from the top. So the sequence through the whole build is spread, level, compact, then the next layer, and the final pass sets the crown into the surface. Angular stone compacts into a firm interlocked crust; this is exactly why the stone type was chosen.
Watch out for compacting bone-dry stone with fines, which packs better lightly damp, and for forgetting the crown entirely, which is one of the most common gravel driveway mistakes: a flat drive ponds, the water works into the base, and potholes follow within a season or two.
Step 7: Maintain the driveway over time
A gravel driveway is not a pour-and-forget surface, it is a surface that trades a little upkeep for a long life, and this final step is the one that stretches the build across years. Loose stone migrates: tires push it toward the edges and into any low spots, so the crown flattens and the surface thins in the wheel tracks over time. The core maintenance move is periodic regrading, dragging or raking the migrated stone back toward the center to restore the crown and the even depth.
Topping up is the second habit. Every few years the top layer thins enough to want a fresh partial load of the same finer surface stone, raked out and compacted into the existing surface. This is a small order, a fraction of the original build, and it is why keeping a note of which top-layer product you used pays off. For the 40 by 12 foot example, a top-up might be a cubic yard or two rather than the full 17.8 of the build, sized the same way with the formula in Step 2.
Weed control is the third. Weeds that root in the surface break up the compacted crust and hold moisture, so keeping them down, mechanically or otherwise, protects the surface you built. The fabric under the base helps here by blocking growth from below, but wind-blown seed still lands on top, so occasional attention keeps it clean.
Watch out for the temptation to fix a soft or muddy spot by just piling fresh stone on top. A recurring soft spot is a base or drainage problem, not a surface one, so the durable fix is to dig out the failed area, check the fabric and the base, correct the drainage that is feeding it, and rebuild the layers, rather than burying the symptom under stone that will sink the same way. Address ruts and soft ground early, while they are small, and the drive stays a drive.
A worked example: a 40 by 12 foot driveway
Pull the seven steps together on one realistic build, a 40 foot by 12 foot single-vehicle driveway, 12 inches of total stone in three 4 inch layers, and watch the plan flow from a tape measure to tons on a truck.
Step 1, measure and plan: the footprint is 40 by 12 feet, 480 square feet, built to 12 inches, with a crown planned to shed water to both edges. Step 2, calculate: 480 times 1 foot is 480 cubic feet, divided by 27 is about 17.8 cubic yards from the formula; add 20 percent for compaction to reach roughly 21.3 cubic yards; at about 1.4 tons per cubic yard, that is close to 29.9 tons. Split by layer, each 4 inch layer is about 5.9 cubic yards, near 7.1 with the allowance, about 10 tons, so you order three roughly equal loads, coarse base, medium middle, finer top.
Step 3, excavate: remove about a foot of soil across the 480 square feet, close to 18 cubic yards of spoil, firming and roughly leveling the subgrade. Step 4, fabric and base: roll geotextile across the footprint, then spread and compact about 10 tons of coarse angular base. Step 5, build up: add and compact about 10 tons of medium stone, then about 10 tons of finer top. Step 6, grade and compact: set a crown about an inch and a half proud at the center of the 12 foot width and compact it in with the final passes. Step 7, maintain: plan a light regrade once or twice a year and a top-up load every few years.
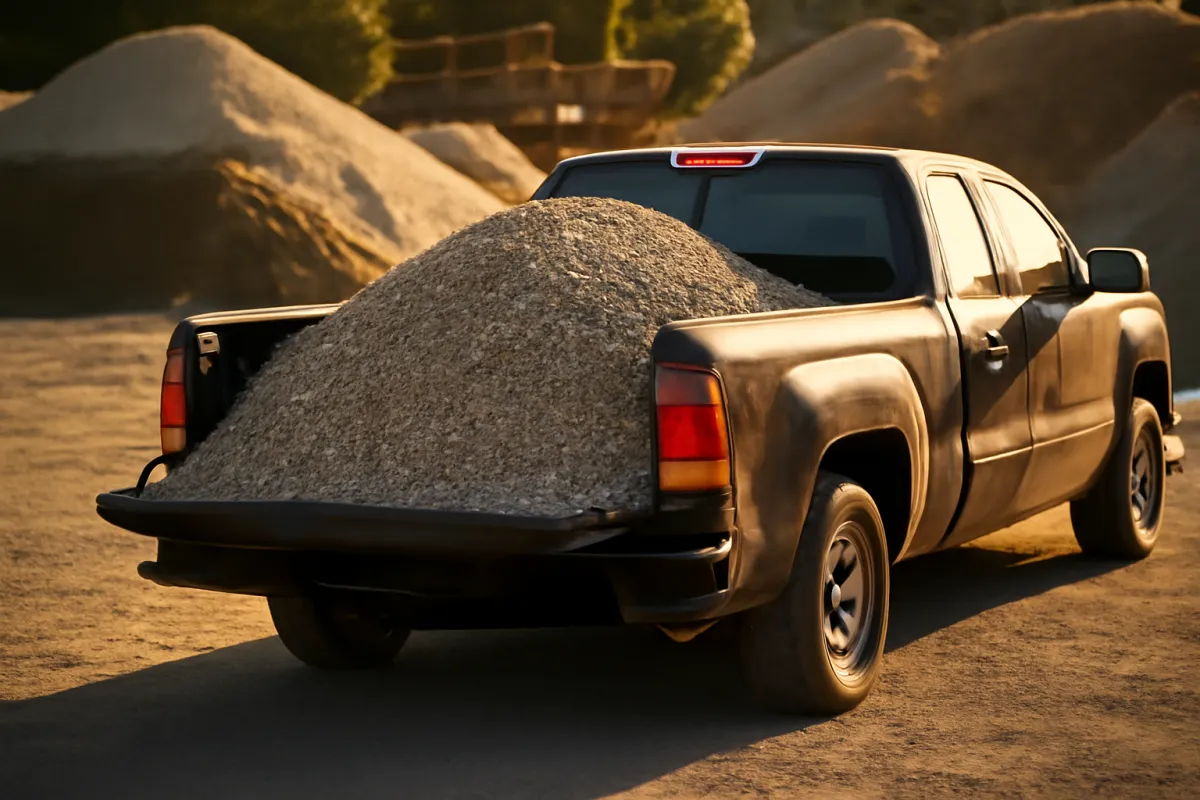
So one measured drive produces a clean chain: 480 cubic feet, 17.8 cubic yards, 21.3 with the allowance, about 29.9 tons across three layers. Change any input and the chain moves predictably: widen the drive to 14 feet and the order climbs; build only 8 inches deep and it drops by a third. Run your own dimensions through the estimator and the arithmetic, including the inch-to-foot and divide-by-27 steps, is done for you.
Why a gravel driveway is built in three layers
The single decision that separates a driveway that lasts from one that ruts is building in graded layers rather than dumping one deep pile of stone, so it is worth understanding why the layers exist before trusting the plan. Each layer does a different job, and the driveway needs all three doing their own.
The base is about load. A vehicle’s weight has to spread across enough subgrade that the ground does not deform, and a thick, coarse, angular base does exactly that, distributing the point load of a tire over a wide footprint. The middle layer is about transition: the large voids in a coarse base would swallow a fine surface, so a medium stone bridges the gap and gives the top an even bed. The top layer is about the surface, the part you drive and walk on, packed fine and smooth and shaped for drainage.
A gravel driveway's layers, base to top
Illustrative split of a 12 inch, three-layer build at roughly 4 inches per layer.
In a three equal-layer build, each layer is about a third of the total stone, so each is roughly a third of the tonnage: near 10 tons apiece in the 40 by 12 foot example. Deeper-base builds shift the split downward, but the base is never the layer you thin.
The chart shows the simplest version, three roughly equal layers, but the lesson holds however you split the depth: coarse at the bottom for strength, fine at the top for surface, medium between to tie them. Order the three as separate products so each layer gets the right stone, and add the compaction allowance across the whole.
Angular versus rounded stone, and why it decides the build
The most common way a gravel driveway fails from the material up is the wrong kind of stone, so this choice deserves its own attention. Gravel splits broadly into angular crushed stone and rounded stone, and for a driveway the difference is not cosmetic, it is structural.
Angular crushed stone has sharp, freshly broken faces and irregular shapes, so when it is compacted the faces jam against each other and lock into a rigid, interlocked mass that carries load and stays put. That interlock is the whole reason a compacted base holds a truck without rutting, and why the surface packs into a firm crust rather than a loose scatter. Every structural layer of a driveway wants angular stone for this reason.
Rounded stone, such as pea gravel or smooth river stone, behaves the opposite way. The rounded faces roll past one another instead of locking, so no amount of compaction turns it into a firm mass: it stays loose, spreads under tires, migrates to the edges, and ruts into tracks. It looks attractive and feels soft underfoot, which is why it belongs in contained paths, patios, and beds held by firm edging, not in a driveway that has to carry vehicles.
The practical rule is simple: if a layer has to bear load or hold a shape, use angular crushed stone; reserve rounded stone for decorative, contained areas. If you build a layer and it will not compact into anything firm no matter how you pack it, rounded stone is the usual culprit, and the fix is the right material, not more effort. Our how much gravel do I need manual covers the common stone families and what each one suits, which is worth a read before you place the order for each layer.
Drainage: the crown, the slope, and where water goes
Water is what kills a gravel driveway, so the drainage plan deserves more thought than its small effort suggests. A gravel surface is porous, but a compacted, fines-rich top layer is much less so, and any water that stands on it works down into the base, softens the interlock, and starts the potholes. The defense is shape: build the surface so water runs off quickly rather than sitting.
The crown is the classic shape for a drive open on both sides. The center of the width is built slightly higher than each edge, so a cross section is a very shallow inverted V, and water sheds to both sides into the surrounding ground or a shallow channel. The cross slope is the alternative for a drive that sits against a wall, a bank, or a house, tilting the whole surface gently toward the open edge. Both aim for a modest fall, commonly on the order of a quarter inch or so per foot of width, enough to move water without feeling tilted.
Where the water goes after it leaves the surface matters too. On an open site it can sheet into lawn or beds, but a drive cut into a slope or bounded by hard surfaces may need a shallow ditch or a drainage channel along the low edge to carry runoff away, and a low crossing point may want a culvert so water passes under rather than across the drive. A driveway on a real grade along its length also sheds water down the slope, which can scour the surface, so the crown or cross slope works with the length-wise fall, not against it.
The build detail is that the drainage shape lives in the top layer and is set by the final compaction passes, as Step 6 described. Grade the crown with the rake as you place the surface stone, check it across the width, and lock it in with the compactor. A drainage shape that is compacted in stays; one raked in loosely at the end flattens under the first traffic.
Buying gravel by weight, not by volume
A gravel driveway is a large enough order that how you buy it, and in what unit, has real consequences, so it is worth closing the loop the calculation opened. You measure and design in cubic yards because volume is what fills a measured space, but most yards sell and deliver by the ton, because trucks are weighed at a scale on the way out. The order therefore has to cross from volume to weight, and getting that crossing wrong is one of the quiet, expensive mistakes.
The conversion is the roughly 1.4 tons per cubic yard figure the calculation used, applied after the compaction allowance: for the example, 21.3 cubic yards times 1.4 is about 29.9 tons. That 1.4 is an illustrative planning number, not a physical constant, because weight per yard drifts with stone type and moisture, which our how much a yard of gravel weighs manual works through in detail. The practical move is to carry both numbers, calculate in yards, order in tons, and let the yard translate.
The failure the brief keeps flagging is ordering by volume when the yard prices by weight, or the reverse, so a number that was right in one unit arrives wrong by the 1.4 factor in the other. State clearly which unit your figure is in when you call, and confirm the yard’s own weight for the specific product. Because the layers use different stone, price and order each layer separately, and put the delivery fee inside the comparison when you weigh quotes: the all-in cost per ton delivered is the honest number, not the sticker price at the yard.
Finally, order the whole build, including the compaction allowance, in as few deliveries as you can, because the delivery fee spreads across the load and a partial second load later is the least economical order a yard fills. Buying the allowance up front is not padding, it is the difference between layers that reach full depth and thin spots that pothole early.
Common mistakes when building a gravel driveway
A handful of errors account for nearly every gravel driveway that fails early, and all of them are decisions made before or during the build, not accidents afterward.
- Skipping the geotextile fabric. Without it, the base stone sinks into soft soil and soil pumps up into the stone, so the drive loses depth from below and ruts within a few wet seasons. The fabric is the cheapest insurance in the whole build.
- Building the base too shallow. The base carries the load, so thinning it to save stone is a false economy: tires punch through a skimpy base and the surface ruts. A soft site earns a deeper base, not a thinner one.
- Using rounded stone that will not compact. Rounded pea or river gravel rolls instead of locking, so it stays loose, scatters, and ruts. Structural layers want angular crushed stone that interlocks under the compactor.
- Forgetting the drainage crown. A dead flat drive holds water, the water softens the base, and potholes follow. Build a crown or cross slope into the top layer and compact it in.
- Ordering by volume when the yard sells by weight. Confusing cubic yards and tons throws the order off by the roughly 1.4 factor. Carry both numbers and confirm the unit when you buy.
- Not compacting each layer. A plate compactor only reaches an inch or two down, so a foot of stone packed only from the top stays loose underneath and settles into ruts. Compact every layer as it is placed.
Every one of these is a decision about something invisible in the finished drive, the fabric, the base depth, the stone type, the layer compaction, which is exactly why they get skipped and exactly why they matter.
Troubleshooting: soft ground, ruts, snow, and slopes
Real sites are rarely the tidy, firm, gently draining ground the basic build assumes, so here is how to handle the conditions that complicate it.
What if the ground is soft or muddy? Soft subgrade is the most common complication, and the answer is depth and separation, not surface stone. Dig out the soft material to firmer ground, lay geotextile fabric, and build a thicker coarse base than usual so the load spreads across a wide enough footprint that the ground holds. Persistent wet may also want a drainage solution alongside, and our note on how much a yard of gravel weighs helps size the extra base stone that a soft site demands.
What if potholes or ruts keep forming? Recurring potholes and ruts are a symptom, usually of a thin or uncompacted base, standing water, or rounded stone that will not lock. The durable fix is to dig out the failed spot, check the fabric and base, correct any drainage feeding water into it, and rebuild the layers with angular stone compacted in lifts. Filling a pothole with loose surface stone alone just feeds the same failure, so treat the cause under the hole, not the hole.
What about snow removal? A gravel surface and a plow blade are an awkward pair, because a blade set to the surface scrapes stone off with the snow. Set the blade slightly high, or use a rubber-edged blade, so it skims the snow and leaves the gravel, and expect to rake stray stone back off the verges and regrade in spring. A firm, well-compacted top layer sheds a plow far better than a loose one, which is another reason compaction earns its effort.
What if the driveway is on a slope? A drive that runs up a real grade sheds water down its length, which scours the surface and washes fines out of the top layer over time. On a slope, favor a coarser, heavier surface stone that resists washing, keep the cross slope or crown working to move water off sideways before it runs far downhill, and consider water bars or a channel to intercept runoff on a long descent. A steep drive also holds loose stone poorly under braking and spinning tires, so compaction and angular stone matter even more than on the flat.
Your gravel driveway checklist
Before the first truck is booked and before the first shovel goes in, run down this compact checklist. It is the save-this asset of the whole build.
- Measured the driveway length and width in feet, including any apron or widening.
- Chose a total stone depth, commonly 8 to 12 inches, matched to traffic and ground.
- Read the site drainage and decided on a crown or a cross slope.
- Calculated the gravel: length times width times depth in feet, divided by 27, plus about 20 percent for compaction.
- Converted to tons at roughly 1.4 per cubic yard, and split the order by layer.
- Marked and squared the footprint, then excavated to the full stone depth on firm subgrade.
- Rolled geotextile fabric across the footprint with overlapped seams.
- Built and compacted the coarse base, then the medium middle, then the finer top, each as its own lift.
- Graded the drainage crown or slope into the top layer and compacted it in.
- Planned the maintenance: periodic regrading, a top-up load every few years, and weed control.
Work top to bottom and the driveway you build is one that sheds water, carries load, and holds its shape. The companion below runs the gravel calculation automatically on your own dimensions, so you can check your hand math before you order.
The bottom line
Building a gravel driveway is seven steps worn into a sequence: measure and plan, calculate the yards and tons, excavate to depth, lay fabric and a coarse base, add the middle and finer top layers, grade a drainage crown and compact each lift, then maintain it over time. The whole thing rests on a few disciplines that are invisible once the job is done, a real base depth, geotextile separation, angular stone that locks, a drainage shape that sheds water, and compaction layer by layer, which is exactly why the drives that fail are the ones that skipped them. Settle the depth deliberately, because it moves the order faster than the footprint does, buy in the unit the yard sells in, and give each layer its own compaction pass. Do that, and the driveway you build is the dull, well-draining, rut-free kind, which is the only kind worth the weekend.
Read this manual as bench notes meant to teach the method, not as a build you can order and dig without checking. The depths, layer counts, allowances, weights, and volumes here are typical illustrative values, and your real numbers shift with the traffic, the subgrade, the stone, the climate, and local practice. Measure your own site, run it through the seven steps, confirm the depth, drainage, and any structural or permitting detail with the people doing the work and your local requirements, and verify the final quantity with your supplier before any truck is booked.
Frequently asked questions
How do I build a gravel driveway step by step?
Measure the length, width, and total depth and check the drainage fall, calculate the gravel in cubic yards and tons, then mark and excavate to depth. Lay geotextile fabric, build a coarse base layer, add a middle and finer top layer, and compact each layer as you go. Finish by grading a slight crown or cross slope so water sheds off, and plan to regrade and top up over time. The whole build is one calculation followed by careful layering and compaction, and this manual walks all seven steps with a worked number.
How much gravel do I need for a gravel driveway?
Multiply length by width by total depth, all in feet, then divide by 27 for cubic yards, and add roughly 20 percent because loose stone compacts as it is placed and driven on. An illustrative 40 by 12 foot driveway built to 12 inches in three layers is about 17.8 cubic yards from the formula, near 21.3 cubic yards with the compaction allowance, and roughly 29.9 tons at about 1.4 tons per cubic yard. Depth drives the order more than anything else, so settle how deep you are building before you calculate. Our companion tool runs your own dimensions to yards and tons.
What are the layers of a gravel driveway?
A durable gravel driveway is built in layers, commonly three: a coarse base of larger angular stone that spreads vehicle load, a middle layer of medium stone that binds the base to the surface, and a finer top layer that packs to a smooth driving surface. A geotextile fabric usually sits under the base to separate the stone from the soil and stop the two from mixing. Each layer is spread and compacted before the next goes on, which is what keeps the finished drive from rutting. The exact depths are illustrative and shift with traffic and ground conditions.
How deep should a gravel driveway be?
A common residential build runs about 8 to 12 inches of total stone, often split into three layers of roughly 4 inches each, though soft ground and heavy vehicles push it deeper. The base carries the load and is the most important layer to get right, so it is never skimped. Depth is the single most sensitive input in the whole plan because doubling it doubles the order, so confirm the total depth against local practice before you calculate or excavate. Treat any depth figure here as an illustrative starting point, not a specification.
Do I need geotextile fabric under a gravel driveway?
On most soils a geotextile fabric under the base layer is worth it, because it separates the stone from the soil so the gravel does not sink into soft ground and the soil does not pump up into the stone. That separation is what stops a driveway from slowly disappearing into the earth and rutting after a few wet seasons. On firm, well-draining ground a fabric matters less, but on clay or soft subgrade it is the cheapest insurance in the whole build. It is an area item, the footprint plus overlap at the seams, and it belongs on the same order as the stone.
Why does a gravel driveway need angular stone instead of rounded?
Angular crushed stone has sharp, irregular faces that lock together under compaction, so it stays put and carries load without shifting. Rounded stone like pea gravel behaves the opposite way: the smooth stones roll past each other rather than locking, so a driveway built from it stays loose, ruts under tires, and migrates toward the edges. That is why the base and structural layers of a driveway use angular crushed stone, and rounded gravel is reserved for looks in paths and beds where it is contained by edging. If a layer will not compact, rounded stone is the usual reason.
How do you get drainage on a gravel driveway?
You build a shape into the surface so water runs off instead of sitting: either a crown, where the center is slightly higher than the two edges, or a single cross slope that sheds to one side. A common target is a small fall of roughly a quarter inch or so per foot of width, enough to move water without feeling tilted underfoot, though the right figure varies with the site. Water that ponds on a gravel surface works down into the base, softens it, and starts the potholes, so the drainage shape is not cosmetic, it is what keeps the drive alive. Grade the crown as you place the top layer, then compact it in.
How do I maintain a gravel driveway?
Regrade the surface periodically to pull migrated stone back to the center and restore the crown, top up the gravel where it has thinned or potholed, and keep weeds down before they root and break up the surface. A light drag or rake once or twice a year, plus a fresh partial load of top-layer stone every few years, keeps a driveway in good shape for a long time. Address soft or muddy spots early by digging out and rebuilding the base rather than just adding surface stone. Maintenance is cheap and occasional, while a neglected drive slowly turns back into ruts and mud.