
What's on this page
- The countertop square footage formula in one line
- Measuring in runs: how an L-shape or U-shape breaks down
- Standard counter depth, and why to measure your own anyway
- Sink, cooktop, and other cutouts: do you subtract them?
- Overhang for seating, and where the extra depth actually applies
- A worked example: an L-shaped kitchen with a seating peninsula
- Backsplash: its own calculation, not a countertop add-on
- Slab yield: why 30 square feet does not mean one slab is guaranteed
- Scribing for an out-of-square wall
- Multiple fabricator quotes and what should match between them
- Why your measurement and the fabricator’s template may not match
- Natural stone versus engineered slabs: does the math differ?
- Edge profiles, thickness, and whether they change the area
- What a countertop costs, in rough terms
- Islands and waterfall edges
- Templating day: what to expect
- Remnants and small projects
- The reverse problem: I have a slab, what layout fits
- Common mistakes measuring a countertop
- Your countertop measurement checklist
- The bottom line
Short answer: Break the counter into straight runs, measure each run's length and depth in feet, multiply for each run's area, and add every run together, including an island and any extra seating overhang as their own rectangles. An L-shaped counter with an 8 foot run and a 5 foot run, both 2 feet deep, is 16 plus 10, 26 square feet. Calculate the backsplash separately, as linear feet of wall run times its height.
A countertop square footage calculator looks like the simplest area problem on this whole site, length times depth, until the actual shape of a kitchen gets involved: an L-shaped run, a peninsula with extra overhang for stools, a backsplash that is priced on its own, and a slab that comes in one fixed size no matter how precisely you calculate the number you actually need. The area math itself is the easy half; getting an honest total that a fabricator’s quote will actually match is the part that trips people up.
This manual works a countertop measurement from the cabinet layout to the slab order: breaking an L-shape or U-shape into runs, the standard depth question, the sink and cutout convention, overhang for seating, backsplash as its own calculation, and the slab yield that decides whether your project fits on one slab or needs two. It sits alongside our square footage manual for the general area math and our flooring box manual for the comparable product-packaging problem on a different surface. Run your own layout through the estimator or the companion below as you read.
Key takeaways
- Break the counter into straight runs, measure each run's length times depth, and add them; an L-shape or U-shape is simply two or three rectangles summed.
- Standard counter depth is commonly cited around 25.5 inches, but measure your actual cabinet depth plus overhang rather than assuming a textbook figure.
- Most fabricators do not subtract sink or cooktop cutouts from the billed area, even though the opening removes material, so measure the gross rectangle.
- Seating overhang, commonly 10 to 15 inches beyond base depth for knee clearance, adds extra square footage only along the section that actually overhangs.
- A slab's usable yield is commonly cited around 70 to 80 percent of its gross area once seams, cutting, and pattern matching are accounted for, not the full slab size.
The countertop square footage formula in one line
Compressed to one pass: split the counter into every straight run, an L-shape is two runs, a U-shape is three, measure each run’s length and depth in feet, multiply length by depth for each run’s own area, then add every run’s area together for the total. Add an island or peninsula the same way, as its own rectangle, and add any extra overhang depth on a seating section as a separate smaller rectangle layered on top of the base run.
In one line: sum of (length times depth) for every straight run, plus any island, plus any seating overhang counted separately, equals total countertop square footage.
Backsplash is deliberately not part of that sum; it is calculated on its own, as a linear-foot times height figure, because it is a different surface with its own pricing and fabrication logic even on a matching-material job. Every section below either measures one piece of the main formula honestly or works through a decision, cutouts, overhang, slab yield, that changes how the raw number becomes an order.
Measuring in runs: how an L-shape or U-shape breaks down
A straight single run of counter, one wall, one unbroken length, is the simplest case: one length measurement, one depth measurement, one multiplication. Most kitchens are not that simple, and the move for anything more complex is the same decomposition this site’s other area manuals use for any irregular footprint: split the counter at every corner into separate straight runs, measure each one on its own, and add the areas together rather than trying to find one combined dimension for a shape that is not actually a rectangle.

An L-shaped kitchen counter is two runs meeting at a corner, each measured along the wall it sits against. A U-shaped kitchen is three runs, two side walls and the back wall, each its own rectangle. The corner itself is not double-counted or left out if each run’s length is measured to the outside corner point consistently on both sides, the same convention our square footage manual uses for any L-shaped room.
Standard counter depth, and why to measure your own anyway
Countertop depth, the dimension running from the wall to the front edge, is commonly cited at a standard of around 25.5 inches, which comes from a typical 24 inch base cabinet plus a roughly 1.5 inch front overhang, though plenty of quick estimates round to an even 24 or 25 inches instead. That standard figure is a useful starting assumption for a rough budget, not a substitute for measuring your actual installed or planned cabinets.
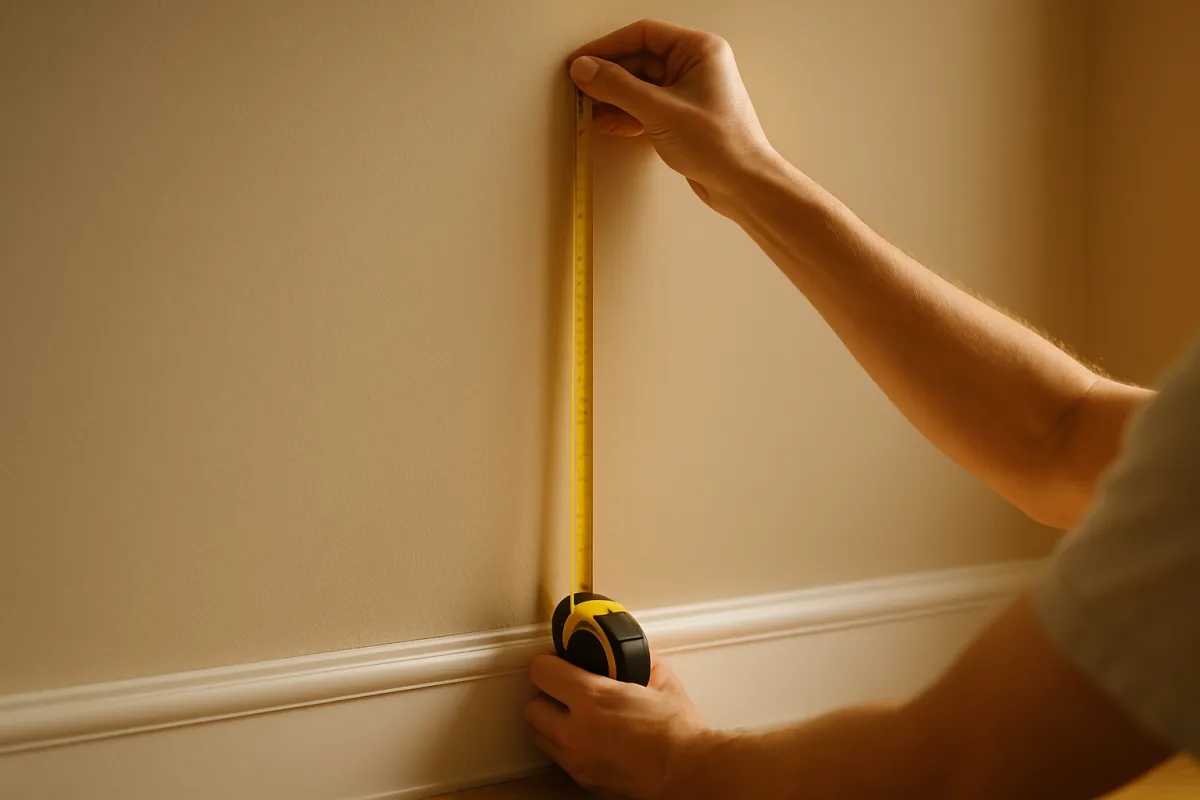
Cabinet depth varies by manufacturer and by whether cabinets are stock, semi-custom, or fully custom, and the front overhang a fabricator leaves also varies by a half inch or more between jobs. On a 20 foot combined run of counter, a half inch of depth error compounds to roughly 0.83 square feet, enough to matter on a tight slab yield calculation, so measure the real cabinets rather than trusting a rule of thumb for anything beyond an early rough budget. If cabinets are not yet installed, pull the depth figure from the cabinet manufacturer’s actual specification sheet for the model you are buying rather than a generic assumption, since stock, semi-custom, and custom lines can differ from each other by a full inch or more.
Bathroom vanity counters follow the same depth logic at a different starting number, commonly somewhere around 21 to 22 inches of cabinet depth rather than the kitchen’s 24, so swap in the vanity’s own measured depth before running the same length-times-depth formula on a bathroom project rather than reusing a kitchen assumption.
Sink, cooktop, and other cutouts: do you subtract them?
The common convention among fabricators is to measure and bill the gross rectangle of area a run requires, without subtracting the area removed by a sink, cooktop, or other appliance cutout, even though the opening clearly removes some material from the finished piece. The reasoning is that the slab still has to be measured, cut, handled, and finished around the opening regardless of its size, and the material removed from a cutout is a small, oddly shaped offcut that is rarely large enough to be reused on another job.
A minority of fabricators do offer a partial credit for an unusually large cutout, and some high-end jobs with multiple sinks or a large cooktop opening may see this negotiated, but the default assumption on a standard kitchen job should be that cutouts are not subtracted. Confirm this directly with your specific fabricator before assuming either convention, since relying on the wrong assumption either underbudgets or leaves you expecting a credit that is not standard practice. Many fabricators also charge a separate flat fee per cutout, covering the extra cutting, polishing, and reinforcement work an opening requires, on top of whatever convention they use for the surrounding square footage, so ask for that figure explicitly rather than assuming it is bundled into the per-square-foot rate.
Overhang for seating, and where the extra depth actually applies
An eating bar, a peninsula, or an island edge meant for stool seating commonly extends an additional 10 to 15 inches of overhang beyond the base cabinet depth, which gives the knee clearance a seated person needs underneath. That extra depth is real, measurable area, and it only applies along the specific section of counter that actually overhangs for seating, not across the whole kitchen.
Countertop area by section, worked example
Illustrative area breakdown: two base runs plus one seating overhang section, to 100 percent of 30 sq ft.
Shares are illustrative and move with your own layout. The lesson is that the overhang is a small rectangle added where the seating actually is, not a blanket extra depth applied to the whole counter.
A smaller 6 to 9 inch overhang elsewhere on a counter that is not meant for seating is common too, mainly for a cleaner visual edge reveal past the cabinet face and a little drip and splash protection, and it still adds to the measured area the same way, just by a smaller amount over whatever length it runs. Measure the actual overhang depth where it occurs rather than assuming one uniform depth applies to the entire counter. A peninsula open on more than one side sometimes needs overhang on two edges at once rather than just the front, which is worth checking against the actual seating layout before the template appointment rather than discovering the gap once stools are in place.
A worked example: an L-shaped kitchen with a seating peninsula
Pull the whole calculation together on one running layout. The main counter is an L-shape: Run A along one wall is 8 feet long at a 2 foot depth, 16 square feet. Run B along the perpendicular wall is 5 feet long, also at a 2 foot depth, 10 square feet. The base counter total is 16 plus 10, 26 square feet.
A peninsula extending off Run B adds 4 feet of additional length at an extra foot of overhang depth for seating, 4 square feet on top of the base total, bringing the countertop surface itself to 30 square feet. The backsplash, calculated separately, runs along the full 13 feet of wall that Run A and Run B together occupy, at a 4 inch, or 0.333 foot, height: 13 times 0.333 is about 4.33 square feet of backsplash material, or simply 13 linear feet if your fabricator prices backsplash by the linear foot instead.
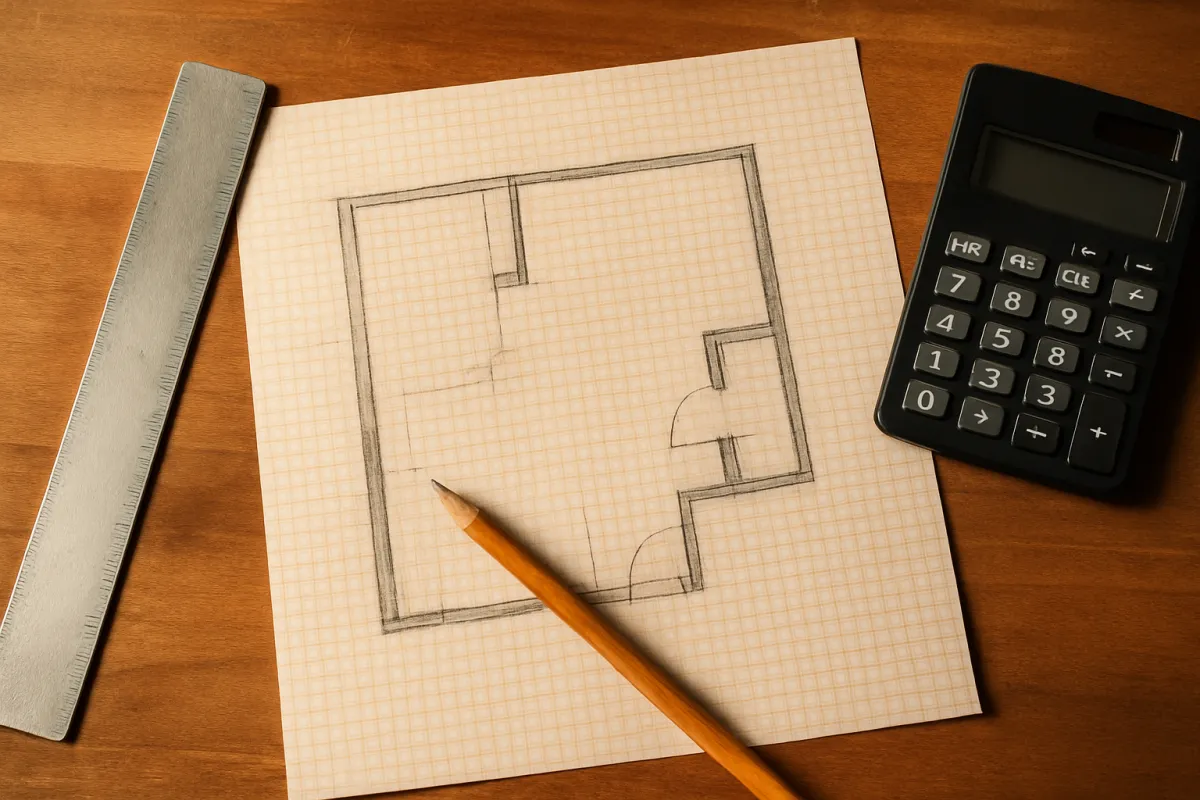
That 30 square foot countertop surface is the number to check against a slab’s usable yield, covered next, while the 4.33 square feet or 13 linear feet of backsplash is priced and sourced as its own line, sometimes cut from the main slab’s offcuts and sometimes from a separate remnant.
Backsplash: its own calculation, not a countertop add-on
Backsplash is measured independently of the countertop surface because it is a different plane, a vertical surface against the wall rather than the horizontal surface people set things on, and it is frequently priced, and sometimes sourced, separately even when it matches the counter material. The formula is simply the linear feet of wall run the backsplash covers, multiplied by its height, converted to square feet the same way any area calculation works.
A standard 4 inch backsplash is small enough that it is often cut from the counter slab’s own offcut material at little or no extra material cost, which is part of why some fabricators quote it as included rather than itemized. A full-height backsplash, running from the counter up to the underside of the upper cabinets, is a meaningfully larger area, often requiring its own slab or a significant remnant, and is priced as a distinctly larger line than a standard 4 inch strip. Confirm which convention your fabricator uses before assuming a standard or full-height backsplash is included in the base quote.
Slab yield: why 30 square feet does not mean one slab is guaranteed
Stone and engineered slabs come in a fixed range of standard sizes, commonly cited somewhere around 9 by 5.5 feet for many natural stone slabs, roughly 49.5 square feet of gross material, though exact sizes vary by material and supplier. Your project’s calculated square footage has to fit inside that fixed shape, which is a cutting and layout problem, not a simple division, since a slab’s usable yield is reduced by the width needed for seams, the waste at the slab’s edges, and in some cases the need to match veining or pattern direction across a seam.
A slab's usable yield, illustrative
A roughly 49.5 sq ft slab, split by what becomes finished countertop versus what is lost to cutting and pattern matching, to 100 percent.
A commonly cited illustrative yield of around 70 to 80 percent reflects cutting waste, seam allowances, and pattern matching; the loss is real material cost even though it never becomes a visible part of the finished counter.
A commonly cited illustrative usable yield is somewhere around 70 to 80 percent of a slab’s gross area, which on a roughly 49.5 square foot slab is around 35 to 37 square feet of actual usable material. The 30 square foot worked example above fits comfortably inside a single slab at that yield, while a larger kitchen, an island counted separately, or a layout that needs matched veining running continuously across a seam can push a project to need two slabs even if the raw square footage alone would seem to fit on one. Yield loss is not wasted carelessly; it is the real cost of the slab’s rectangular shape meeting a kitchen’s irregular one, the narrow offcut strips left along a slab’s edges once the actual runs are laid out on it, plus whatever width a seam or a pattern-matching requirement consumes.
Scribing for an out-of-square wall
Few real kitchen walls are perfectly straight or perfectly square to each other, even in new construction, and a rigid stone slab cannot flex to follow a wall’s small bows or an out-of-square corner the way a flexible countertop edge trim sometimes could. Scribing is the practice of cutting the back edge of the countertop to follow the wall’s actual, imperfect line rather than assuming a mathematically straight wall, which keeps the gap between the counter’s back edge and the wall tight and even along the whole run.
This is one of the small margins baked into a professional template rather than a simple tape-measure calculation, since a templater checks the wall for square and for straightness and adds a scribe allowance into the cut dimensions where needed. It is a real reason a fabricator’s final cut dimension can run a little larger than a textbook length times depth calculation assumes, and it is also exactly why a physical or laser template taken against the real wall outperforms a measurement taken against an assumed straight line.
Multiple fabricator quotes and what should match between them
When comparing quotes from more than one fabricator for the same kitchen, the single most useful check is whether their stated square footage figures roughly agree with each other and with your own planning calculation from this manual, since a quote that is dramatically higher or lower in area than the others, for the identical layout, usually signals a different convention being applied, not a different kitchen. A quote that subtracts cutouts when the others do not, or that measures overhang differently, can make an otherwise more expensive per-square-foot quote look artificially competitive, or the reverse.
Ask each fabricator directly how they handle cutouts, backsplash, and any overhang or waterfall detail before comparing their bottom-line numbers, and request the square footage figure itself alongside the price, not just the final total. A clear, itemized breakdown, countertop area, backsplash, cutout fees, edge profile upgrade, is the only way to compare two quotes on the same basis, the same discipline this whole manual has applied to building the number from scratch.
Why your measurement and the fabricator’s template may not match
A professional fabricator’s template, taken with a physical pattern or a laser tool after cabinets are installed, commonly comes in a little higher than a homeowner’s own tape-measure estimate, and this is rarely an error on either side. Fabricators generally measure to the gross rectangle their saw actually needs for each run, round dimensions to account for the saw’s kerf and the template’s own tolerance, and may add a small margin for scribing an edge against a wall that is not perfectly straight or square, which is common in real construction even in a newly built kitchen.
Treat your own measurement as a close planning estimate for an early budget, not the number the final slab order will be cut against. The professional template taken after cabinets are set is the measurement that actually governs the order, and a modest gap between your estimate and that template is normal rather than a sign either number is wrong.
Natural stone versus engineered slabs: does the math differ?
The area formula in this manual, runs summed, overhang added, backsplash separate, applies identically to natural stone like granite or marble and to engineered materials like quartz, since the difference between the two is in the material’s composition and how it is quarried or manufactured, not in how a kitchen’s area is measured. What can differ between the two is the standard slab size offered, engineered quartz is often manufactured to more consistent, sometimes larger standard dimensions than natural stone, which is quarried and cut from blocks that vary more by source.
A more consistent manufactured slab size can mean a more predictable yield calculation, since there is less variation in the gross starting size to account for, but the yield loss from seams, cutouts, and edge waste works the same way on both material types. Confirm your chosen material’s actual available slab sizes with your fabricator before finalizing a layout that depends on fitting within one slab.
Edge profiles, thickness, and whether they change the area
An edge profile, the shaped detail cut into the counter’s front edge, such as a bullnose, an ogee, or a simple eased edge, does not change the measured square footage of the countertop surface, since the profile is a finishing detail on the edge itself rather than an addition to the horizontal area. Thickness, commonly a standard 1.25 or 1.5 inch finished edge on many slab counters, also does not change the square footage calculation, since area is a two-dimensional measurement independent of how thick the material is.
Both edge profile and thickness do affect price per square foot, since a more elaborate profile and a thicker finished edge both add fabrication labor and sometimes material, commonly achieved by laminating a second strip of the same slab underneath the front edge to build up an apparent thickness. Neither changes the area number this manual calculates; they are pricing modifiers applied after the square footage is settled, not inputs to the area formula itself.
What a countertop costs, in rough terms
Pricing follows the square footage calculated above, with material and fabrication typically quoted together per square foot installed. As illustrative ranges, a mid-range granite or quartz countertop commonly runs somewhere around 50 to 100 dollars per square foot installed, with premium natural stone and elaborate edge or cutout work pushing well above that range, and a budget laminate alternative running well below it. On the 30 square foot worked example above, a mid-range material in the 60 to 80 dollar range lands somewhere around 1,800 to 2,400 dollars for the countertop surface alone, before the backsplash and any sink or cooktop cutout fabrication.
Backsplash, when priced separately, commonly adds a smaller line based on its own linear footage or square footage at a similar or sometimes slightly different per-unit rate, and cutouts for sinks or cooktops often carry a flat per-cutout fee on top of the base square footage price rather than being absorbed into it. Confirm current pricing locally before budgeting a real project, since fabrication cost varies meaningfully by material, region, and the complexity of the specific layout.
Islands and waterfall edges
A kitchen island is measured as its own rectangle, separate from the perimeter runs, using the island’s actual top surface length and depth, which is frequently deeper than a standard wall run since an island often serves seating on one or more sides. A rectangular island 6 feet by 3.5 feet is a straightforward 21 square feet added to the perimeter total the same way any additional run is summed.
A waterfall edge, where the countertop material wraps down the side of the island to the floor rather than stopping at a standard edge profile, adds a meaningful additional area that is easy to forget because it is vertical rather than horizontal like the rest of the calculation. Each waterfall side is its own small rectangle, the island’s depth times the height from countertop to floor, and a full waterfall treatment on both ends of an island can add a surprising amount of material, commonly rivaling a sizable fraction of the island’s own top surface, which is part of why waterfall islands are priced as a distinct upgrade rather than a minor edge detail. Waterfall sides also usually need vein or pattern matching to the top surface for a continuous, seamless look, which pulls directly into the slab yield question covered above.
Templating day: what to expect
A fabricator’s templating appointment, typically scheduled after cabinets are installed and before the slab is cut, is where the professional measurement this manual has repeatedly pointed to actually happens. The templater measures every run, every cutout location relative to the cabinet edges, any walls that are out of square, and any overhang or waterfall detail, usually building a physical pattern from thin rigid material or capturing the layout digitally with a laser measuring tool. Either method produces a record the saw operator cuts directly against, which is part of why the template appointment, not the homeowner’s earlier tape-measure estimate, is treated as the authoritative dimension once it has been taken.
This is the point to have final decisions made on sink and faucet models, cooktop placement, and any outlet or switch location that affects a cutout, since changing those choices after templating can mean a return visit or a layout adjustment on the cut slab itself. Walk the templater through any detail that is not obvious from the cabinets alone, overhang depth for seating, where a waterfall edge should start and stop, and where seams are acceptable if the layout needs more than one slab, since the template is the last point before the stone is actually cut.
Remnants and small projects
A small project, a bathroom vanity top, a wet bar, or a single small island, often does not need a full slab at all and can be cut from a remnant, a leftover offcut piece from a larger job that a fabricator keeps in inventory and sells at a reduced price compared with ordering a new full slab. Remnant availability and size vary constantly and are specific to whatever a fabricator happens to have on hand, so this is a case where shopping the fabricator’s current remnant inventory for a close match in color and size can be more economical than ordering new material for a small area.
The same area formula applies to sizing a remnant project: measure the vanity or small counter the same way as any run, length times depth, and check that figure against the remnant’s actual dimensions rather than assuming any remnant will fit, since a remnant’s irregular leftover shape sometimes constrains the layout more than a fresh full slab would. Bring your own measured dimensions when shopping remnants, since the useful comparison is always your project’s actual length and depth against the remnant’s usable rectangle, not a rough visual guess at whether a piece looks big enough.
The reverse problem: I have a slab, what layout fits
Sometimes the planning runs backward from everything above: a specific slab, perhaps already purchased, inherited from a previous project, or found as an appealing remnant, is the fixed starting point, and the question is what countertop layout it can realistically support. Apply the same illustrative 70 to 80 percent yield to the slab’s actual gross dimensions to get a realistic usable area, then compare that figure against your planned layout’s total square footage from the formula above.
A slab measuring 8 by 5 feet, 40 square feet gross, yields somewhere around 28 to 32 square feet usable at that illustrative range, which comfortably covers a modest single-run kitchen counter but would be tight for the 30 square foot L-shaped example with seating overhang worked through earlier, especially once seam placement and any pattern matching are considered. Running this check before committing to a specific slab avoids designing a layout on paper that the actual piece of stone cannot deliver, which is a frustrating discovery to make only after a remnant or a found slab has already been purchased.
Common mistakes measuring a countertop
The most frequent error is measuring only the base cabinet depth and forgetting the front overhang, which understates every run’s area by a small but consistent amount across the whole job. Close behind is applying the seating overhang depth to the entire counter rather than only the section that actually overhangs, which overstates the area and the corresponding slab yield check.
Forgetting to calculate backsplash as its own linear-foot or square-foot figure, instead folding a rough guess into the countertop total, muddies both numbers. And assuming a slab’s full gross area is available as usable material, rather than applying a realistic yield for seams, cutting, and pattern matching, is the mistake most likely to produce an unpleasant surprise when the fabricator comes back needing a second slab the budget did not plan for.
Your countertop measurement checklist
The whole manual, compressed to the sheet worth having before the fabricator’s template appointment.
- Break the layout into straight runs. An L-shape is two runs, a U-shape is three; measure and calculate each one on its own.
- Measure your actual cabinet depth plus overhang. Do not assume the 25.5 inch standard without confirming your real cabinets.
- Do not subtract cutouts. Most fabricators bill the gross rectangle regardless of sink or cooktop openings; confirm your fabricator’s convention.
- Add seating overhang only where it occurs. Commonly 10 to 15 inches extra depth, applied to that section’s length alone.
- Calculate backsplash separately. Linear feet of wall run times height, as its own line, not folded into the countertop total.
- Check the area against a realistic slab yield. Commonly 70 to 80 percent of a slab’s gross area, not the full nominal slab size.
- Treat your own measurement as a budget estimate. The fabricator’s professional template, taken after cabinets are set, is the number the order is actually cut against.
The bottom line
Countertop square footage is a sum of straight-run rectangles, with the seating overhang and the backsplash calculated as their own separate pieces rather than folded into one blanket figure. The part that actually decides your order is not the area formula, it is the slab yield question, whether your total realistically fits one slab at a commonly cited 70 to 80 percent usable yield or genuinely needs two. Measure your own cabinets rather than assuming a standard depth, confirm your fabricator’s cutout convention, and treat your own tape-measure number as a budgeting estimate rather than the figure the slab gets cut against.
An island, a waterfall edge, or a remnant-sized small project all run through the same formula, just applied to a different shape or a fixed piece of material rather than an open-ended order. Lock in sink, cooktop, and overhang decisions before the templating appointment, ask any fabricator you are comparing how they handle cutouts and backsplash, and run your own layout through the companion below or the estimator so the budget you walk in with is close to the number templating actually confirms.
Treat this manual as workshop arithmetic meant to make a countertop measurement legible, not a fabricator’s quote or a structural specification. The depths, overhangs, slab sizes, yield percentages, and prices above are typical illustrative values that vary by material, fabricator, and region, and your own kitchen will move the real numbers. Confirm your cabinet depth, your fabricator’s cutout and backsplash conventions, and the actual available slab sizes for your chosen material before finalizing any order, and have a professional template taken before cutting begins.
Frequently asked questions
How do I calculate countertop square footage?
Break the counter into straight runs, measure each run's length and depth in feet, multiply length by depth for each run's area, then add every run together, including an island or peninsula as its own rectangle. An L-shaped counter with an 8 foot run and a 5 foot run, both at a 2 foot depth, is 16 plus 10, or 26 square feet. Add any extra overhang depth on a seating section as its own smaller rectangle on top of the base total.
What depth do I use to measure a countertop?
Standard kitchen counter depth is commonly cited around 25.5 inches, or about 2.125 feet, measured from the wall to the front edge, though many people round to an even 24 or 25 inches for a quick estimate since cabinet depth and any front overhang vary by manufacturer. Measure your actual installed or planned cabinet depth plus the front overhang rather than assuming a textbook figure, since even a half inch of difference compounds across a long run. Bathroom vanity counters are commonly shallower, often somewhere around 21 to 22 inches, which is worth using instead of the kitchen figure if you are sizing a vanity top with this same formula.
Do I subtract the sink and cooktop cutouts from countertop square footage?
Most fabricators do not subtract sink, cooktop, or other appliance cutouts from the billed square footage, even though the opening removes some material, because the slab still has to be cut, handled, and finished around the opening and the waste from a cutout is rarely reusable elsewhere. Confirm this with your specific fabricator before assuming either way, since a minority of fabricators do offer a partial credit for a large cutout, but the common convention is to measure and bill the gross area as if the cutout were not there.
How much overhang does a countertop need for seating?
An eating bar or peninsula meant for stools commonly extends an additional 10 to 15 inches of overhang beyond the base cabinet depth to give knee clearance, which adds that extra depth, and therefore extra square footage, only along the seating section rather than across the whole counter. A smaller 6 to 9 inch overhang is common on a counter edge that is not meant for seating, mainly for a cleaner visual edge and a little splash protection rather than knee room, and it still adds to the measured square footage the same way.
Do I calculate backsplash separately from the countertop?
Yes. A 4 inch standard backsplash is commonly calculated as its own linear-foot times height figure, converted to square feet separately from the countertop surface itself, since it is frequently priced and sometimes fabricated from separate remnant material rather than the main slab. A full-height backsplash running to the underside of the cabinets is a larger area again, measured the same way, linear feet of wall run times the height, and is enough area on some jobs that it needs its own slab consideration rather than fitting entirely from remnants.
How many slabs do I need for a kitchen countertop?
It depends on your total square footage against the usable yield of a single slab, commonly an illustrative 70 to 80 percent of a slab's gross area once cutting, seams, and vein or pattern matching are accounted for, not the full gross slab size. A modest kitchen under about 35 to 40 square feet often fits on a single standard slab, while a larger kitchen, an island, or a layout needing matched veining across a seam frequently needs two, so the real answer depends on both your area and your fabricator's specific slab size and yield.
Why did my fabricator's measurement come in higher than my own?
A professional template measurement commonly ends up a little larger than a homeowner's tape-measure estimate, for reasons that are not an error on either side: fabricators generally measure to the gross rectangle each run requires for cutting, round dimensions up to account for the template and the saw kerf, and may include a small margin for scribing an edge to an out-of-square wall. Treat your own measurement as a close planning estimate for budgeting, and expect the fabricator's professional template, taken after cabinets are set, to be the number the actual slab order is cut against.