What's on this page
- Before you start: layout, tools, and materials
- Step 1: Plan the fence line and post spacing
- Step 2: Size the hole depth and diameter
- Step 3: Calculate the concrete per post
- Step 4: Dig the holes and add a gravel base
- Step 5: Set, plumb, and brace the post
- Step 6: Pour the concrete around the post
- Step 7: Crown the top and cure before loading
- A worked example: a ten post fence line
- Fast-setting versus mixed concrete
- Gate posts, corner posts, and end posts
- Frost line, soil, and drainage
- Common mistakes when setting fence posts in concrete
- Troubleshooting: rock, roots, water, and leaning posts
- Your fence post checklist
- The bottom line
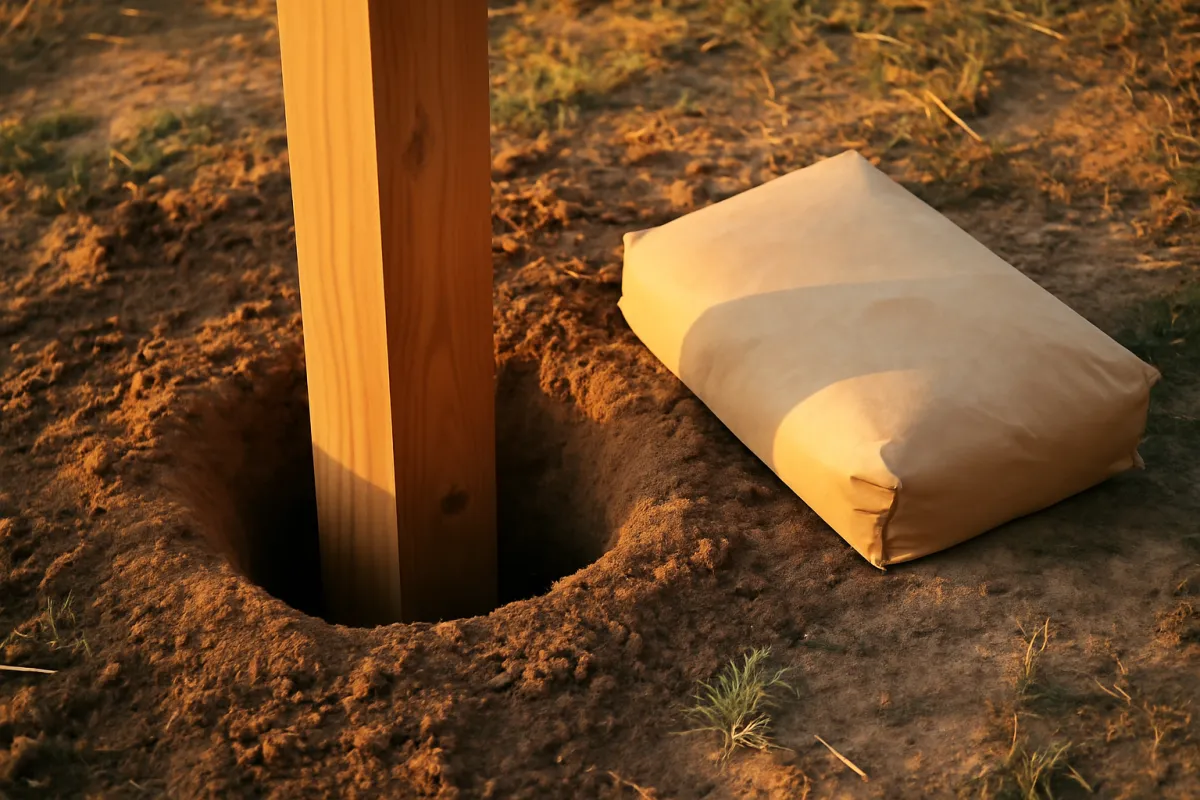
Short answer: Dig a hole about three times the post width across and about a third of the above-ground height deep, roughly 2 feet minimum and below the frost line in cold climates. Set the post on gravel, plumb it on two adjacent faces, brace it, then pour. A 12 inch hole 2 feet deep around a 4x4 takes about 1.4 cubic feet of concrete, close to two and a half 80 pound bags.
Setting a fence post in concrete is the rare concrete job where the pour is the easy part. The concrete around a post is never seen again and barely finished at all, no screeding, no troweling, no broom. What decides whether the fence stands straight for twenty years is everything around the pour: a hole sized to real rules of thumb rather than enthusiasm, a post plumbed and braced so it cannot drift while the concrete sets, a top surface sloped so water runs away from the wood instead of down it, and the patience to let the anchor cure before the rails load it.
This manual sets a fence post in concrete in seven plain steps, from stretching a string line to hanging the first rail, with the sizing rules and the per-post concrete math carried all the way through a worked ten post fence. The volume side leans on the cylinder math in our concrete manual and the bag counting in our bags of concrete manual, and narrows both to the single job of anchoring posts. Run your own hole dimensions through the estimator for a fast first pass, and the companion below recalculates the bag order per post as you read.
Key takeaways
- Size the hole by rules of thumb: diameter about three times the post width, depth about a third of the above-ground height, roughly 2 feet minimum and below the frost line in cold climates.
- A common 12 inch hole 2 feet deep needs about 1.4 cubic feet of concrete around a 4x4 post, close to two and a half 80 pound bags, and the count scales fast with depth.
- Fast-setting mix poured dry with water on top sets in roughly 20 to 40 minutes and suits long fence lines; standard mix blended wet buys working time for heavy gate posts.
- Plumb on two adjacent faces and brace every post before the pour, because the concrete preserves whatever angle the post holds while it sets, right or wrong.
- Slope the concrete's top away from the post to shed water, and let the anchor cure before rails and panels load it, a few hours for fast-set products, a day or two for wet mix.
Before you start: layout, tools, and materials
A fence line rewards preparation more than strength, because the work is a repeated cycle, dig, set, brace, pour, and every inefficiency repeats with it. Before the first hole, settle the layout, the tools, the materials, and the call-before-you-dig check. That last one is not a formality: fence lines run along property edges where utilities also like to run, and striking a buried line turns a weekend project into an emergency. Have the utility locate done before any digging is scheduled.
What to settle and gather:
- The layout. The fence line’s start and end, gate locations, and post spacing, commonly 6 to 8 feet on center for a residential fence, marked with stakes and a string line. Confirm the property line and any local fence height and setback rules before committing holes to it.
- Digging tools. A post hole digger (clamshell) and a digging bar for hardpan and rock, or a rented one or two person power auger for a long line. A tape, a level or post level, and a tamper.
- Setting materials. Posts rated for the job, for wood that means pressure treated material rated for ground contact, gravel for the hole bottoms, concrete in the product you chose (fast-setting or standard mix), water on site, scrap lumber and screws for bracing, and string for the line.
- The math, done in advance. Bag counts per post from Step 3, multiplied out with a margin, bought in one trip. A fence line that stops for a store run in the middle of setting is a fence line with posts curing unbraced.
Time and difficulty: digging is the labor, setting is the skill, and neither is exotic. A short run of a few posts is a comfortable day; a ten post line is commonly a weekend, digging one day and setting the next. The one clock that matters is the concrete’s, especially with fast-setting products that give you 20 to 40 minutes per post, which is plenty when the post is already braced and no time at all when it is not. Prepare first, and the pour becomes the quick part it should be.
Step 1: Plan the fence line and post spacing
Start with the line, because every hole inherits its position from it. Stretch a string between stakes at the fence’s start and end, pulled tight at a consistent height, and walk it once looking for surprises: slopes, roots, buried lids, the neighbor’s opinion. Confirm the line sits on your side of the property boundary, and check local rules for fence height and setback, because a fence built twice is the most expensive kind. Mark gate openings first, since their width is fixed by the hardware and the rest of the line divides around them.
Then set the spacing. Residential fences commonly run posts 6 to 8 feet on center, with 8 feet as a practical maximum for standard rails and panels: wider spans sag, and prebuilt panels arrive in fixed widths that dictate the spacing exactly. Divide the run length by the panel or span width to place each post, marking every center on the ground with paint or a stake directly under the string. Measure post to post consistently, center to center, because mixing center and edge measurements is how a panel fence ends up with one gap that fits nothing.
Count the posts as you mark, and classify them: line posts, corners, ends, and gate posts. The classification matters in Step 2, because corners, ends, and gates carry more load and earn bigger holes. As an illustrative running example this manual uses a 60 foot run at 6 foot spacing, which pencils out to eleven marks but works as a ten post order once an existing structure anchors one end.
Watch out for planning holes where the ground has other ideas. Probe each mark with a bar for the obvious rock or root before committing to the layout, because shifting one post 6 inches is free today and a mid-project redesign after three holes are poured.
Step 2: Size the hole depth and diameter
The hole’s two dimensions are the structural decisions of the whole fence, and both come from rules of thumb worth taking seriously. Diameter first: about three times the width of the post. A 4x4 post is really 3.5 inches across, so its hole runs 10 to 12 inches in diameter; a 6x6, at 5.5 inches, wants more like 12 to 18. The tripled width is what gives the concrete collar enough thickness to grip the soil, because the anchor is not the post, it is the mass of concrete locked around it.
Depth follows two rules checked together, and the deeper answer wins. The first is proportional: bury about a third of the post’s above-ground height, which for a standard 6 foot privacy fence means roughly 2 feet in the ground, a practical minimum for most full-height fences, and more for taller builds and loose soils. The second is climatic: in freezing climates, the bottom of the concrete should reach below the local frost line, because a plug of concrete that sits above it gets gripped and jacked upward by frost heave, a fraction of an inch a winter, until the fence line reads like a wave. Frost depth is local knowledge, so get the figure from local practice or the building department rather than guessing.
Add a few inches to the dig for the gravel base that Step 4 places under the post, so the spec depth is measured on the post, not the hole bottom. For the running example, a 6 foot cedar privacy fence on 4x4 posts in a moderate climate: 12 inch diameter holes, posts buried 2.5 feet, holes dug about 2.75 feet to leave room for gravel.
Watch out for the tapered hole an easy dig produces, wide at the top and narrow at the bottom. It is exactly backward: the anchor wants its mass low, and a top-heavy cone of concrete is easier for frost and leverage to lift. Keep the sides straight, or slightly wider at the bottom if the soil allows.
Step 3: Calculate the concrete per post
With the hole sized, the concrete order is one cylinder per post: radius squared times pi times depth, minus the volume of the post inside it. Work the standard case once by hand. A 12 inch diameter hole has a 6 inch, or 0.5 foot, radius. At 2 feet deep the hole holds 0.5 times 0.5 times 3.14 times 2, about 1.57 cubic feet. The 4x4 post, at 3.5 inches or about 0.29 feet a side, displaces roughly 0.085 square feet times the 2 foot depth, about 0.17 cubic feet. Net concrete per post: about 1.4 cubic feet.
Bags translate that per the yields our bags of concrete manual works in detail: at roughly 0.6 cubic feet per 80 pound bag, one post wants about 2.3 bags, call it two and a half; at 0.45 for a 60 pound bag, about 3.1. Depth moves the figure fast, and diameter faster still because it is squared: the same hole at 2.5 feet is about 1.75 cubic feet, near three 80 pound bags, and at 3 feet about 2.1 cubic feet, three and a half bags.
Concrete per post, by hole depth
Cubic feet of concrete around a 4x4 post in a 12 inch diameter hole, illustrative figures before margin.
Bar widths track the cubic feet against the 3 foot hole, and the bag figures are 80 pound bags at a roughly 0.6 cubic foot yield. Each extra half foot of depth is roughly half a bag per post, which across a whole fence line is a second trip to the store or a margin planned in advance.
Multiply the per-post figure by the post count, then add margin: an extra bag for every four or five posts is the practical allowance, because hand-dug holes belly out where the digger wandered and never match the textbook cylinder. Unmixed bags return to the store, which makes generous the cheap direction. Run your own diameter and depth through the estimator, and remember the deeper cylinder math lives in our concrete manual if your fence shares a weekend with footings or a pad.
Watch out for estimating by eye instead of by cylinder. People picture the post and buy a bag per hole, but the concrete is the wide ring around the post, and the ring is most of the volume.
Step 4: Dig the holes and add a gravel base
Digging is the labor budget of the whole fence, so match the tool to the line. A clamshell post hole digger and a bar handle a few holes in reasonable soil; a long line, or clay, earns a rented power auger and a helper. Dig at each mark to the Step 2 spec, keeping the sides straight rather than tapered, and check depth with the tape as you go rather than after, because over-deep holes waste concrete and under-deep holes get discovered at the worst time, with the post in hand.
Put a few inches of gravel in the bottom of each hole and tamp it flat. The gravel does two jobs. Structurally it gives the post a firm, adjustable seat: a stubborn half inch of height difference is fixed by adding or scraping gravel, not by re-digging. For wood posts it is a drainage detail that pays for decades, because water that finds its way down the post drains through the gravel instead of standing in a concrete cup around the end grain, and standing water at the end grain is where posts rot first. Dig the extra few inches for it, as Step 2 planned, so the gravel does not steal burial depth.
Stage the line as you dig. Pile spoil on one consistent side, downhill or away from the string, so it never fouls the layout, and cover open holes if they will wait overnight, both for safety and because a rainstorm turns an open clay hole into a bathtub. For the running example, ten 12 inch holes at 2.75 feet is a real digging day for two people with a clamshell in decent soil, and a much shorter one with an auger.
Watch out for loosened soil at the bottom of the hole. An auger or an enthusiastic bar leaves a few inches of fluffed soil that compresses later under the post’s load, letting the post settle after the concrete sets. Tamp the bottom firm before the gravel goes in.
Step 5: Set, plumb, and brace the post
This is the step that decides whether the fence is straight, and it happens entirely before any concrete is poured. Stand the post on its tamped gravel seat and align it twice: to the string line along the fence’s run, and to plumb. Check plumb on two adjacent faces with a level or a strap-on post level, because a post can read perfectly vertical on one face while leaning like a mast on the other; two faces at ninety degrees pin it in both planes. Set the height to a second string or to the panel plan, adjusting on the gravel.
Then brace it so it cannot move, and brace it properly: two diagonal braces of scrap lumber, on two adjacent faces, each screwed to the post near its top and staked or screwed to the ground a few feet out. Screws beat nails here because they release without hammer blows that knock the post out of true. The brace is not ceremony. Concrete takes minutes to hours to hold the post on its own, and in that window a bumped, wind-pushed, or hose-nudged post drifts out of plumb and cures there. The concrete faithfully preserves whatever angle the post holds while it sets, which is the whole reason bracing exists.
On a long line, efficiency is a rhythm: set and brace several posts to the string, sight down the line to catch any wanderer, then pour them in sequence. Sighting down a braced line before pouring is the cheapest quality check in fence building, because the eye catches a half degree lean at forty feet that the level missed up close.
Watch out for bracing to nothing. Braces staked into the fresh spoil pile hold nothing; drive stakes into undisturbed ground. And leave the braces clear of the hole’s mouth, or Step 6 pours around lumber you need back.
Step 6: Pour the concrete around the post
With the post plumbed and braced, fill the annulus around it with concrete, by whichever of the two workflows fits the product you chose in the planning. With a fast-setting product labeled for post setting, the common method is the dry pour: empty the dry mix straight from the bag into the hole around the post, to the fill height, then add the label’s stated amount of water on top and let it soak down through the mix. No tub, no hoe, no washing up, which is exactly why fence crews run their lines this way. The mix commonly sets in 20 to 40 minutes, so work one hole at a time and keep the water consistent with the label rather than flooding it.
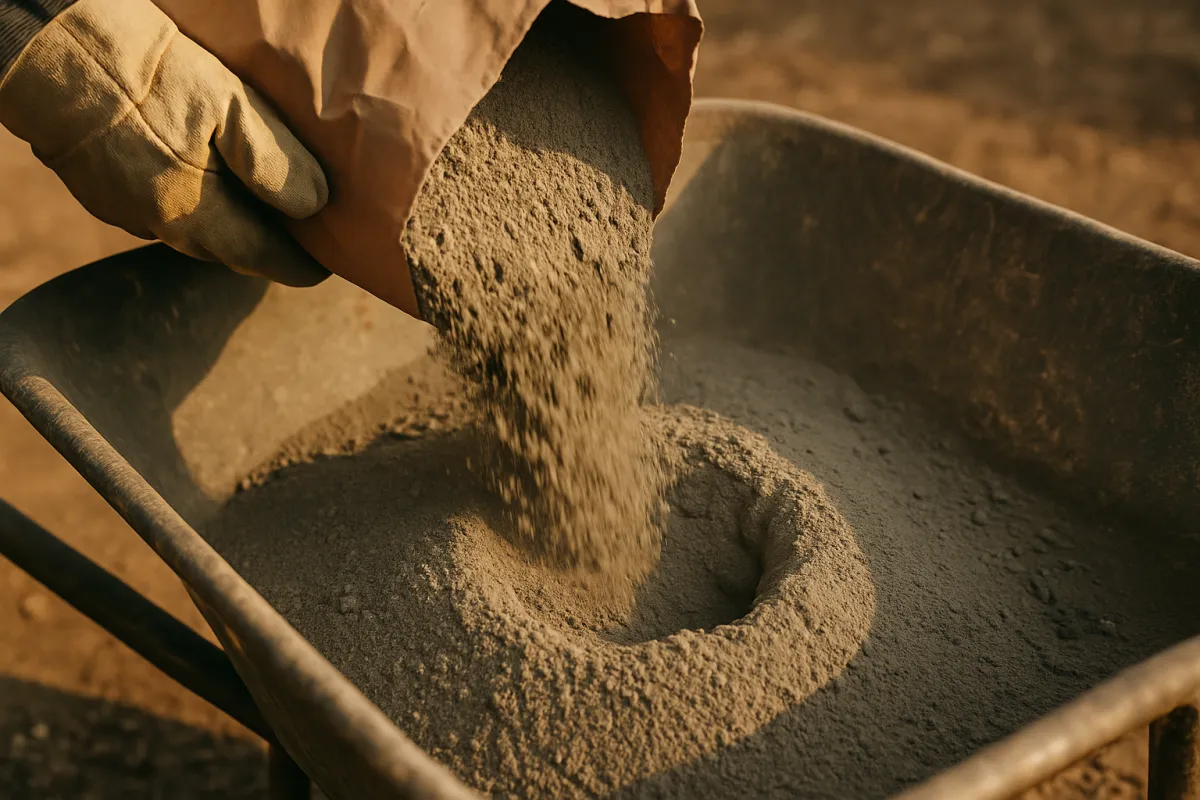
With standard mix, blend it wet first, in a wheelbarrow or tub to the texture our mixing concrete manual describes, thick oatmeal that holds its shape on the hoe, at roughly 6 pints of water per 80 pound bag as an illustrative starting point. Shovel it into the hole in layers, rodding each layer with a bar or a stick to settle it against the post and the soil with no voids. Wet placement buys working time, which is why it suits heavy gate posts you want to fine-tune, and it is the right call for any general-purpose mix, which should never be dry-poured.
Either way, stop the concrete just below or just above grade per your plan for Step 7, recheck plumb on both faces the moment the pour is done, and correct it now, in the minutes the mix still allows, not after coffee.
Watch out for the void problem in wet pours: concrete dumped in one mass bridges against the post and the hole wall and leaves air pockets low down where the anchor needs mass most. Layer and rod it. And watch the clock with fast-set products, because a post discovered leaning at minute thirty is a post that stays leaning.

Step 7: Crown the top and cure before loading
The last few minutes of each pour decide how the post ages, because the top surface of the concrete is the only part that ever sees weather. Shape it into a small crown or slope, packed a little proud of grade and troweled to fall away from the post on all sides, so rain sheds off into the soil instead of pooling against the wood. A flat or dished top is a bird bath around the post’s most vulnerable point, and with wood posts that puddle is a rot subscription. Some builders instead stop the concrete a few inches below grade and finish with soil for looks; either way, the rule is the same, no standing water against the post.
Then leave the anchor alone while it cures. Fast-setting products commonly hold the post unaided in 20 to 40 minutes and accept light loads such as rails within a few hours, per their labels; standard wet-mixed concrete wants a day or two before rails and panels load the posts. Full strength arrives much later in both cases, near the commonly cited 28 day mark, which is worth remembering for the posts that work hardest: give a heavy gate its hardware a few days late rather than a few hours early. Keep the braces on until the concrete genuinely holds, and pull them by unscrewing, not by hammering sideways.
Cure care is modest for post work compared with a slab, but the same chemistry applies: concrete gains strength by staying damp, not by drying out. In hot, dry wind, a light mist on the exposed tops over the first day helps them cure hard instead of dusty, and in freezing weather post setting is better postponed, because near-freezing temperatures stall the strength gain the fence is waiting on.
Watch out for the impatient rail. The classic fence line failure is hanging panels the same afternoon on wet-mixed posts, whose leverage works every post in its socket before the concrete has strength to argue. The fence looks fine that evening and reads like a serpent by spring.
A worked example: a ten post fence line
Run the whole method through one honest project: a 6 foot cedar privacy fence, a 60 foot run at 6 foot spacing anchored to a garage at one end, ten 4x4 posts including one gate post, in a climate with a modest frost line. Step 1 sets the string, marks ten centers, and flags the gate. Step 2 sizes the holes: 12 inch diameter, posts buried 2.5 feet, dug to about 2.75 feet for the gravel seat, with the gate post upgraded, a wider hole and the full depth, because it will carry a swinging load.
Step 3 does the arithmetic once and multiplies. Each 12 inch hole at 2.5 feet holds about 1.96 cubic feet; the post displaces roughly 0.21, leaving about 1.75 cubic feet per post. Ten posts is 17.5 cubic feet. In 80 pound bags at 0.6 cubic feet, that is 29.2, round to 30, plus margin for bellied holes, call it 33 bags, the same worked order our bags of concrete manual prices out at roughly 2,600 pounds of dry mix. In fast-setting 50 pound bags the count runs higher per post, so the label’s yield, not the standard bag’s, sets that number. Steps 4 and 5 fill a weekend’s first day: dig ten holes, tamp, gravel each seat, then set and brace all ten to the string and sight the line.
Step 6 pours down the line on day two, dry-pouring the fast-set product hole by hole, rechecking plumb as each sets, with the gate post wet-mixed for working time. Step 7 crowns every top away from the wood, and the rails wait until the label says the concrete is ready, with the gate hardware waiting a few days more.
Where the work goes on a ten post line
Illustrative split of the hands-on effort across the build; the cure then runs on its own clock afterward.
Illustrative shares of the active work, summing to 100 percent. The concrete everyone worries about is a quarter of the effort; the digging is nearly half, which is why the auger rental is usually the best money on the whole job.
The example’s lesson is the manual’s lesson: the order was known before the store trip, every post was braced before any bag was opened, and nothing loaded the concrete early. That is the entire craft.
Fast-setting versus mixed concrete
The two products fill identical holes with identical volume, so choose by workflow, clock, and label rather than by an imagined strength gap, which for a residential fence is not the deciding factor. Fast-setting post mixes are engineered for the fence line: dry-pourable around a braced post with water added on top, setting in roughly 20 to 40 minutes, sold in their own sizes, commonly 50 pounds. Their economics are labor economics, no tub, no mixing time, no cleanup, one hole finished before the next is started, which across twenty posts is hours saved. Their cost is working time: half an hour forgives no dawdling and no late plumb corrections.
Standard mix is the opposite trade. Blended wet, it offers a leisurely working window to nudge, shim, and re-level, which is exactly what a heavy gate post or an awkward corner deserves, and it is often the cheaper path per cubic foot when you are buying pallets anyway for a slab or footing the same weekend, a crossover our concrete manual covers from the truck side. Its costs are the tub, the water logistics, the cleanup, and the day or two of cure before rails, and it must never be dry-poured, because a general-purpose mix relies on being fully blended to reach its strength.
Most real fences sensibly mix the two: fast-set down the line posts where speed multiplies, wet-mixed standard at gates, ends, and corners where care multiplies. Whichever bag is in your hand, its label outranks any rule of thumb in this manual, on water quantity, on dry-pour permission, and on load wait times.
Gate posts, corner posts, and end posts
Not all posts on a line carry the same job, and the ones that carry more earn more hole. A line post holds fence panels that load it mostly in shear, spread across many posts. A gate post carries a swinging lever that works its anchor back and forth every day, an end post terminates the tension of the whole run, and a corner takes two runs’ loads at an angle. The standard upgrades follow the physics: go up a post size where loads are real, a 6x6 instead of a 4x4 for a heavy gate, widen the hole to keep the collar at roughly three times the bigger post’s width, and take the depth to the deep end of the spec or beyond it.
The concrete math scales accordingly, and it is worth running rather than guessing because the squared diameter term compounds with the size change. An illustrative gate post spec, a 6x6 in an 18 inch hole 3 feet deep: the hole holds about 5.3 cubic feet, the post displaces roughly 0.63, and the pour is about 4.7 cubic feet, call it eight 80 pound bags, three times a line post’s ration. That is not waste; it is the price of a gate that still swings true in year ten. Wet-mix these posts for working time, plumb them fussily, brace them in both planes, and give their concrete extra cure before the hinges load it.
One more upgrade belongs at gates and corners: patience with alignment. A line post a few degrees off costs a slightly wavy panel; a gate post a few degrees off costs a gate that binds every season. The heavy posts are where the level, the brace, and the longer cure earn their keep.
Frost line, soil, and drainage
Three site conditions bend the standard rules, and all three are cheaper to respect than to correct. Frost is the big one in cold climates: soil that freezes grips whatever sits in it, and a concrete anchor whose base sits above the frost line gets ratcheted upward a little each winter, posts rising and tilting in slow motion. The fix is entirely in the dig, take the bottom of the concrete below the local frost depth, a figure that is local knowledge, so ask rather than assume. It routinely makes the frost rule, not the one-third rule, the binding constraint on depth.
Soil sets how much anchor the anchor gets to push against. Firm undisturbed loam takes the standard spec; loose, sandy, or recently filled ground holds a collar loosely, so it earns deeper holes, wider collars, and honest tamping of the surrounding soil, and in genuinely soft ground the fence deserves local advice rather than thumb rules. Clay holds firmly but drains badly, which loads the third condition: water. A post hole in clay is a bucket, and a wood post standing in a full bucket rots from the bottom up. The countermeasures thread through the steps already walked, the gravel seat under the post, the crowned top that sheds water at grade, and, in wet ground, favoring the drainage-friendly details everywhere you can.
None of this changes the arithmetic, a deeper or wider hole is just a bigger cylinder in Step 3’s formula, but it changes the spec the arithmetic runs on. Read the site first, then size the holes, in that order.
Common mistakes when setting fence posts in concrete
A short list of errors accounts for most leaning, rotting, and heaving fences, and every one is preventable at the step where it happens.
- Shallow holes. Burying a foot of post under a 6 foot fence because digging is hard. The wind finds it the first storm season. A third of the height, roughly 2 feet minimum, below frost where frost exists.
- Estimating concrete by eye. One bag per post sounds right and is half the honest cylinder math. Two to three bags per line post, more for gates, plus margin.
- Pouring against an unbraced post. The concrete cures whatever angle it is handed. Plumb on two faces, brace on two faces, sight the line, then pour.
- Dry-pouring general-purpose mix. Only products labeled for post setting are designed to cure from a surface soak. Everything else gets blended wet first.
- Flat or dished concrete tops. A puddle collar around wood end grain is how posts rot at the ground line. Crown every top away from the post.
- Loading the posts early. Rails the same afternoon on wet-mixed posts lever every anchor loose by degrees. Follow the label’s wait, and give gates longest.
- Skipping the utility locate. Fence lines and buried services share real estate. One phone call, before any digging.
The pattern across all seven is the same: each mistake saves minutes at a step and spends the fence’s straightness later, and each is caught by the checklist below before it costs anything.
Troubleshooting: rock, roots, water, and leaning posts
What if the digger hits rock or roots? Small obstructions yield to a digging bar; a root worth keeping can sometimes be respected by shifting the post along the line a few inches while the spacing absorbs it. A boulder that refuses at depth forces a choice: relocate the hole slightly, or accept a shallower socket drilled into or beside the obstruction with local advice, because a post seated on solid rock with a shortened collar is a different anchoring problem than soil rules cover. What never works is quietly stopping at half depth and hoping; the wind does not honor effort.
What if the hole fills with water? In wet weather, bail or pump the hole just before pouring; a damp hole is fine, standing water is not, because a wet pour dropped through water washes and weakens. In ground that refills as fast as it bails, the water table is participating, and the job wants drainage thinking, more gravel, possibly a different season, possibly a pro. Fast-setting mixes handle damp conditions gracefully, but no bagged product is designed to be placed underwater.
What if a post sets crooked? Caught within the first hours of a fast-set or the first day of a wet mix, a firm push and re-brace can sometimes correct a small lean while the concrete is still green, at some cost to the anchor’s grip. Once cured, the honest fixes are two: dig the whole plug out and reset, which is miserable but definitive, or, for a minor lean, trim and shim the rails and panels to disguise it. The economics overwhelmingly favor the thirty seconds of plumb-checking at pour time; that is the moment this problem is actually solved.
What if an old concrete footing occupies the spot? Digging out a predecessor’s plug is real work, a bar, a jackhammer rental, or repositioning the line slightly so the new hole clears the old. Never pour a new post against a broken old plug and call the pair an anchor.
Your fence post checklist
The whole method, compressed to the sheet worth taking to the fence line.
- Called for the utility locate, confirmed the property line and local rules, and marked the run with a string.
- Spaced the posts 6 to 8 feet on center, gates marked first, centers measured consistently.
- Sized every hole: diameter about three times the post width, depth about a third of the above-ground height, roughly 2 feet minimum, below the frost line where it exists, plus a few inches for gravel.
- Ran the cylinder math per post, multiplied by the count, added a margin bag per four or five posts, and bought it all in one trip.
- Dug straight-sided holes, tamped the bottoms, and seated a few inches of gravel in each.
- Set each post to the string, plumbed it on two adjacent faces, and braced it on two faces to undisturbed ground.
- Sighted down the braced line before any concrete moved.
- Dry-poured only products labeled for post setting; wet-mixed everything else in rodded layers.
- Rechecked plumb the minute each pour finished, inside the product’s working time.
- Crowned every concrete top away from the post so water sheds.
- Left braces on and rails off until the label’s cure wait passed, longest for gates.
Run the list and the fence you build is the boring kind: straight in the spring, straight in year ten, and never the subject of a story that begins with the wind.
The bottom line
Setting a fence post in concrete is seven steps that are mostly discipline: plan the line and spacing, size the holes by the three-times-width and third-of-height rules with frost as the override, do the cylinder math so the store trip is one trip, dig and gravel the seats, plumb and brace before pouring, pour by the product’s rules, dry only if the label allows it, then crown the top and let the cure finish before anything loads it. The concrete is the least demanding participant; it does exactly what it is told, including preserving every mistake made while it was wet. The fence’s real quality is decided by the string line, the level, the braces, and the patience at the end. Get the anchor right, and everything visible above it, rails, panels, gate, is carpentry on a solid foundation. Work your own hole size and post count through the estimator, lean on our bags of concrete manual for the buying math and our slab pouring tutorial when the same weekend includes flatwork, and give every post the thirty extra seconds of plumb it asks for. That half minute, per post, is the whole difference between a fence and a lean.
Take this manual as jobsite arithmetic and method, not as an engineered fence design. Hole sizes, burial depths, spacing, bag yields, set times, and cure waits are illustrative common figures, and your post material, fence height, wind exposure, soil, frost depth, and the specific product’s label all move the real numbers, with the label and local code outranking any rule of thumb printed here. Confirm frost depth, property lines, and any permit or utility-locate requirements for your area before digging, size gate and structural posts with the people supplying the hardware, and settle final quantities and set times with your supplier’s product documentation before the first bag is opened.
Frequently asked questions
How do you set a fence post in concrete?
Plan the fence line and spacing, size each hole at roughly three times the post width and about a third of the post's above-ground height deep, then dig, add a few inches of gravel at the bottom, stand the post, plumb it on two faces, and brace it. Pour the concrete around the post, either a fast-setting product added dry with water on top or a standard mix blended wet, then slope the top of the concrete away from the post so water sheds, and let it cure before hanging rails. The method is the same for one post or forty; only the digging and the bag count scale.
How deep should a fence post be set in concrete?
A common rule of thumb buries about a third of the post's above-ground height, with roughly 2 feet as a practical minimum for a standard 6 foot privacy fence, and deeper for taller fences, gates, and loose soils. In climates with freezing winters the hole should also reach below the local frost line, because concrete anchored above it can be lifted by frost heave. Those two rules, a third of the height and below frost, are checked together and the deeper answer wins. Treat the figures as illustrative starting points and confirm the depth against local practice and code.
How much concrete do I need per fence post?
Work the hole as a cylinder, radius squared times pi times depth, then subtract the post. A common 12 inch diameter hole 2 feet deep holds about 1.57 cubic feet, a 4x4 post displaces roughly 0.17, leaving about 1.4 cubic feet of concrete per post, which is close to two and a half 80 pound bags or a little over three 60 pound bags. At 2.5 feet deep the figure grows to about 1.75 cubic feet, near three 80 pound bags. Multiply by the post count and add a margin bag for every few posts, because hand-dug holes always run larger than the textbook cylinder.
Should I use fast-setting or regular concrete for fence posts?
Both fill the same hole with the same volume, so the choice is about workflow rather than strength for most residential fences. Fast-setting products are made for post work: many are poured dry around the braced post with water added on top, they commonly set in 20 to 40 minutes, and they let you move down a long fence line without a mixing tub. Standard mix blended wet is the pick when you are already mixing for another pour, want more working time to fine-tune a heavy gate post, or a spec calls for it. Read the bag either way, because only products labeled for post setting should be dry-poured.
Can you pour dry concrete mix into a post hole?
Only with products designed for it. Fast-setting mixes labeled for post setting are engineered to be poured dry around the post with water added on top; the mix draws the water down and cures in place, commonly in under an hour. Standard concrete mix is not designed for dry placement and should be mixed with water before it goes in the hole, because relying on soil moisture to cure a general-purpose mix produces unpredictable strength. So the answer sits on the label: dry-pour the products that say post setting, wet-mix everything else.
How long should fence post concrete cure before adding rails?
Fast-setting products commonly set hard enough in 20 to 40 minutes to hold the post upright unaided, with many labels allowing light loads such as rails within a few hours; standard wet-mixed concrete generally wants a day or two before the posts take rail and panel loads. Full strength arrives much later in both cases, near the commonly cited 28 day mark, so heavy gates deserve extra patience. The practical rule is to follow the specific product's stated wait times, and when in doubt give a braced post overnight, because a post nudged out of plumb during early cure stays crooked.
Is it better to set fence posts in concrete or gravel?
Concrete gives the stiffest, most permanent anchor, which is why it is the default for privacy fences that catch wind and for gate posts that carry swinging loads. Packed gravel is a legitimate alternative in firm, well-drained ground: it drains water away from a wood post and makes future replacement far easier, at the cost of less rigidity. Many fences mix the methods, concrete at gates, corners, and ends where loads concentrate, gravel or soil at light line posts. The deciding inputs are wind load, soil, and how permanent the fence is meant to be, and local practice is a good tiebreaker.
Do you need gravel at the bottom of a fence post hole?
A few inches of gravel under the post is cheap insurance for wood posts, because it lets water that gets down the post drain away instead of pooling in a concrete cup around the end grain, which is where rot starts. It also makes fine height adjustment easier when you are setting each post to a string line. Dig the hole a few inches deeper than the spec, add the gravel, tamp it, and set the post on it before pouring. Some builders skip it in fast-draining sandy soils, but on clay it is one of the better habits in fence work.