What's on this page
- What sealers for concrete actually do
- Topical versus penetrating: the split that matters most
- Penetrating sealers: silane and siloxane
- Acrylic sealers: the affordable film
- Epoxy sealers: the tough indoor coating
- Polyurethane sealers: the durable topcoat
- Concrete sealer types compared side by side
- Best sealer for a concrete driveway
- Best sealer for a patio or pool deck
- Best sealer for a garage floor
- Best sealer for decorative and stamped concrete
- Best sealer for countertops and interior floors
- Gloss versus matte: choosing the finish
- How sealer coverage works and how much you need
- Why coverage varies: solids in the can
- How long each sealer type lasts
- Application basics that apply to every type
- What concrete sealers cost
- Common mistakes when choosing a concrete sealer
- A worked example: choosing a sealer for a driveway
- The bottom line
Short answer: Concrete sealers fall into two camps and four families. Penetrating silane or siloxane sealers soak in with no film and suit exposed outdoor slabs and driveways in salt and freeze-thaw country. Topical sealers sit on the surface: acrylic for a low-cost sheen on patios and stamped concrete, epoxy for tough indoor garage floors, and polyurethane as a durable UV-stable topcoat. Never use epoxy on an open, sun-exposed slab.
Concrete sealer types come in four families that behave nothing alike, and choosing the wrong one is the difference between a slab that shrugs off water, salt, and sun for years and one that peels, yellows, or turns slick within a season. The families split first into two camps, the penetrating sealers that soak in and protect invisibly from within, and the topical sealers that sit on the surface as a film you can see and feel, and then the topical camp divides again into acrylics, epoxies, and polyurethanes. Each family has a surface it was built for, a finish it leaves, and a schedule on which it needs redoing, and the whole art of choosing is matching those three things to the concrete in front of you.
This explainer sorts the whole category into a decision you can actually make: what each sealer family is and how it works, the topical versus penetrating split that matters more than any brand, which sealer suits a driveway, a patio, a garage floor, decorative concrete, or a countertop, how gloss and matte finishes differ, how much product a surface needs and why coverage varies, how long each type lasts, and what they cost in illustrative terms. For the step-by-step of actually laying a sealer down, our how to seal a concrete driveway manual carries the process, and our how to epoxy a garage floor manual works a coating start to finish. Run your surface through the companion below or the estimator to size the gallons as you read.
Key takeaways
- The first fork is topical versus penetrating: penetrating sealers soak in and protect invisibly with no film, while topical sealers sit on the surface as a coating you can see, add gloss, and eventually have to strip and recoat.
- Four common families cover most jobs: penetrating silane or siloxane for exposed outdoor slabs, acrylic for a low-cost decorative sheen, epoxy for tough indoor floors, and polyurethane as a durable UV-stable topcoat.
- Match the sealer to the surface: penetrating for driveways in salt and freeze-thaw country, acrylic for patios and stamped concrete, epoxy and polyurethane inside a garage or shop, never epoxy on an open, sun-exposed slab.
- Finish is mostly a look: gloss deepens color and suits decorative work, matte keeps concrete natural and hides wear, and a penetrating sealer is matte by default because it leaves no film at all.
- Size the order by area, coverage per gallon, and coats, plus about 10 percent waste, and judge cost over a decade: penetrating costs more per gallon but reseals far less often than an acrylic film.
What sealers for concrete actually do
Before the families, it helps to be clear on what a sealer is for, because the job explains why the types diverge. Concrete looks solid, but its surface is porous, laced with tiny capillaries that pull in water like a sponge, and everything that damages a slab rides in on that water: dissolved road salt, freeze-thaw expansion, oil and stains, and the slow surface scaling and spalling that follow. A sealer’s whole purpose is to stop or slow that intake, either by blocking the pores from the inside or by capping them with a film on top.
That single purpose splits into two strategies, which is exactly why there are two camps of sealer. A penetrating sealer changes the concrete itself, reacting inside the pores so water beads and rolls off a surface that still looks and feels like bare concrete. A topical sealer changes what covers the concrete, laying a continuous film that water cannot pass and that can also add gloss, deepen color, and resist stains and abrasion. Both keep water out; they just do it in opposite places, one below the surface and one above it.
Everything downstream, the finish, the lifespan, the maintenance, and the price, flows from that choice of strategy. A film you can see is a film that can wear, scratch, peel, and yellow, so it protects visibly but needs redoing. A reaction inside the pores has nothing on the surface to wear off, so it protects invisibly and lasts, but it cannot make concrete glossy or hide a stain. Hold that trade in mind and the four families stop being a shelf of confusing cans and become four answers to one question: how do you want to keep the water out.
Topical versus penetrating: the split that matters most
If you learn one distinction from this article, make it this one, because it decides more about the result than any brand or price. Topical sealers sit on top of the concrete as a visible film. Penetrating sealers soak in and leave no film at all. Every other feature, the sheen, the color change, the slip, the reseal interval, and the failure mode, follows from which side of this line a product sits on.
A topical sealer, whether acrylic, epoxy, or polyurethane, forms a coating you can see and feel. That film is what lets it add a wet-look gloss, deepen the concrete color, and put a hard, stain and abrasion resistant layer between the world and the slab. The same film is also its weakness: it wears under traffic, can trap moisture and cloud if applied over damp concrete, can peel if the bond fails, and eventually has to be stripped and recoated rather than simply topped up. Topical sealers change the look and add surface toughness, at the cost of visible wear and more upkeep.
A penetrating sealer works below the surface and shows nothing for it. Because there is no film, it cannot peel, cannot yellow, and is not worn off by tires or foot traffic, which is why it commonly lasts several times longer than an acrylic. The trade is that it leaves the concrete looking natural and matte, so it will not give you a glossy showroom slab or a deepened color, and it does little for existing stains. Penetrating protects invisibly and lasts; topical protects visibly and needs tending. Almost every real choice is a weighing of those two.
Penetrating sealers: silane and siloxane
Penetrating sealers are the durability specialists, and the two you will meet most are silanes and siloxanes, often blended together as a silane-siloxane product. They are absorbed into the concrete’s pores, where they react to line those capillaries with a water-repellent layer, so the slab still breathes and looks bare but water beads on it rather than soaking in. Because the protection lives inside the concrete, there is nothing on top to wear, peel, or discolor, which is the whole reason this family is prized for exposed, hard-used surfaces.
The strengths line up for outdoor concrete in a demanding climate. A penetrating sealer resists water, dissolved de-icing salt, and freeze-thaw damage, the trio that scales and spalls driveways and walkways, and it does so without changing the look or making the surface slick. It holds up under UV, so it does not yellow in the sun the way some films do, and it commonly lasts on the order of 5 to 10 years between reseals, far longer than a surface film. For a driveway, a sidewalk, or a garage apron in salt-and-snow country, it is the default recommendation for good reason.
The limits are the flip side of its invisibility. A penetrating sealer will not gloss, deepen, or transform the color of concrete, so if you want a wet-look or decorative finish it is the wrong tool. It does little to resist surface stains, because the pores are protected but the surface is still exposed, and it cannot cover or hide existing blemishes. It also tends to cost more per gallon than a basic acrylic, though its long life often makes it cheaper over a decade. When the goal is maximum protection with a natural look and minimal upkeep, penetrating is the family to reach for.
Acrylic sealers: the affordable film
Acrylic sealers are the accessible, decorative end of the topical camp, and for many homeowners they are the first sealer they ever buy. An acrylic forms a thin film on the surface that dries fast, goes on easily by roller or sprayer, and leaves a light sheen that deepens the concrete color and gives a subtle wet look. They come in solvent-based versions, which tend to build a glossier, richer finish, and water-based versions, which are lower in odor and slightly milder to work with, and both are among the cheapest sealers per gallon.
That combination of low cost, easy application, and a color-enhancing sheen is exactly why acrylics dominate patios, walkways, pool decks, and stamped or decorative concrete, where the point is as much the look as the protection. An acrylic film blocks water and slows staining while making the concrete look finished rather than raw, and because it is thin it is also the easiest sealer to reapply: you generally clean, scuff, and roll on a fresh coat rather than stripping anything.
The trade-off is durability. Because the protection is a thin surface film, it wears under tires, foot traffic, and sun, and it commonly needs resealing roughly every 1 to 3 years, the shortest interval of the common families. A thick or badly applied acrylic can also cloud, turn white, or peel, especially if it goes over damp concrete or is laid on too heavy, which is why thin coats matter with this family in particular. And on an open driveway a glossy acrylic can be slick when wet unless a fine grit additive is mixed in for traction. Acrylics buy looks and low cost; you pay it back in more frequent resealing.
Epoxy sealers: the tough indoor coating
Epoxy sits at the heavy-duty end of the topical camp, and it is less a thin sealer than a thick, hard coating. It is a two-part system, a resin and a hardener mixed just before use, that cures into a dense, glossy, extremely durable film bonded to the concrete. That film shrugs off abrasion, impact, and a wide range of chemicals, oils, and solvents, which is why epoxy is the classic garage, workshop, showroom, and commercial floor coating, often finished with decorative flakes broadcast into the wet resin.
The strengths are real and specific: an epoxy floor is hard, seamless, easy to clean, and resistant to the hot tires, dropped tools, and oil drips that would ruin a lesser finish. Maintained indoors, an epoxy coating can last many years before it needs attention. Our how to epoxy a garage floor manual works a full coating job start to finish, from etching the slab to broadcasting the flakes, because epoxy rewards careful surface prep more than almost any other sealer.
The decisive limitation is sunlight. Epoxy yellows, chalks, and breaks down under direct UV, so it is an indoor product, and putting it on an open, sun-exposed driveway or patio is a common and costly mistake. It is also less forgiving to apply than an acrylic: the mixed resin has a short pot life, demands thorough prep and etching or grinding, and can trap moisture and blister if laid over a damp or unprepared slab. Because it is the hardest, glossiest film, it can also be slick when wet, so a grit additive is common on a garage floor. Epoxy is the answer for a tough interior floor, and the wrong answer almost everywhere the sun reaches.
Polyurethane sealers: the durable topcoat
Polyurethane rounds out the topical family as the high-performance topcoat, and it is often best understood as epoxy’s partner rather than its competitor. A polyurethane forms a tough, abrasion and chemical resistant film like epoxy, but it is more flexible and, crucially, UV-stable, so it does not yellow in sunlight the way epoxy does. It comes in high-gloss and matte versions, in solvent-based and water-based chemistries, and it is thinner than epoxy, so it goes on in thin coats and covers more area per gallon.
Where it shines is on top of an epoxy base. A common professional buildup is an epoxy coat for adhesion and build, then a polyurethane topcoat for the wearing surface, because the polyurethane resists abrasion and scratching better than epoxy and takes the UV and chemical exposure the epoxy underneath could not. On decorative and stamped concrete, a polyurethane topcoat gives a hard, clear, long-lasting finish that holds its gloss, and its UV stability means it can be used in spots an epoxy could not. It is more scratch and chemical resistant than an acrylic and more flexible than an epoxy, sitting between them in both toughness and price.
The trade-offs are cost and fussiness. Polyurethane generally costs more than an acrylic, and the solvent-based versions in particular carry strong fumes and a short working time that demand serious ventilation, a respirator, and a careful hand, since they are less tolerant of moisture and mistakes during application. As a topcoat it also refreshes on its own schedule, commonly every 3 to 5 years on a worked surface, before the coating underneath is exposed. When a job needs a hard, clear, UV-stable wearing layer, especially over epoxy or on decorative concrete, polyurethane is the family that provides it.
Concrete sealer types compared side by side
With the four families described, a single table makes the trade-offs stick. Read down the “how it works” column first, because whether a sealer penetrates or forms a film is the fork that everything else hangs on, and then across to the surface it suits, the finish it leaves, its illustrative lifespan, and a rough cost. Every figure here is illustrative and typical, meant for comparison rather than as a spec, and shifts with the specific product, the concrete, the coats, and your climate.
| Sealer type | How it works | Best use | Typical finish | Illustrative lifespan | Illustrative cost |
|---|---|---|---|---|---|
| Penetrating (silane/siloxane) | Soaks in, protects from within, no film | Driveways, walkways, exposed outdoor slabs | Natural, matte, no sheen | ~5 to 10 years | ~$0.25 to $0.75 / sq ft |
| Acrylic | Thin surface film | Patios, pool decks, decorative and stamped concrete | Light sheen to wet-look gloss | ~1 to 3 years | ~$0.15 to $0.40 / sq ft |
| Epoxy | Thick two-part film, very hard | Indoor garage, shop, and showroom floors | High gloss, seamless | Many years indoors, poor outdoors | ~$0.75 to $2.50 / sq ft |
| Polyurethane | Tough, flexible, UV-stable topcoat | Topcoat over epoxy, decorative concrete | Gloss or matte, clear | ~3 to 5 years as a topcoat | ~$0.40 to $1.00 / sq ft |
The pattern in the table is the whole decision in miniature. Penetrating stands alone as the film-free, longest-lasting, natural-look option for exposed outdoor concrete. The three film families trade more look and surface toughness for shorter life and more upkeep, and they sort by duty: acrylic for cheap decorative sheen, epoxy for maximum indoor hardness, polyurethane for a UV-stable wearing topcoat. Learn which surface each row was built for and you will rarely pick wrong.
Best sealer for a concrete driveway
A driveway is the surface that most defines the penetrating family’s home turf, because it faces every force a sealer defends against at once. It takes vehicle weight and tire wear, it sits in full sun, and in cold climates it soaks up de-icing salt and rides through freeze-thaw cycles all winter, the exact combination that scales and spalls an unprotected slab. For that job, a penetrating silane or siloxane is the common recommendation: it protects from within against water and salt, holds up under UV and tires because there is no film to wear, and lasts on the order of 5 to 10 years with minimal upkeep.
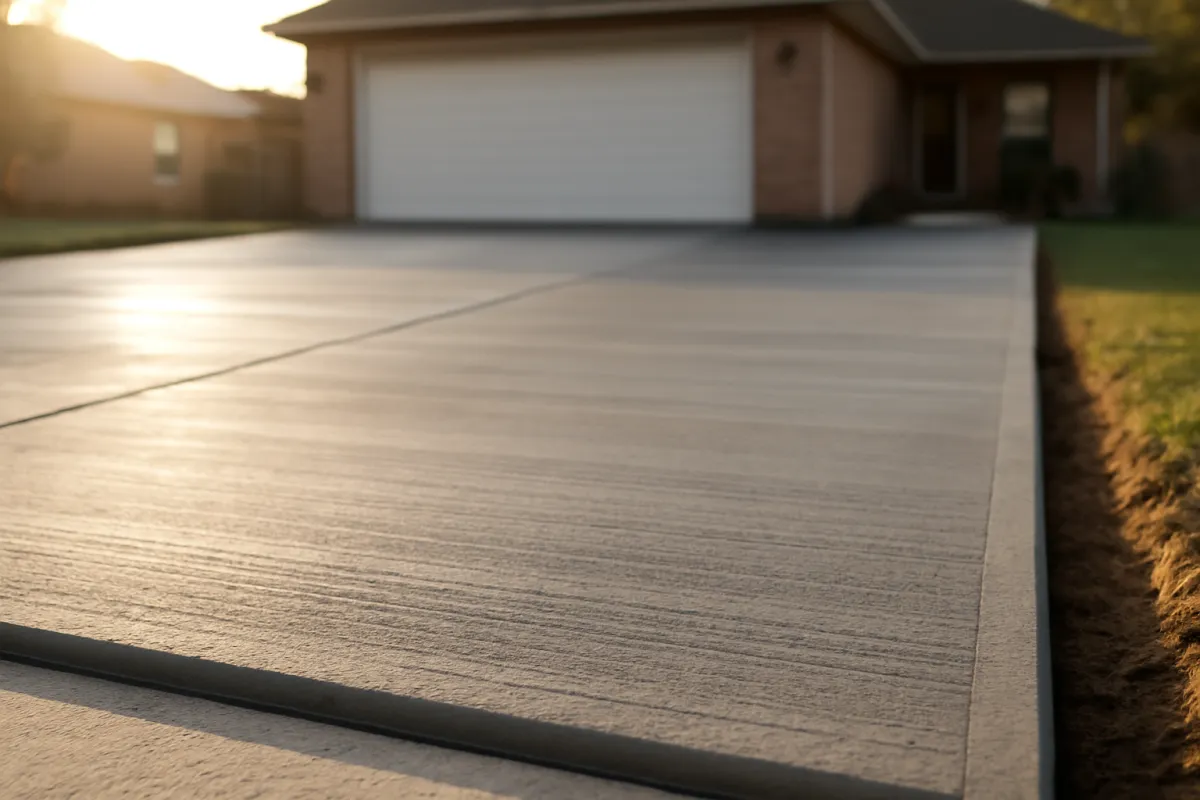
An acrylic is the alternative when you want the driveway to look finished, with a light sheen and deepened color, and are willing to reseal every 1 to 3 years to keep it. It is cheaper upfront and easy to reapply, but the film wears under tires and can be slick when wet unless a grit additive is added, so it is a looks-and-budget choice rather than a maximum-protection one. What you should not use on an open driveway is epoxy, because it yellows and chalks in the sun. For the full process of prepping and applying either, our how to seal a concrete driveway manual walks all six steps, and the estimator sizes the gallons once you have measured the slab.
Best sealer for a patio or pool deck
A patio changes the priorities, because it is a surface people look at and walk on barefoot rather than drive over, so appearance and traction move up the list. Here the acrylic family is often the natural fit: it gives the low-cost wet-look sheen that makes a patio, stamped border, or exposed-aggregate surface look rich and finished, deepens the color, and is easy to refresh every couple of years. For a decorative patio where the look is the point, an acrylic, or a decorative-concrete system topped with acrylic or polyurethane, is a common choice.
A pool deck adds one hard constraint that reshapes the decision: slip resistance. A glossy film on a wet, barefoot surface is a hazard, so if you use a film sealer around a pool, a fine grit or anti-slip additive mixed into the topcoat is close to mandatory, and many people prefer a matte or natural finish there for exactly that reason. This is a case where a penetrating sealer earns a second look even on a decorative surface, because it protects against pool chemicals and splashout without adding a slick film, keeping the deck’s traction intact.
The deciding questions for a patio or pool deck are how much you want the color and sheen enhanced versus how much you value traction and low maintenance. Want the decorative wet look and accept the upkeep, and an acrylic delivers it. Want to keep the surface natural, matte, and non-slip with the least fuss, and a penetrating sealer does that. Either way, measure the area first, because the companion below and the estimator turn those square feet into gallons for the type you land on.
Best sealer for a garage floor
A garage floor is the epoxy family’s flagship, because it is an indoor surface that takes exactly the abuse epoxy is built to resist: hot tires, dropped tools, dragged equipment, and oil, brake fluid, and solvent drips. An epoxy coating, mixed and rolled on over a properly etched or ground slab and often finished with decorative flakes, cures into a hard, seamless, chemical-resistant floor that cleans up with a mop and looks like a showroom. Being indoors, it is out of the sun that would otherwise yellow it, so its main weakness never comes into play.
The upgrade that professionals often add is a polyurethane topcoat over the epoxy base. The epoxy provides adhesion and film build, while the polyurethane on top adds abrasion resistance, scratch resistance, and a UV-stable clarity that keeps the floor looking new longer and takes the wear the epoxy underneath would rather not. On a busy garage or shop floor, that two-layer buildup outlasts either coating alone, which is why it is the common premium spec. Our how to epoxy a garage floor manual details the prep, mix, and flake broadcast that make the difference between a floor that lasts and one that peels.
The one caution specific to a garage is prep and moisture. Epoxy is unforgiving of a dirty, unetched, or damp slab: it will blister, peel, or fail to bond if the concrete is not clean, profiled, and dry, and a slab with a moisture problem may need a moisture-tolerant system or a different approach entirely. Repair any cracks and spalls before coating, as our how to repair concrete cracks manual covers, because a coating laid over an open crack simply seals the crack in place. Get the prep right and a garage floor is where epoxy and polyurethane genuinely shine.
Best sealer for decorative and stamped concrete
Decorative and stamped concrete is where the look is the entire reason the slab exists, so the sealer is chosen first for how it presents the color, pattern, and texture, and second for protection. The workhorse here is the acrylic, because its film deepens and enriches the color, brings out the stamp’s detail, and delivers the wet-look sheen that decorative work is prized for. A solvent-based acrylic tends to darken and pop the color the most, while a water-based acrylic gives a softer, lower-sheen enhancement, and both are easy to refresh as the finish wears.
For decorative surfaces that take heavier traffic or that you want to keep glossy for longer, a polyurethane topcoat over an acrylic or a decorative system adds a harder, more scratch and UV resistant wearing layer that holds its clarity. This buys a longer-lasting decorative finish at a higher cost and with fussier application, and it is a common step up for a stamped patio or entryway that sees real use. The trade is the usual one: more durability and gloss retention, more money and care to apply.
The catch on decorative concrete is the same slickness and maintenance story as any film. A high-gloss sealer on a stamped surface can be slippery when wet, so an anti-slip additive is common on walkways and steps, and because it is a film, it will show wear and need periodic resealing to keep the finish even. Reseal on the film’s schedule and the decorative look stays vivid; skip it and the sheen goes patchy as the film wears through in the traffic paths. For decorative concrete, plan on the maintenance as part of the look.
Best sealer for countertops and interior floors
Concrete countertops and polished interior floors push the sealer toward food safety, stain resistance, and a hard, cleanable surface, which moves the choice toward the tougher film families and specialty products. A concrete countertop needs a sealer that resists food acids, heat, and staining and is safe for food contact once cured, so purpose-made countertop sealers, often epoxy or polyurethane based, or specialized penetrating and reactive products, are the norm rather than a general-purpose driveway sealer. This is a spec-driven choice: read the product’s stated use, because a countertop is an unforgiving, close-up surface where a wrong sealer shows every flaw.
Interior floors split by whether they are coated or polished. A coated interior floor, like a basement or a living space slab, can take an epoxy or polyurethane system much like a garage, chosen for hardness and cleanability and, because it is out of the sun, without the UV worry. A polished concrete floor, by contrast, is usually treated with a chemical densifier, a penetrating reactive product that hardens the surface from within and lets it take a polish, rather than a film that would sit on top and wear.
The theme across countertops and interior floors is that these are precise, high-visibility surfaces where the sealer is often a specialty product matched to the exact use, not a general pick. Densifiers, food-safe countertop sealers, and interior floor coatings each solve a specific problem, and the reliable move is to choose the product the manufacturer built for that surface and confirm it against the label. When in doubt on an interior finish surface, the specialty product beats the general-purpose one.
Gloss versus matte: choosing the finish
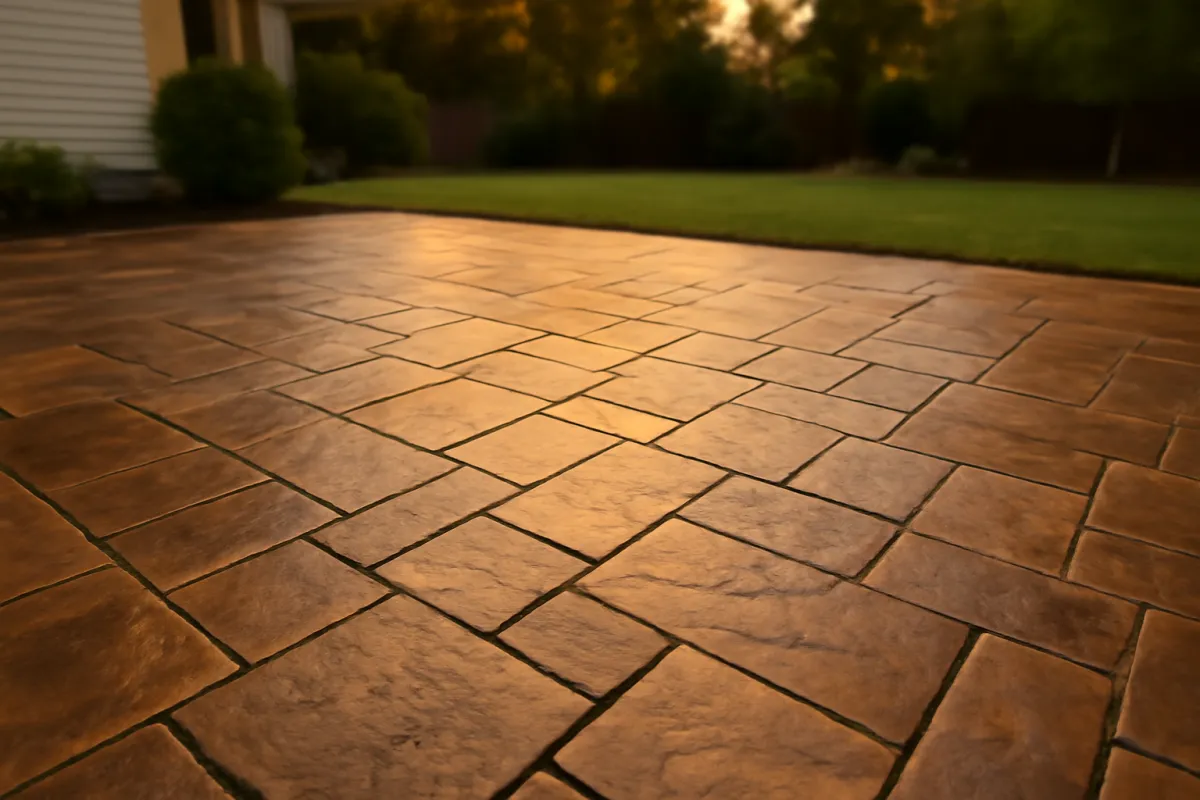
Finish is the part of the decision people feel most strongly about, and it is largely, though not entirely, a matter of look. A gloss or wet-look finish, produced by acrylics and high-build coatings, deepens the concrete color and reads as polished and rich, which is why it dominates decorative and stamped work. A matte or natural finish keeps the concrete looking like concrete, and it is what a penetrating sealer leaves by default because it adds no film at all. The hero image above shows the low, even sheen a film sealer leaves; a penetrating sealer would show none.
The practical side effects are worth weighing alongside the aesthetics. A high gloss shows scuffs, tire marks, and wear more readily, and on a wet surface it can be slick, which is why gloss finishes on walkways, steps, and pool decks usually need an anti-slip grit additive mixed in. A matte finish hides wear and scuffing better and avoids the slick surface, which is part of why driveways and high-traffic walkways often go matte or natural even when a film is used. Neither finish is inherently more protective; the protection comes from the sealer type and the quality of the application, not from the sheen.
There is also a middle ground, because many acrylics and topcoats come in satin or low-gloss versions that split the difference, giving some color enhancement without a mirror finish or the full slip risk. The reliable way to choose is to test the actual product on a small, out-of-the-way patch of the real slab, in the real light, before committing, because the same sealer can look different on different concrete. Pick the finish for the surface’s use and setting first, then confirm it with a test patch rather than the picture on the can.
How sealer coverage works and how much you need
Once the type is chosen, sizing the order is straightforward arithmetic, and it is the same method regardless of family. Multiply the length by the width to get the area in square feet, divide by the sealer’s coverage rate in square feet per gallon, multiply by the number of coats, and add roughly 10 percent for waste and uneven absorption. That gives the gallons to buy. Our how to calculate square footage manual works the area line in full for odd shapes, and the companion below runs the whole chain on your numbers and chosen type.
The number that varies most is the coverage rate, and it is why you cannot size a job without knowing the type. As illustrative figures, an acrylic might cover around 200 square feet per gallon per coat, a penetrating sealer somewhat less because porous concrete drinks it in, an epoxy less still because it builds a thick film, and a thin polyurethane topcoat more because it goes on in a light layer. A worked example makes it concrete: an illustrative 20 by 30 foot slab is 600 square feet, so at 200 square feet per gallon and two coats that is 6 gallons, near 6.6 with a 10 percent waste allowance, so you buy 7.
Two rules keep the estimate honest. First, always confirm the coverage rate against the specific product’s label, because it swings widely with the sealer and with how porous or smooth your concrete is; a rough, thirsty slab covers far less per gallon than a dense, troweled one. Second, buy the whole order at once, rounded up to whole containers, because running short mid-coat means a second trip and a possible batch or color mismatch. The estimator and the companion both round the gallons for you once you enter the area, type, and coats.
Why coverage varies: solids in the can
The reason two sealers can cover such different areas per gallon comes down to what is actually in the can, and it is worth a look because it also explains the topical-versus-penetrating gap. A liquid sealer is part solids, the material that stays behind and does the protecting, and part carrier, the solvent or water that keeps it liquid enough to apply and then evaporates. The higher the solids content, the more film a gallon leaves behind, and the less area it covers, because more material stays on the surface per square foot.
What is in a can of sealer
Illustrative typical makeup of a film-forming concrete sealer by volume; real products range widely, and higher-solids sealers cover less area per gallon because more material stays on the slab.
These illustrative shares sum to 100 percent. A low-solids acrylic like this spreads thin and covers a lot of area, while a high-solids epoxy carries far more solids per gallon, builds a thick film, and covers much less, which is the whole reason coverage rates differ so much by type.