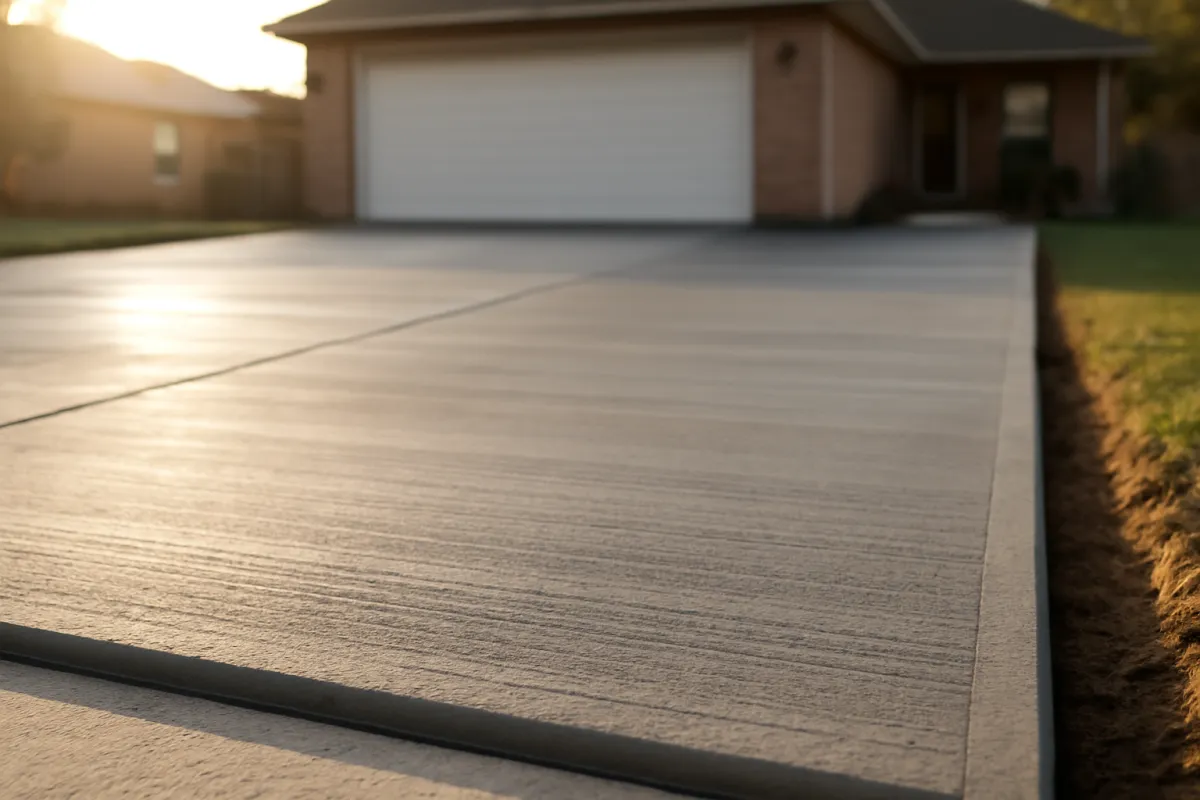
What's on this page
- Before you start: tools, materials, time, and difficulty
- Step 1: Decide whether and when to seal
- Step 2: Choose the right sealer type
- Step 3: Clean and repair the driveway first
- Step 4: Wait for a dry, mild weather window
- Step 5: Apply the sealer in thin, even coats
- Step 6: Cure it, then reseal on schedule
- A worked example: sealing a two-car driveway
- Where the time goes in a driveway sealing job
- How coats and cost compare: thin twice versus thick once
- Common mistakes when sealing a concrete driveway
- Troubleshooting: cloudy sealer, tacky finish, and weather
- Your concrete driveway sealing checklist
- The bottom line
Short answer: Seal a concrete driveway in six steps: decide whether and when to seal, choose the sealer, clean and repair the slab, wait for a dry mild day with no rain due for 24 hours, roll two thin coats, and let it cure before parking. Acrylic reseals every 1 to 3 years; penetrating sealer lasts roughly 5 to 10 years. An illustrative 20 by 30 foot driveway takes about 6.6 gallons of acrylic in two coats.
A concrete driveway looks permanent, and the concrete itself largely is, but the thin top surface that takes all the wear is more vulnerable than it appears. Water, road salt, oil drips, and the freeze-thaw cycle work at that surface every year, and left unprotected it slowly scales, stains, and spalls until the once-smooth slab looks tired and starts shedding grit. Sealing is the low-cost, weekend-scale step that slows all of that down, and the whole job hinges less on the sealer you buy than on the surface you put it on: a sealer bonds to clean, dry, sound concrete and fails on dirty, damp, or crumbling concrete, which is exactly why the cleaning step, not the rolling step, is where most driveway sealing jobs are won or lost.
This manual seals a concrete driveway in six plain steps, from deciding whether the slab is ready to reapplying the sealer on schedule years later, with a worked example carried all the way through to coverage and gallons. It leans on the area math in our how to calculate square footage manual and shares the weather and cure discipline from our how to pour a concrete slab manual, and narrows both to the single job of protecting a driveway. Run your own dimensions through the sealer estimator in about a minute, and the companion below recalculates the gallons against your numbers as you read.
Key takeaways
- Sealing is a sequence: decide and time it, choose the sealer, clean and repair, wait for dry mild weather, apply thin even coats, then cure and reseal on schedule. The order is not optional.
- The surface decides everything. A sealer bonds to clean, dry, sound concrete and peels off dirty, damp, or spalling concrete, so cleaning and repair are the real work, not the rolling.
- Choose by use: acrylic is cheap and leaves a sheen but reseals every 1 to 3 years; penetrating soaks in, lasts roughly 5 to 10 years, and shows no film; epoxy yellows outdoors and belongs on a garage floor, not an open driveway.
- Size the order by area: length times width, divided by the coverage per gallon, times the coats, plus about 10 percent waste. An illustrative 20 by 30 foot driveway takes about 6.6 gallons of acrylic in two coats.
- Apply thin, in two coats, on a dry mild day with no rain due for 24 hours, and let it cure before parking. Two thin coats always beat one thick coat, which clouds, stays tacky, or peels.
Before you start: tools, materials, time, and difficulty
Sealing a driveway is one of the friendlier concrete jobs a homeowner can take on, because unlike a pour there is no setting clock forcing your hand, but it still rewards a clean setup. Before anything is opened, four things need to be settled: the sealer and tools, the condition of the slab, the time you will need across two days, and the weather window. The single most common way a sealing job goes wrong is starting on a surface that is not clean or not dry, so most of the preparation is really about the concrete, not the sealer.
What to settle and gather:
- The sealer and application tools. The sealer suited to your driveway and climate (see Step 2), a pump sprayer or a roller with a solvent-resistant nap on an extension pole, a paint tray if rolling, painter’s tape and plastic to mask edges and adjacent surfaces, and a stir stick. Buy the gallons from a measured area, not a guess.
- Cleaning and repair supplies. A stiff broom or blower, a pressure washer or hose, a concrete degreaser for oil stains, and a patching or crack-filler product for any damage. A driveway that is badly spalled or cracked needs repair or resurfacing first, since a sealer protects a sound surface rather than fixing a failing one.
- Safety and protection. Gloves, eye protection, and a respirator suited to the sealer, especially for solvent-based products, plus good ventilation and no open flames nearby. Read the product label before you start.
- The weather window. A dry, mild, calm day with no rain forecast for at least 24 hours after, commonly cited around the 50s to 80s Fahrenheit, and a slab that is fully dry from any recent rain or washing.
Time and difficulty: plan the job across a weekend, with cleaning and any repairs on the first day so the slab can dry overnight, and the sealing itself on the second, followed by a cure before you drive on it. The active work is a few hours, but the drying between steps sets the calendar. It is a genuinely beginner-friendly project, and the skill is patience: cleaning thoroughly, waiting for dry, and resisting the urge to lay the sealer on thick.
Step 1: Decide whether and when to seal
Start by settling whether this driveway should be sealed at all, and if so, whether now is the right time, because sealing the wrong slab or sealing at the wrong moment wastes the whole effort. Sealing is not strictly required, but it is a cheap step that slows water, salt, oil, and freeze-thaw damage from working into the surface, which are the main forces that scale, stain, and spall an unsealed driveway over the years. In cold climates where de-icing salt and freeze-thaw cycles are common, sealing earns its keep quickly, and even in mild climates it protects the look and slows staining.
Time it to the concrete’s condition. A brand-new driveway usually needs to cure fully before its first seal, because fresh concrete is still releasing moisture and a sealer laid over it can trap that water and cloud or fail. A commonly cited wait is about 28 days, the same window concrete uses to reach close to full strength, unless you are using a cure-and-seal product designed to go on sooner. For an existing driveway, the timing test is simple: splash water on it, and if the water soaks straight in and darkens the concrete rather than beading, the surface is unprotected and due for sealing.
Watch out for sealing a driveway that is already failing. A slab that is heavily spalled, flaking, or badly cracked needs repair or resurfacing first, because a sealer bonds to and protects a sound surface, it does not glue a crumbling one back together. Assess the slab honestly before you buy anything: a sound driveway is a sealing job, and a failing one is a repair job that may be sealed afterward.
Step 2: Choose the right sealer type
With the decision made, choose the sealer type, because this single call shapes the look, the lifespan, and how often you will be back out here resealing. There is no universally best product, only the right match for an outdoor driveway and the finish you want, and the three common families behave very differently. Match the sealer to the driveway first and the aesthetics second.
Acrylic sealers are the affordable, beginner-friendly choice: they form a thin protective film on the surface, are easy to roll or spray on, dry fast, and leave a light sheen that can slightly deepen the concrete color. The trade-off is durability, since the surface film wears under tires and weather and commonly needs resealing every 1 to 3 years. Penetrating sealers, such as silane or siloxane, work the opposite way: they soak into the concrete and protect it chemically from within, leaving no film and no sheen, so they never peel and commonly last around 5 to 10 years, which makes them a strong pick for an exposed driveway in a harsh climate. Epoxy is really a garage-floor coating: it is tough indoors but yellows and breaks down under direct sunlight, so it is a poor choice for an open, sun-exposed driveway.
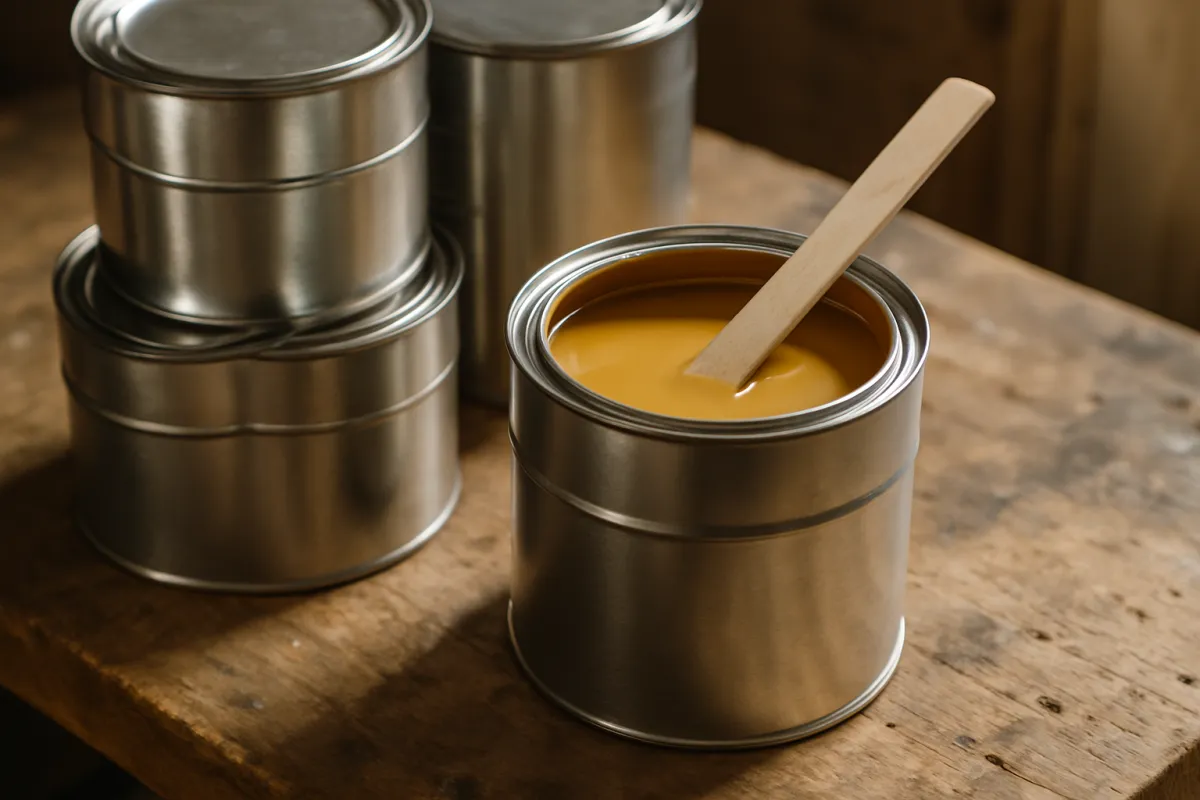
Watch out for buying on price or shelf appeal alone. An acrylic sealer costs less per gallon but reseals far more often, so over a decade a penetrating sealer that lasts 5 to 10 years can be the cheaper and lower-effort path. Treat every product name, coverage figure, and lifespan here as illustrative, and confirm the specific sealer against the manufacturer instructions for your climate, surface, and desired finish before you buy.
Step 3: Clean and repair the driveway first
This is the step that decides whether the sealer bonds or fails, and the one most often rushed because it feels like it is not the real job: clean the driveway completely and repair any damage before a drop of sealer goes down. A sealer bonds to clean, sound concrete and cannot bond through dirt, oil, or loose material, so any grime you leave becomes a spot where the sealer lifts, flakes, or never adheres. Treat the cleaning as the main event, because in effort and in effect it is.
Work through the surface in order. Clear the driveway of everything, sweep or blow off all loose dirt and grit, then wash the whole slab, commonly with a pressure washer, to strip off ground-in dust, algae, and old residue. Attack oil and grease stains separately with a concrete degreaser, because oil is exactly the kind of film a sealer will not stick over, and rinse thoroughly afterward. If the old sealer is peeling, it usually needs to be stripped or the new coat will fail with it.
Then repair the concrete itself. Fill cracks with a suitable concrete crack filler and patch any small spalled or chipped areas with a patching compound, following each product’s cure time, because a sealer laid over an open crack simply seals the crack open. Larger structural cracks or widespread spalling are a repair or resurfacing job in their own right, covered by the honest assessment in Step 1. Once cleaned and repaired, the slab must dry completely, commonly a full day or more, since sealing over damp concrete is the fast track to a cloudy, failed finish.
Watch out for sealing too soon after washing. The driveway can look dry on top while the concrete still holds moisture, so give it a generous drying window after any pressure washing or rain, and confirm it is dry before you open the sealer.
Step 4: Wait for a dry, mild weather window
With the slab clean, dry, and repaired, the next step is pure patience: wait for the right weather, because the day you seal matters almost as much as how you seal. A sealer needs to dry and bond before water, heat, or cold interferes, so the target is a dry, mild, calm day with no rain in the forecast for at least 24 hours after you finish. Rain on a sealer that has not dried will wash it off, streak it, or leave it cloudy, undoing the whole job.
Aim for moderate temperatures. A commonly cited comfortable range is roughly the 50s to 80s Fahrenheit, warm enough for the sealer to cure properly but not so hot that it flashes off before it can level into an even film. Avoid sealing in direct midday sun on a baking slab, which can make the sealer dry too fast and cloud or bubble, so on a hot day work early or late or in shade as it moves across the driveway. Skip days with high humidity, heavy dew, or near-freezing overnight temperatures, all of which stall or spoil the drying.
The concrete’s own dryness is part of the weather call. Even on a sunny day, if it rained recently or you washed the slab the day before, the concrete may still hold moisture that will cloud the sealer, so confirm the surface is fully dry before starting. On outdoor slabs the same forces that complicate a pour complicate a seal, which is why our how to pour a concrete slab manual leans just as hard on the forecast.
Watch out for trusting a clear morning without checking the full window. A sealer that goes down fine at noon can be ruined by an afternoon shower or an overnight frost, so plan the seal around the whole 24-hour-plus drying period, not just the hour you are working.
Step 5: Apply the sealer in thin, even coats
Now the visible part, and the rule that governs all of it: apply the sealer thin, in two even coats, never one thick one. A thick coat cannot dry properly, so it traps solvent, stays tacky, clouds, bubbles, or peels, while two thin coats bond well, dry fully, and give even, durable protection. Stir the sealer before and during use so the solids stay mixed, and mask any edges, walls, or adjacent surfaces you want to keep clean.
Choose your tool, or use two together. A pump sprayer lays a thin coat down quickly and evenly across the open field of the driveway, which is why it is common on larger slabs, while a roller with a solvent-resistant nap on an extension pole works the sealer into the surface texture and reaches edges and corners. A frequent and reliable approach is to spray a thin coat and then back-roll it to spread it evenly and break up any puddles. Work in manageable sections from the far end back toward your exit so you never seal yourself into a corner, keeping a wet edge so the sections blend.
How much sealer a driveway needs
Illustrative gallons of an acrylic sealer at about 200 square feet per gallon per coat, two coats, with a 10 percent waste allowance, at different driveway sizes.
The order scales straight with area at a fixed coverage and coat count: the 20 by 30 foot example is about 6.6 gallons, and the 24 by 60 foot driveway, roughly two and a half times the area, is about 15.8. Each bar is area divided by 200, times two coats, plus 10 percent, with widths tracking the gallons against the largest.
Let the first coat dry to the touch before the second, following the product’s recoat time, and run the second coat in a direction crossing the first so any thin lines are covered. Watch out for over-applying to “get it done in one pass,” the single most common finish failure, because the puddles and thick spots that leave behind are exactly what turns tacky, white, or peeling later. Thin and even, twice, beats thick and fast every time.
Step 6: Cure it, then reseal on schedule
The sealer is down, but the job is not finished until it has cured and you have set a reminder for next time: let the sealer cure fully before traffic, then reseal on a schedule so the protection never fully lapses. Drying times vary by product and weather, but as illustrative guidance many sealers are dry to the touch within a few hours, safe for foot traffic within a day, and ready for vehicle traffic after roughly 24 to 48 hours, longer in cool or humid conditions. Keep cars, foot traffic, and water off the fresh sealer for the full window on the label, because driving on a sealer that has not cured can mark, lift, or ruin it.
Then plan the reseal, because a sealer is maintenance, not a one-time fix. How often depends on the type and the traffic: an acrylic film commonly needs redoing every 1 to 3 years as it wears, while a penetrating sealer often lasts around 5 to 10 years because it protects from within. The field test is easy and worth repeating each year: splash water on the driveway, and if it beads and sits the sealer is still working, but if it soaks in and darkens the concrete it is time to reseal.
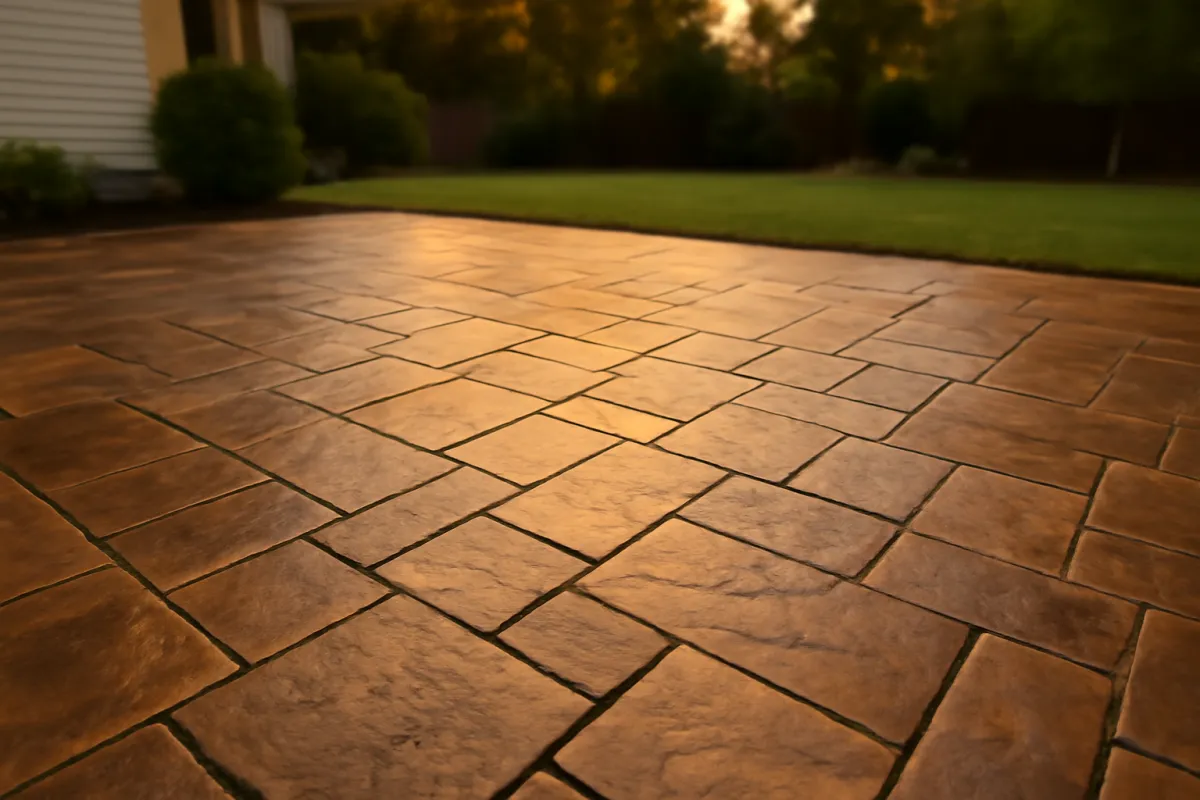
Watch out for treating the first seal as forever. An unmaintained driveway quietly loses its protection while still looking sealed, and the damage that follows, scaling and staining, is far more expensive to fix than a reseal would have been. A quick water test each year and a reseal on schedule is the whole maintenance program.
A worked example: sealing a two-car driveway
Pull the six steps together on one realistic job, a 20 foot by 30 foot two-car driveway, existing concrete in sound condition, sealed with an acrylic product in two coats, and watch the plan flow from a decision to a gallon count and a finished slab.
Step 1, decide and time: the driveway is a few years old, sound, and a water splash soaks straight in, so it is due for sealing and it is well past any new-concrete cure wait. Step 2, choose: for a low-cost refresh with a light sheen the owner picks an acrylic sealer, noting it will need redoing in a couple of years, and confirms it against the label. Step 3, clean and repair: the whole 600 square feet gets swept, pressure-washed, degreased where the car parks, two hairline cracks filled, then a full day to dry.
Step 4, weather: a dry, calm weekend day in the 60s Fahrenheit with no rain due for two days. Step 5, apply: the area is 20 times 30, which is 600 square feet, our how to calculate square footage manual works this line in full. At an illustrative acrylic coverage of 200 square feet per gallon per coat, one coat is 600 divided by 200, which is 3 gallons, and two coats is 6 gallons, near 6.6 with a 10 percent waste allowance, so the owner buys 7 gallons. A thin sprayed coat is back-rolled, left to dry, and a second thin coat is crossed over it. Step 6, cure and reseal: no traffic for about two days, then a note to water-test the driveway each spring and reseal in a year or two.
So one measured driveway produces a clean plan: about 6.6 gallons of acrylic sealer, a day of cleaning and drying, a day of sealing, and a reseal reminder. Change any input and it moves predictably: switch to a penetrating sealer and the gallons and reseal interval both shift; double the length and the gallons roughly double. Run your own dimensions through the sealer estimator and the area, coats, and waste arithmetic is done for you.
Where the time goes in a driveway sealing job
It is tempting to picture sealing a driveway as mostly the sealing, the satisfying part with the sprayer and the fresh sheen, but the sealing is a small slice of the real effort, and seeing where the work actually goes helps you plan the two days honestly. A sealing job is far more cleaning and drying than coating, which is exactly why the surface, not the sealer, decides the result.
Roughly, the cleaning and repair, the sweeping, washing, degreasing, crack-filling, and the drying wait that follows, is the single biggest share of the hands-on effort, because a driveway is a large surface and every square foot has to come clean. Masking edges and planning the sections is a small but worthwhile share. Rolling or spraying the first coat is a modest, steady share, the second coat a little less since you know the rhythm, and the final cleanup of tools and tape another small share. The cure then runs passively for a day or two after all the active work is done.
Where the time goes in a driveway sealing job
Illustrative split of the hands-on effort across the job; the cure then continues passively for a day or two after the setup.
These are illustrative shares of the active work, and they sum to 100 percent. The cleaning and repair alone are nearly half the effort, while the two coats together are about a third, which is why a sealing job is won on the surface prep long before the sealer comes out.
The chart makes the lesson plain: if you budget your time around the coating, you will underestimate the cleaning, which is most of the work, and you will be tempted to cut it short, which is exactly the shortcut that makes a sealer fail. Plan the day around the surface, and the sealing itself becomes the quick, satisfying part it should be.
How coats and cost compare: thin twice versus thick once
One choice quietly shapes both the finish and the value: two thin coats versus one thick coat, and the honest reckoning favors two thin every time. A thick single coat seems like a shortcut that saves a step, but it cannot dry evenly, so it traps solvent, stays tacky, clouds white, bubbles, or peels, and it often uses more sealer for a worse, shorter-lived result. Two thin coats bond fully, dry properly, cover the pinholes and thin lines the first coat leaves, and give a more durable, even film for the same or less product.
The cost picture follows the same logic over time. Sealing is cheap per event next to repairing a slab that was left unprotected or one where a botched thick coat has to be stripped and redone. Our how much does concrete cost manual frames the scale of the slab a sealer protects, and against that number a few gallons of sealer every couple of years is inexpensive insurance. The expensive path is skipping the seal, or doing it badly, and paying later in scaling, spalling, and stain removal.
The practical rule is to let thin, even, and twice govern the job, and let the sealer type govern the interval. Buy enough product for two coats plus waste from a measured area, apply it thin, and reseal on the type’s schedule. Do that and the sealer earns back its modest cost many times over across the life of the driveway, which is the whole reason to seal in the first place.
Common mistakes when sealing a concrete driveway
A handful of errors account for nearly every driveway sealer that clouds, peels, or fails early, and all of them are decisions made before or during the job, not accidents later.
- Sealing a dirty or oily surface. A sealer cannot bond through dirt, oil, or old flaking sealer, so any grime left behind becomes a spot where it lifts and peels. Clean the whole slab and degrease every oil stain first.
- Sealing damp concrete. Concrete that looks dry on top can still hold moisture, which clouds the sealer or stops it bonding. Give the slab a full day or more to dry after any washing or rain, and confirm it is dry before starting.
- Applying too thick. One heavy coat traps solvent and turns tacky, white, or peeling. Always apply thin, in two coats, and let the first dry before the second.
- Sealing new concrete too soon. Fresh concrete is still releasing moisture, so sealing before it cures, commonly cited near 28 days, can trap water and cause a milky finish. Wait for the cure unless using a cure-and-seal product.
- Ignoring the weather window. Rain, heavy dew, high humidity, baking sun, or near-freezing temperatures during the drying window all ruin a fresh seal. Check the full 24-hour-plus forecast, not just the hour you are working.
- Never resealing. A sealer wears out silently, and an unmaintained driveway loses its protection while still looking sealed. Water-test it each year and reseal on the type’s schedule.
Every one of these is a decision about the surface, the moisture, the thickness, the timing, or the maintenance, which is exactly why they get skipped and exactly why they decide whether the seal lasts.
Troubleshooting: cloudy sealer, tacky finish, and weather
Real driveways rarely match the tidy example, so here is how to handle the conditions that complicate them.
What if the sealer dried cloudy or white? A milky, hazy, or white finish usually means moisture was trapped, from a damp slab, sealing too soon after washing or rain, high humidity, or a coat applied too thick to dry. The cause points to the fix: mild cases sometimes clear as they fully dry or with a solvent wipe per the product’s guidance, while worse cases may need the affected sealer removed and reapplied on a dry slab in better conditions. Prevention is the real answer: dry concrete, thin coats, and a good weather window.
What if the sealer stays tacky and will not dry? A finish that stays sticky long past the recoat time is almost always a coat applied too thick, sometimes worsened by cool or humid weather that slows curing. Give it more time and better ventilation first, since a thick coat can still cure slowly, but a coat that never hardens usually has to be stripped and redone thin. The lesson is the same one that prevents cloudiness: thin coats dry, thick coats do not.
What about hot, cold, or wet weather? Heat and direct sun make a sealer flash off before it levels, so on a hot day work early or late or follow the shade across the slab. Cold or near-freezing weather stalls curing and risks freeze damage to a wet film, so wait for a milder day. Rain, dew, or high humidity during the drying window will streak or cloud the seal, so plan around a dry 24-hour-plus window. The companion below and the square footage manual handle the gallons so the only variable left is the weather.
Your concrete driveway sealing checklist
Before the sealer is bought and before the first coat goes down, run down this compact checklist. It is the save-this asset of the whole job.
- Confirmed the driveway is sound and worth sealing, and that any new concrete has fully cured.
- Chose a sealer type suited to an outdoor driveway and your climate: acrylic, penetrating, or knowingly not epoxy.
- Measured the driveway length and width, calculated the area, and bought enough for two coats plus about 10 percent waste.
- Swept, pressure-washed, and degreased the whole slab, and filled any cracks or small spalls, then let it dry fully.
- Checked the full weather window for a dry, mild, calm day with no rain due for at least 24 hours after.
- Masked edges and adjacent surfaces, stirred the sealer, and set up the sprayer or roller.
- Applied the first thin coat, let it dry to the recoat time, then applied a second thin coat crossing the first.
- Kept all traffic and water off the driveway for the full cure window before driving on it.
- Set a reminder to water-test the driveway each year and reseal on the sealer’s schedule.
Work top to bottom and the driveway you seal is one that is clean, sound, evenly coated, and cured, which is the difference between a seal that protects for years and one that clouds or peels within weeks. The companion below sizes the gallons on your own dimensions, so you can buy right in one trip.
The bottom line
Sealing a concrete driveway is six steps worn into a sequence: decide whether and when to seal, choose the sealer type, clean and repair the slab, wait for a dry mild weather window, apply thin even coats, then cure it and reseal on schedule. The whole job rests on a truth that is easy to rush past, that the sealer performs only as well as the surface underneath it, which is why the cleaning and the drying, not the rolling, are where a seal is won or lost. Choose the sealer for the driveway rather than the price tag, buy the gallons from a measured area with a waste allowance, apply thin in two coats on a dry mild day, and give the seal its full cure before you park. Do that, and a weekend and a few gallons buy years of protection against the water, salt, oil, and freeze-thaw that would otherwise wear the surface out, which is the cheapest insurance a driveway ever gets.
Read this manual as bench notes meant to teach the method, not as a product spec you can follow without checking the label. The sealer types, coverage rates, drying and reseal intervals, temperatures, and cure times here are typical illustrative values, and your real numbers shift with the specific product, the concrete, the climate, and the traffic. Test your own driveway, measure it, confirm the sealer choice, coverage, weather window, and cure time against the manufacturer instructions and your local conditions, and consult a concrete professional for any slab that is spalling, cracking, or failing before you seal it.
Frequently asked questions
How do I seal a concrete driveway step by step?
Decide whether the slab is ready and worth sealing, choose a sealer type suited to an outdoor driveway, then clean and repair the surface, wait for a dry and mild weather window, apply the sealer in thin even coats with a roller or sprayer, and let it cure before you drive on it. Each step is finished and checked before the next begins, because a sealer only performs as well as the clean, dry, sound surface underneath it. This manual walks all six steps with a worked example carried through to real coverage and gallons, and it treats the cleaning step, the one most often rushed, as the one that decides whether the sealer bonds or peels.
What is the best sealer for a concrete driveway?
There is no single best sealer, only the right one for the driveway and the look you want. Acrylic sealers are affordable, easy to apply, and leave a light sheen, but they wear faster and need resealing most often. Penetrating sealers such as silane or siloxane soak into the concrete and protect from the inside with no film and no sheen, so they last the longest and never peel, which makes them a common choice for exposed driveways. Epoxy is really a garage-floor coating that yellows and breaks down under direct sun, so it is a poor pick for an open driveway. Treat any product name or lifespan here as illustrative and confirm the sealer against the manufacturer instructions for your climate and surface.
How long after pouring can you seal a new concrete driveway?
A new concrete driveway usually needs to cure fully before it is sealed, because fresh concrete is still releasing moisture and a sealer applied too early can trap that water and cloud or fail. A commonly cited wait is about 28 days, the same window concrete uses to reach close to its full strength, though some cure-and-seal products are designed to go on much sooner and follow their own rules. Sealing too early is one of the most common reasons a new driveway turns milky or blotchy. Confirm the timing on the sealer you buy and wait for the slab to be visibly and fully dry before you start.
How often should you reseal a concrete driveway?
How often depends on the sealer type, the traffic, and the climate, so treat any interval as illustrative. An acrylic sealer commonly needs resealing roughly every 1 to 3 years because the surface film wears under tires and weather. A penetrating sealer often lasts far longer, commonly cited around 5 to 10 years, because it protects from within rather than as a film that can wear off. A simple field test is to splash water on the driveway: if it beads and sits, the sealer is still working, and if it soaks straight in and darkens the concrete, it is time to reseal. Reapplying on schedule is far cheaper than repairing a slab that was left unprotected.
How much sealer do I need for a driveway?
Multiply the driveway length by width for the area in square feet, divide by the sealer coverage rate per gallon, multiply by the number of coats, and add about 10 percent for waste. Coverage varies widely by product, but an illustrative acrylic sealer might cover around 200 square feet per gallon per coat, while a penetrating sealer might cover somewhat less. An illustrative 20 by 30 foot driveway is 600 square feet, so at 200 square feet per gallon and two coats that is about 6 gallons, near 6.6 with a waste allowance. Our how to calculate square footage manual works the area line in full, and the [companion below](#companion) sizes the gallons on your own dimensions.
Can you apply concrete sealer with a roller or do you need a sprayer?
Both work, and many jobs use them together. A pump sprayer lays the sealer down quickly and evenly over the open field of the driveway, which is why it is common on larger slabs, while a roller on an extension pole works the sealer into the surface texture and covers edges and tight spots the spray can miss. A frequent approach is to spray a thin coat and then back-roll it to spread it evenly and avoid puddles. The single rule that matters more than the tool is to apply thin: two thin coats always outperform one thick coat, which can trap solvent, stay tacky, cloud, or peel.
What temperature and weather do you need to seal a driveway?
Sealing wants a dry, mild, calm day with no rain in the forecast for at least 24 hours after, because the sealer needs time to dry and bond before water touches it. A commonly cited comfortable range is roughly the 50s to 80s Fahrenheit, warm enough for the sealer to cure but not so hot that it flashes off before it can level. Avoid sealing in direct midday sun on a hot slab, in high humidity, or when rain, dew, or near-freezing temperatures are likely during the drying window. The concrete itself must also be fully dry, so wait a day or more after any rain or washing before you seal.
Do I need to seal a concrete driveway at all?
Sealing is not strictly required, but it is a low-cost step that meaningfully extends the life and looks of most concrete driveways. A sealer slows water, road salt, oil, and freeze-thaw damage from working into the surface, which are the main things that scale, spall, stain, and crack an unsealed slab over the years. In cold climates where de-icing salt and freeze-thaw cycles are common, sealing is especially worthwhile. A driveway that is already badly spalled or cracked may need repair or resurfacing first, since a sealer protects a sound surface rather than fixing a failing one.