What's on this page
- What a concrete patio costs per square foot
- Concrete patio cost by size
- Patio vs slab: why the quotes differ
- Concrete patio cost by finish
- Broom finish: the baseline patio
- Colored concrete patio cost
- Exposed aggregate patio cost
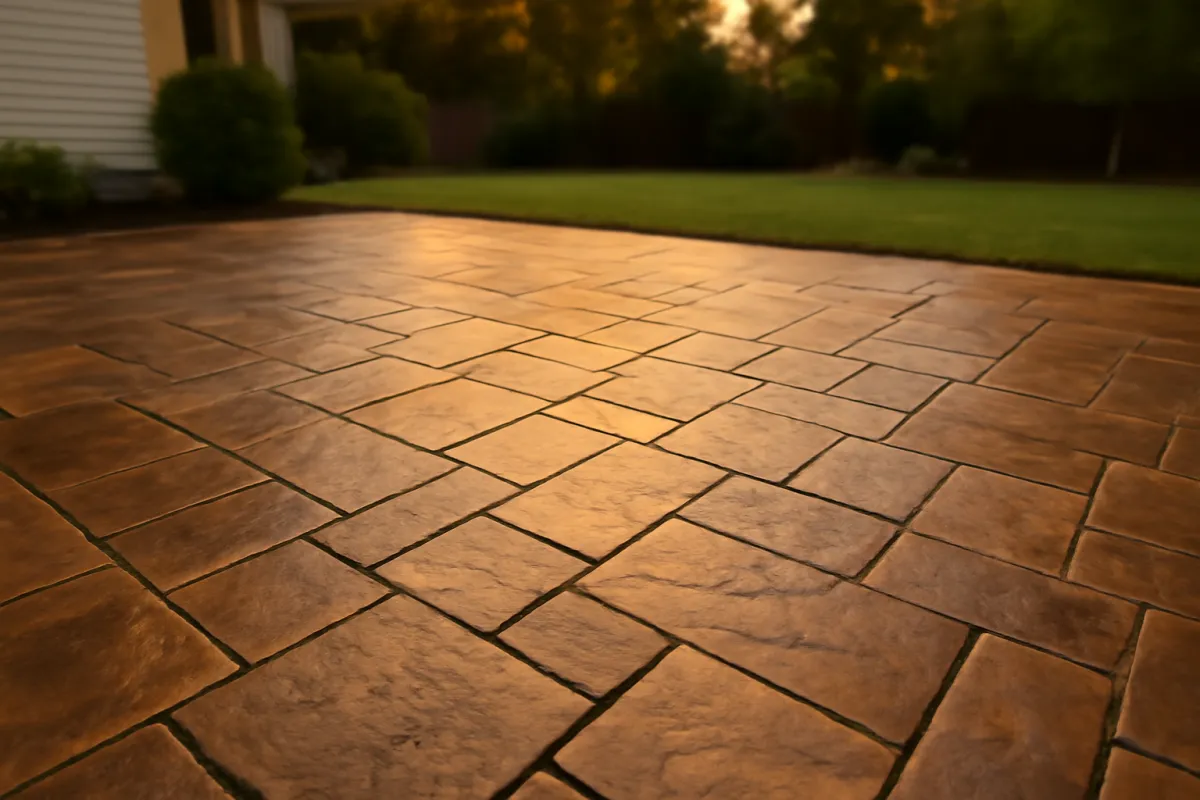
- Stamped concrete patio cost
- What drives concrete patio cost
- Site prep, grading, and the base
- Thickness, reinforcement, and joints
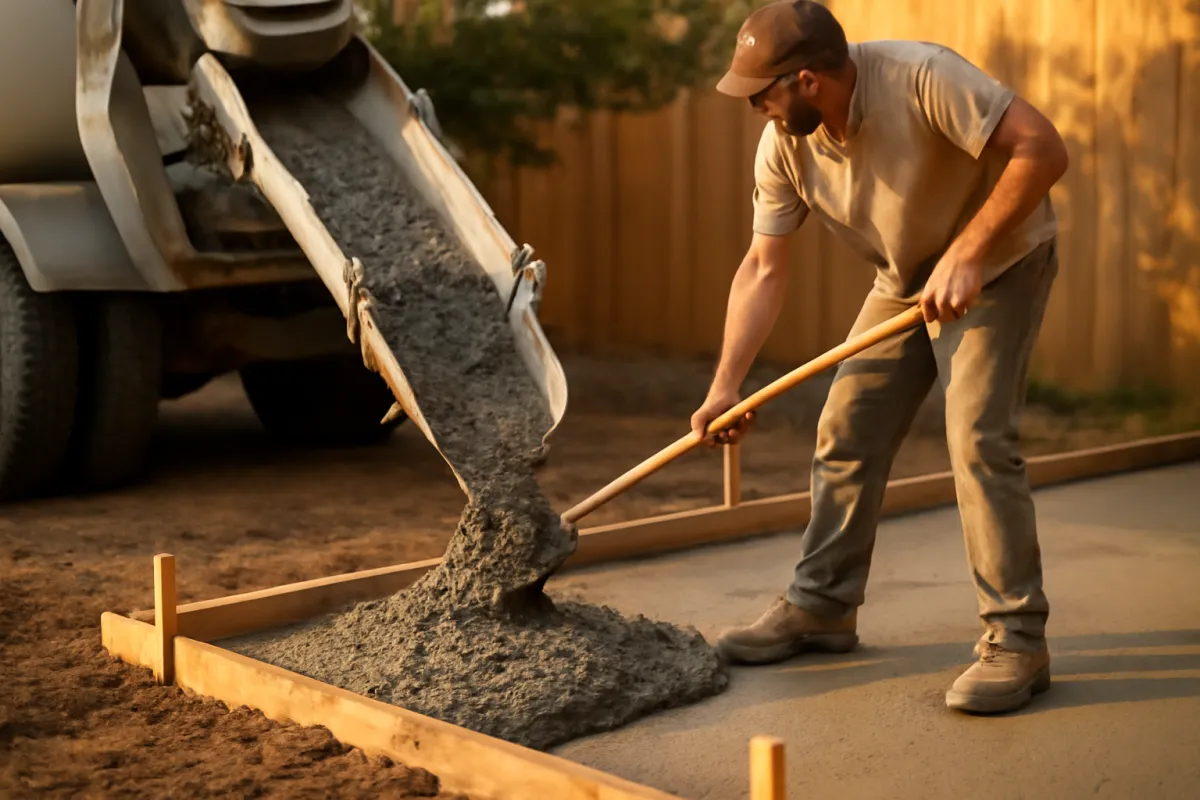
- Access and the pour itself
- Where the money goes
- Concrete patio vs pavers, gravel, and a deck
- Extras: steps, borders, footings, and drainage
- Removing an old patio first
- Sealing and maintenance cost
- DIY concrete patio cost
- From price per foot to your total
- Ways to keep concrete patio cost down
- A worked example: a 16 by 20 patio priced
- The bottom line
Short answer: A plain broom-finish concrete patio commonly runs an illustrative 6 to 12 dollars per square foot installed, with a working midpoint near 8 dollars, so a 16 by 20 foot patio of 320 square feet lands near 2,560 dollars. Stamped and colored finishes climb to an illustrative 12 to 22 dollars per square foot. Labor is usually the largest share, so soil, access, finish and region set the real number; collect written bids.
Concrete patio cost looks like one number and behaves like several. Some people ask this as cement patio cost, since the two words get used interchangeably in everyday speech even though cement is only the binder in the concrete mix, not the finished material; our cement vs concrete explainer untangles the terms, and the pricing below is the same either way you say it. Ask what a patio costs and every honest answer forks immediately: how many square feet, which finish, what the ground under it is like, and how close a truck can get to the spot. A plain broom-finish pad and a stamped, colored showpiece of the exact same size can land thousands of dollars apart, and two identical designs can bid differently on opposite sides of the same town because labor, not concrete, is the biggest line on the bill. The material coming down the chute is the cheap part; everything wrapped around it is what you are actually pricing.
This cost brief prices a concrete patio the way contractors bid it: per square foot installed, scaled to whole-project totals by size, and broken out by finish from plain broom texture up to stamped and colored work. It separates a patio quote from a bare slab quote, walks the site prep, thickness, and access factors that move the figure, compares concrete against pavers, gravel, and a wood deck, and prices the extras, the maintenance, and the DIY path. It sits alongside our concrete cost brief for the per-yard material side and our stamped concrete cost brief for the decorative top of the range. Run your own dimensions through the estimator or the companion below as you read, and the rates here become your numbers.
Key takeaways
- A plain broom-finish concrete patio commonly runs an illustrative 6 to 12 dollars per square foot installed, with a working midpoint near 8 dollars; decorative finishes climb from there to stamped work near 12 to 22.
- Total cost scales with area, so a 10 by 10 pad, a 16 by 20 patio, and a 500 square foot entertaining surface land in very different budgets even at the same rate.
- A patio quote prices a finished surface, base, forms, concrete, finish, and sealing together, which is why it reads higher than a bare slab figure for the same dimensions.
- Labor is frequently the largest single share of an installed patio, so regional rates, site prep, and access move a real bid more than the concrete itself does.
- Every dollar figure here is illustrative and local: your soil, slope, access, finish, and region set the real number, so measure your area and collect written bids.
What a concrete patio costs per square foot
The cleanest unit for a concrete patio is dollars per square foot installed, because that is how contractors estimate the job and how differently sized projects compare fairly. As an illustrative planning range, a plain broom-finish patio commonly runs somewhere around 6 to 12 dollars per square foot, with a working midpoint near 8 dollars. That figure is not the concrete alone: it bundles the excavation, the compacted gravel base, the forms, the reinforcement, the ready-mix, the placing and finishing labor, the control joints, and usually a first coat of sealer. It is the whole finished surface, priced by its area.
The reason the installed figure beats every other unit is that the material price alone is misleading. Ready-mix concrete itself runs an illustrative 140 to 180 dollars per cubic yard delivered, which our concrete cost brief covers in full, and a typical patio only needs a few yards. On a 320 square foot patio, the concrete might be roughly a quarter of the installed price; the rest is labor, base, forms, and finish. Quoting a patio from the per-yard price is how people end up shocked by bids. Start from the per-square-foot installed rate for the finish you want, multiply by your area, and you have a defensible planning number before a single contractor visits. The rest of this brief is about what moves you inside that range, and the companion below runs the math on your own dimensions as you go.
Concrete patio cost by size
Size is the first multiplier, because every square foot carries the full installed rate. The table below prices common patio footprints at the illustrative plain-finish midpoint of 8 dollars per square foot, purely as planning bands. Small pads are cheap in absolute terms but often cost a little more per foot, since the fixed costs of mobilizing a crew and a truck spread over less area. Large patios are the reverse: the total climbs fast, but the per-foot rate can soften as the same setup covers more surface.
| Patio size | Area | Illustrative total at ~$8/sq ft |
|---|---|---|
| 10 x 10 ft | 100 sq ft | ~$800 |
| 12 x 14 ft | 168 sq ft | ~$1,350 |
| 16 x 20 ft | 320 sq ft | ~$2,560 |
| 20 x 20 ft | 400 sq ft | ~$3,200 |
| 20 x 25 ft | 500 sq ft | ~$4,000 |
| 24 x 30 ft | 720 sq ft | ~$5,750 |
Read every row as a starting point, not a quote. Swap the finish and the whole column shifts: the same 400 square foot patio at a stamped rate near 16 dollars reads about 6,400 dollars. Add a sloped yard, poor soil, or an old slab to remove and each row climbs further. The useful habit is to price your real measured area, not a nominal size; a patio drawn as 16 by 20 on a napkin often becomes 17 by 21 once it meets the house and the yard, and at installed rates those extra feet are real money. Our square footage manual covers measuring, including L-shapes and curves, and the estimator turns a length and width into area in seconds.
Patio vs slab: why the quotes differ
A concrete patio is a slab, but a patio quote is not a slab quote, and confusing the two is the most common way this comparison goes wrong. A bare slab price covers a structural pour: forms, concrete, a basic screed or trowel finish, sometimes on a base someone else prepared. A patio price covers a finished outdoor living surface: the excavation and grading, the compacted base, the forms, the reinforcement, the concrete, a chosen finish, tooled or cut control joints, edge detail, cleanup, and usually sealing. Same material, different product, and the patio scope is the larger one. That is why a patio bid per square foot reads higher than the bare-slab arithmetic suggests, and why it should.
The distinction matters in both directions. If you are pricing a patio from a slab-style number, you will underestimate the job and be surprised by every bid. If you are comparing bids, you have to confirm each covers the same scope: one contractor’s low number may exclude the base work or the sealer that another includes. For the construction sequence itself, our slab-pouring manual walks the build from layout to cure, and our slab concrete calculator manual does the volume math. This brief prices the finished patio those pages help you build. When a bid arrives, read it as a scope list first and a price second; the number only means something once you know what is inside it.
Concrete patio cost by finish
The finish is the second fork in a patio estimate, and it moves the rate more than most site factors do. Plain broom-finish concrete anchors the bottom of the range, colored and exposed aggregate finishes fill the middle, and stamped work reaches the top, with hand-set pavers and natural stone above it as reference points. The chart below places the common options side by side on illustrative installed cost per square foot, and the sections that follow take each finish in turn.
Illustrative installed cost per square foot, by patio surface
Concrete finishes against the hand-set alternatives; local labor, site prep, and access move every bar.
Every concrete finish sits below the hand-set surfaces because a poured slab needs far less placing labor than individual units. Within concrete, the premium above broom finish is almost entirely decorative labor and coloring materials on the same slab underneath.
The structural slab under every one of these finishes is essentially the same: the same base, the same thickness, the same concrete. What you buy as you climb the chart is surface work, pigment, texture, and skilled finishing time, layered on top of an identical pour. That is worth keeping in mind when a budget tightens, because it means the finish is a choice you can trade without touching the structure. It also means a low bid that saves money on the base rather than the finish is saving in exactly the wrong place, since the base is what keeps any finish from cracking.
Broom finish: the baseline patio
A broom-finish patio is the baseline of the range, an illustrative 6 to 12 dollars per square foot installed with a midpoint near 8, and it is what a concrete patio means when nobody specifies otherwise. After the slab is placed and floated, the finisher drags a broom across the surface to leave a fine, even texture. The result is plain grey, slip-resistant, and honest: no pattern, no color, just a durable outdoor floor. For a patio that will live under furniture, a grill, and foot traffic, the broom finish is not a compromise so much as the standard, and it ages gracefully because there is no decorative layer to wear unevenly.
Because nothing decorative sits on top, a broom-finish bid is the cleanest one to compare across contractors: the differences come down to the base work, the thickness, the reinforcement, and local labor, not pattern and color choices. It is also the finish that leaves the most budget for the parts of the job that determine lifespan, the compacted base and drainage. A common upgrade path is worth knowing: a broom-finish patio can later be topped, stained, or covered, so starting plain does not lock the surface forever. For a first patio on a working budget, a well-built broom finish at the illustrative midpoint is usually the strongest value on the whole chart.
Colored concrete patio cost
Colored concrete is the first step up, an illustrative 10 dollars or so per square foot installed, and it changes the look of the patio without changing how it is built. The color arrives one of two ways: an integral pigment mixed into the concrete at the plant, which colors the full depth of the slab, or a color hardener broadcast onto the fresh surface, which concentrates the tone where you see it. Earth tones, greys, and tans are the common choices, picked to sit with the house and the yard rather than to stand out. The pour, the finish, and the joints all proceed as on a plain patio.
The modest premium buys a surface that reads intentional rather than utilitarian, and for many patios that is the whole brief. A few practical notes keep the cost honest. Color adds a material line and a little coordination, but not much labor, which is why it is the cheapest decorative step. Integral color cannot fade off the surface the way a thin topical treatment can, though all outdoor color softens with sun and wear, and a sealer is what keeps it rich; our sealer guide covers the options. Sample the color on a small panel before pour day, because pigment in concrete is permanent, and the same pigment reads differently across cement brands and finishes. Changing your mind after the truck arrives is not a line item anyone prices kindly.
Exposed aggregate patio cost
Exposed aggregate sits in the middle of the decorative range, an illustrative 12 dollars or so per square foot installed. The finisher places the slab, then washes or retards the top layer of cement paste so the stones inside the mix, or decorative stones seeded onto the surface, show through as a pebbled texture. The result is a patio surfaced in natural stone texture that is genuinely part of the slab rather than glued to it, with strong slip resistance and a look that hides dirt and wear better than a smooth grey field. It is a popular pool-surround and walkway finish for exactly those reasons.
The premium over broom finish is partly material, decorative aggregate costs more than ordinary stone, and partly timing-sensitive labor, since exposing the aggregate evenly across a whole patio is a skill with a narrow window, like stamping. Cost moves with the aggregate you choose: local pea gravel exposed from the mix is the economical end, while imported or specialty stone seeded across the surface pushes the rate up. An exposed surface wants sealing on the same cycle as other decorative concrete to lock the stones and keep the color deep. When comparing bids, ask whether the quote assumes exposed-from-the-mix or seeded stone, and which stone, because those are different jobs at different prices wearing the same name.
Stamped concrete patio cost
Stamped concrete is the top of the poured-in-place range, an illustrative 12 to 22 dollars per square foot installed with a common midpoint near 16 for a two-color job with a border. The fresh slab is colored, then pressed with rigid mats that imprint a stone, slate, or brick pattern, and a second antiquing color usually settles into the low points to mimic natural variation. Done well, it delivers most of the look of pavers or stone on a monolithic slab at a lower installed price, which is its entire reason to exist. Done poorly, a botched imprint is permanent, which is why the stamping labor commands what it does.
We price this finish in full in our stamped concrete cost brief, including the grades from basic single-color work to premium hand-detailed patterns, so this section stays short: for patio planning, carry the illustrative 16 dollar midpoint and let the grade move you up or down. Two patio-specific notes belong here. First, the crack trade-off matters more on a stamped surface, because a crack across a pattern is conspicuous and hard to repair invisibly, so the base and joints under a stamped patio deserve extra attention, not less. Second, the resealing cycle, commonly every few years, is a real cost of ownership that plain concrete carries more lightly. Budget the surface you will maintain, not just the one you will pour.
What drives concrete patio cost
Beyond size and finish, a handful of factors decide where a real bid lands inside the illustrative ranges, and knowing them explains why two quotes for the same drawing can differ by thousands. The ground comes first: a flat, well-drained yard with decent soil is the cheap case, while slope, clay, organic soil, or standing water means more excavation, more base material, and sometimes drainage work before a form is set. Access is next, and it is underrated: a backyard a ready-mix truck can reach directly pours quickly, while a patio behind a fence, down a slope, or around a house may need wheelbarrows, a pump, or a smaller crew making many trips, all of which is labor.
Then come the structural choices, thickness, reinforcement, and joints, which the next section covers, and the long tail of site specifics: demolition of an old surface, tree roots, utility lines, permits where required, and haul-away of spoil. Finally there is the market itself. Concrete work is priced by crews whose calendars fill in season, so the same patio can bid differently in spring than in late fall, and regional labor rates move the largest line on every bid. None of this is padding; each factor is real work or real risk. The practical response is to walk your site honestly before you collect bids, flag the hard parts yourself, and treat any quote that seems blind to them as incomplete rather than lucky.
Site prep, grading, and the base
The part of a patio nobody sees is the part that decides how long it lasts, and it is real money inside every installed rate. Before concrete arrives, the area is stripped of sod and topsoil, excavated to depth, graded to fall slightly away from the house so water sheds off the finished surface, and built back up with a compacted gravel base. That base does two jobs: it spreads loads into the soil evenly, and it drains water away from the underside of the slab so freezing and soaking cannot heave it. A patio poured on soft, wet, or uncompacted ground will settle and crack no matter how good the concrete above it is.
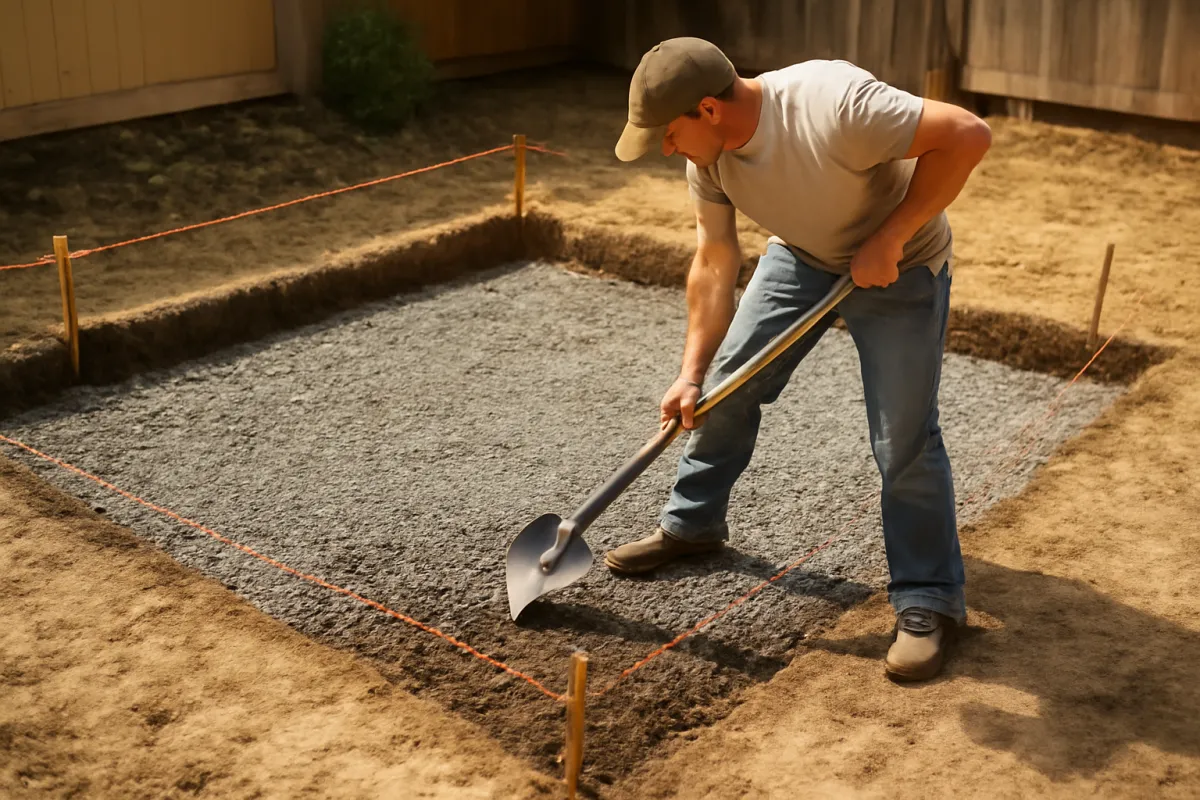
Base depth follows the soil: a few inches of compacted gravel is common on good ground, more where soil is soft or frost is deep. This is also the stage where drainage problems get solved or inherited. If the yard already collects water where the patio will sit, pouring over the problem entombs it; a regraded swale or a drain line belongs in the plan first, and our french drain cost brief prices that fix. When you compare bids, ask each contractor what excavation depth, what base material and thickness, and what compaction the number includes. A bid that is vague about the base is not cheaper, it is unfinished.
Thickness, reinforcement, and joints
A residential patio is commonly poured at about 4 inches thick, which suits foot traffic, furniture, and the weather it will actually carry. Thickness is a volume multiplier, so it moves cost directly: each extra inch across a 400 square foot patio is more than a cubic yard of additional concrete. Going thicker than the job needs buys little; going thinner than 4 inches to save money is the classic false economy, because a thin slab cracks and the repair conversation costs more than the concrete ever would have. If part of the patio will carry a hot tub, an outdoor kitchen, or a masonry fireplace, that zone may want a thicker section or a proper footing, which is a structural decision to settle before the pour, not after. Our concrete volume manual turns dimensions and thickness into cubic yards.
Reinforcement and joints are the crack management system, and they are cheap relative to what they protect. Welded wire mesh or fiber reinforcement is common in patio slabs, holding the concrete together so shrinkage cracks stay hairline instead of opening or offsetting. Control joints, tooled or saw-cut at sensible intervals, give the slab straight, intentional places to crack as it cures and moves with the seasons. Concrete that cannot crack at a joint will crack somewhere worse. Neither line item is expensive, and both are exactly the sort of quiet scope a stripped-down bid omits, so confirm them explicitly. Our crack repair note covers what to do when a crack appears anyway, but joints and mesh are what keep that page theoretical.
Access and the pour itself
Pour day is short and expensive, and access decides how it goes. The best case is a truck backing to the forms and discharging down its own chute, a few hours of placing, screeding, floating, and finishing, and a crew gone by afternoon. Every obstacle between the truck and the forms converts that into labor: a fence, a slope, a narrow side yard, or a back corner the chute cannot reach means wheelbarrow relays or a concrete pump, and both cost real money. A pump adds an equipment line to the bid; wheelbarrows add hours and crew. When a contractor walks your site and stares at the gate, this is the math running.
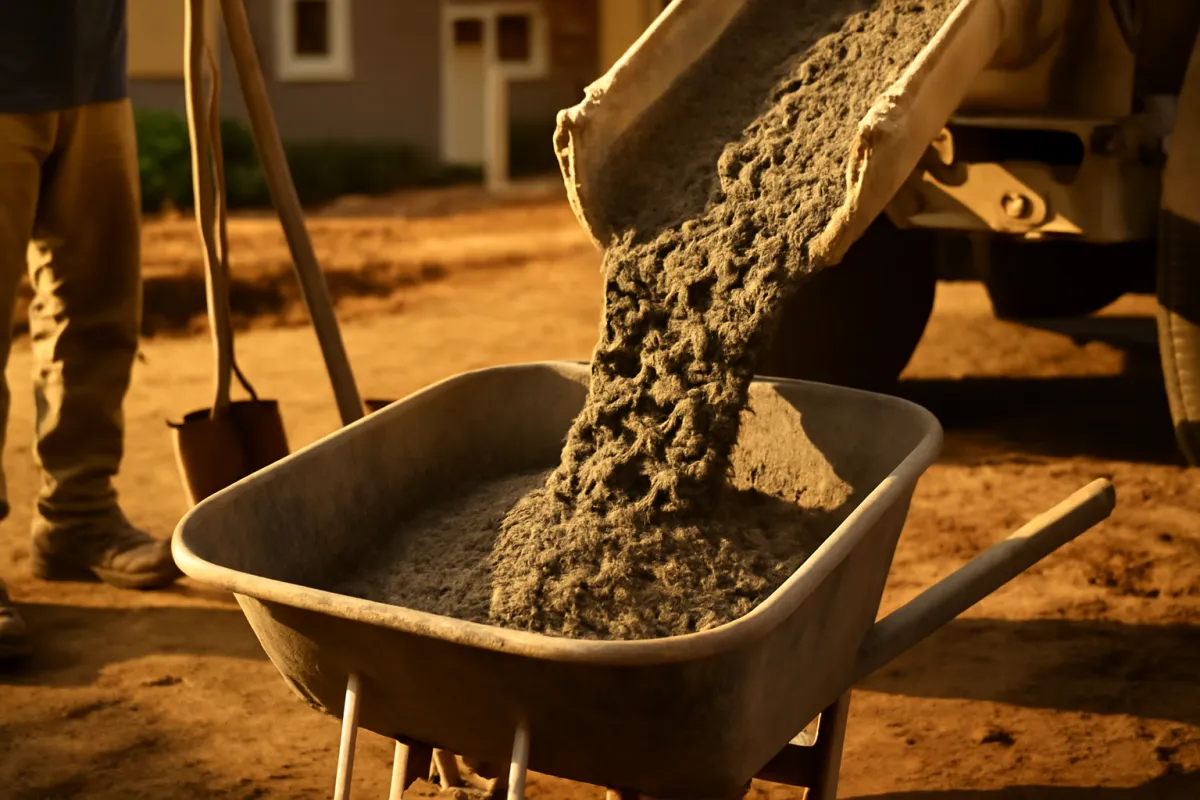
Timing folds into the same line. Ready-mix is sold with a delivery window and unloading time, and a crew that cannot place it fast enough pays for the truck’s patience, so difficult access sometimes means a bigger crew rather than a slower pour. Weather matters too: concrete wants reasonable temperatures to cure well, and a job squeezed against rain or frost carries risk a contractor will price. None of this is visible in the finished patio, which is why two bids for identical drawings can differ mostly on how each estimator judged your gate, your slope, and your season. Make access easy where you can, and expect the bid to notice.
Where the money goes
Understanding the split inside an installed price is what makes bids legible, and on a concrete patio the headline is that labor is frequently the largest share. Building a patio is skilled physical work end to end: layout, excavation, grading, base compaction, forming, reinforcement, meeting the truck, placing, screeding, floating, edging, jointing, finishing, and sealing. The concrete itself, a few cubic yards at an illustrative 140 to 180 dollars delivered, is a smaller line than most people expect. The chart below splits an illustrative plain-finish patio into rough shares.
Where the cost of an installed concrete patio goes
Illustrative split of a plain broom-finish patio; shares shift with finish, site, and access.
Labor is the biggest share even on a plain finish, and every decorative step above broom texture adds labor rather than much material. That is why regional wage rates and site difficulty move a patio bid more than concrete prices do, and why DIY savings concentrate in the labor line.
Two conclusions follow from the split. First, the same drawing genuinely costs different amounts in different markets, because the largest line is local wages, not a commodity price you can look up. Second, the levers you control map onto the segments: DIY effort attacks the labor share, finish choice attacks the decorative labor inside it, and size attacks every segment at once. When a bid arrives high, ask which segment is carrying the weight, hard access, a rebuilt base, a premium finish, before assuming margin. A contractor who can walk you through the split is usually one whose number you can trust.
Concrete patio vs pavers, gravel, and a deck
A concrete patio competes with three common alternatives, and the honest comparison is installed cost against how each surface lives. Pavers run an illustrative 18 dollars per square foot installed against concrete’s 8, because individual units set by hand on a screeded base take far more placing labor; our paver patio manual walks that build. What pavers buy for the premium is repairability, a damaged unit lifts out and swaps in, and a settled corner can be reset, while a crack across concrete is permanent and hard to hide. Over decades, pavers also want joint sand and occasional resetting, so neither surface is maintenance-free; they just age differently.
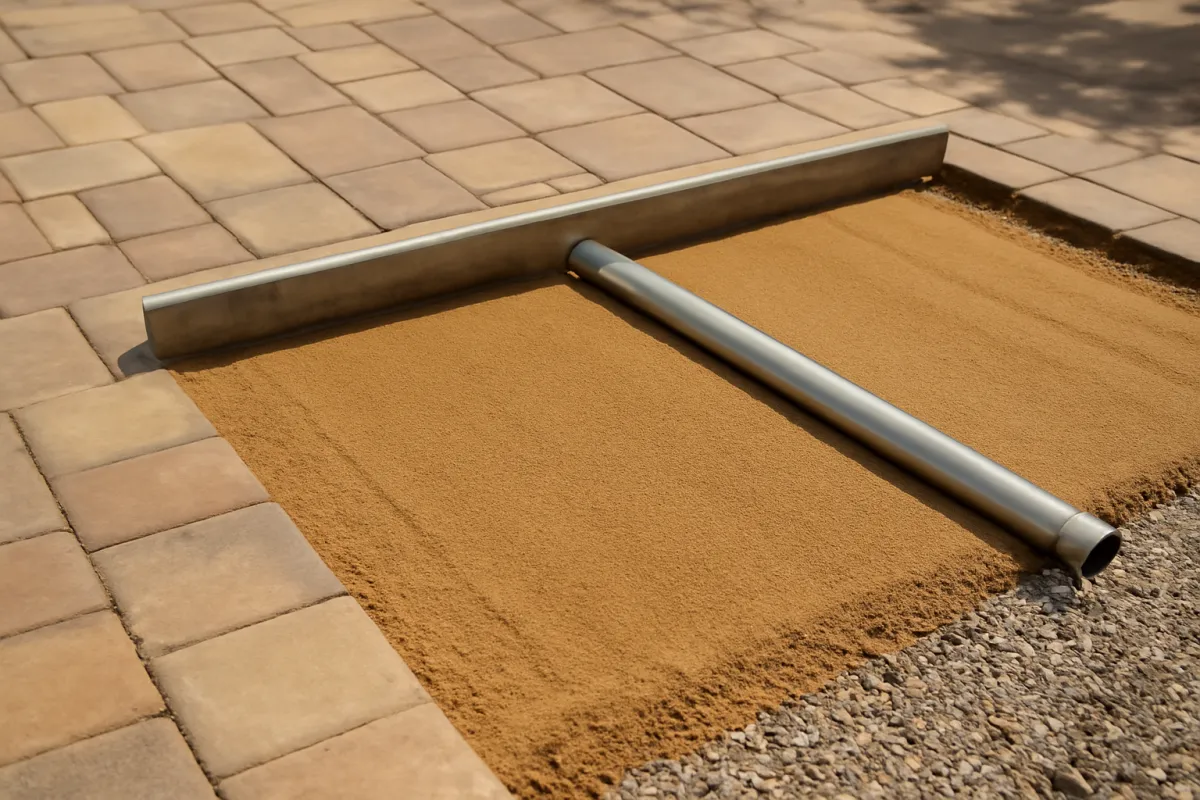
Gravel is the budget floor: a compacted gravel sitting area can be built for a small fraction of any hard surface, though it stays loose underfoot, migrates, and wants topping up; the same material logic as our gravel driveway brief applies at patio scale. A wood or composite deck is the other direction, commonly costing more per square foot than plain concrete once framing, decking, and railings are counted, and carrying a heavier maintenance schedule, but it wins where the yard slopes or the door sits high above grade, places where a slab would need serious fill. The right answer is site-shaped: on flat ground with a budget, concrete is hard to beat; on a slope, a deck earns its structure; where repairability and looks lead, pavers make their case.
Extras: steps, borders, footings, and drainage
The base rate prices a rectangle of finished concrete, and real patios accumulate extras around it. Steps are the most common: a door that sits above patio grade needs one or more concrete steps, each formed and poured as its own small structure, and formed stepwork is labor-dense for its size, so even a short run adds a real line to the bid. Borders and bands, a stamped or colored edge framing a plain field, add decorative labor at the perimeter; they are also one of the better value moves, buying a custom look without paying the decorative rate across the whole area. Curved edges cost more than straight ones because curved forms take time.
Footings appear when the patio is the floor for something heavier than furniture: a pergola, a roof, an outdoor kitchen, or a masonry fireplace wants proper footings poured below frost depth, separate from the slab, and that is excavation, forms, and concrete the base rate never included. Drainage is the extra that pays for itself: if the yard sheds water toward the patio, or the patio will sit against the house, plan the grading and any drain line before the pour. A patio poured across a wet spot becomes a dam, and the fix afterward costs more than the prevention; our french drain cost brief prices that work per foot. List the extras your site actually needs before you collect bids, so every contractor prices the same project and the low bid is not simply the shortest scope.
Removing an old patio first
If a cracked or heaved patio already occupies the spot, demolition and haul-away come first, and it is a real line: an illustrative 2 to 4 dollars per square foot to break out, load, and dispose of an old slab, moving with thickness, reinforcement, access, and local disposal fees. A 4 inch unreinforced pad breaks fast; a thicker slab with mesh in it, or one only reachable through a gate, is slower work. Concrete is heavy, roughly two tons per cubic yard, so a modest 300 square foot slab is several tons headed to a landfill or a recycler, and hauling weight is what disposal pricing is built on.
Three notes keep this line honest. First, get the demolition inside the same bid as the new patio where you can; a contractor already mobilized prices the breakout better than a separate crew would. Second, ask where the rubble goes, because clean concrete is widely recycled into crushed base, sometimes at lower disposal cost than mixed debris, and occasionally the broken material can serve as fill elsewhere on your own site. Third, resist the temptation to pour over the old slab. Capping a failed patio with new concrete inherits every drainage and settlement problem that cracked the first one, adds height against door thresholds, and produces a thin topping that cracks along the old lines. Break it out, fix the base, and pour once on ground that is ready.
Sealing and maintenance cost
Concrete’s pitch as a patio surface is that ownership is cheap, and it mostly is, but not free. The one recurring line is sealing. A sealer keeps water, stains, and de-icing salts out of the surface, keeps color rich on decorative finishes, and slows the freeze-thaw wear that ages outdoor concrete. Plain broom-finish patios are forgiving and some owners seal rarely, but the economical habit is a reseal every few years, at an illustrative 0.50 to 0.75 dollars per square foot done professionally and meaningfully less as a DIY afternoon with a roller. Our sealer guide sorts the product families, which matter more than the brand names.
The rest of the maintenance schedule is chores, not costs: rinse the surface, clean spills and leaf stains promptly, keep joints clear, and go easy on de-icing salt in winter, since repeated salt exposure is one of the faster ways to scale a concrete surface. Watch drainage over the years too; a downspout redirected onto a patio, or soil built up against its edge, undoes the grading the slab was built with. Cracks deserve attention proportional to their width: hairline cracks along joints are normal and cosmetic, while wide or offset cracks signal base or water problems worth diagnosing rather than filling, and our crack repair note walks the options. Kept sealed and drained, a patio’s decades of service cost very little per year, which is the quiet strength of the surface.
DIY concrete patio cost
Pouring your own patio attacks the largest share of the installed price, the labor, and on a small pad the saving is real. The DIY bill is materials plus rentals: concrete at an illustrative 140 to 180 dollars per cubic yard delivered, base gravel, form lumber, reinforcement, and a day of plate compactor and finishing tools. A 10 by 12 pad needs about 1.5 cubic yards, so its material bill can land under a few hundred dollars in concrete plus the base and forms, against an installed quote several times that. The sequence, layout, excavation, base, forms, pour, finish, cure, is exactly what our slab-pouring manual walks step by step, and our slab calculator manual does the ordering math.
The honest caution is scale. Concrete sets on its own clock, and a 300 square foot patio is several yards arriving in one truck, which must be placed, screeded, floated, edged, jointed, and finished before it stops cooperating. That is a multi-person job with no pause button, and a botched finish or a cold joint across a big pour is permanent. Bagged mix, covered in our bag-count manual, suits only genuinely small pads before mixing labor overwhelms the saving. The popular middle path is to self-perform the slow parts, demolition, excavation, base, and forms, then hire the pour and finish; it captures much of the saving while putting professionals on the unforgiving hour. Whichever path you take, spend your effort on the base and the prep, because that is where DIY quality actually shows up decades later.
From price per foot to your total
Turning the rates in this brief into your own planning number is three steps. First, measure the real area: length times width in feet for a rectangle, added in pieces for an L-shape or a wrapped corner, as our square footage manual shows. Measure the patio you will actually build, against the house and the yard, not the round number in your head. Second, pick the installed rate for your finish: an illustrative 8 dollars for broom finish, 10 colored, 12 exposed aggregate, 16 mid-grade stamped. Multiply, and you have the base figure; a 16 by 20 patio at 8 dollars is 320 square feet and about 2,560 dollars.
Third, adjust for what the base rate cannot see. Add for demolition if an old slab must go, for steps and footings, for hard access or a sloped site, for drainage work, and for a premium sealer; nudge upward in a high-cost region and for a small pad where fixed costs spread thin. The result is not a quote, it is a defensible expectation, and that is its whole job: it tells you which bids deserve questions, which seem to be pricing a different scope, and whether the project fits the budget before anyone visits. The estimator turns your dimensions into area with a waste allowance in seconds, and the companion below runs this entire method live on your numbers, finish and all, as you read the rest of the brief.
Ways to keep concrete patio cost down
A patio budget has real levers, and the finish is the biggest one: the same slab wears a broom finish at an illustrative 8 dollars or stamped work at 16, so choosing plain or lightly colored concrete captures the durable outdoor floor for roughly half the decorative rate. A stamped or colored border around a plain field is the value version of decorative, paying the premium only at the perimeter. Size is the next lever, since every square foot carries the full rate: a 16 by 20 patio serves most furniture layouts, and trimming a plan from 500 to 400 square feet saves real money without changing how the space lives. Simple shapes save too, because straight forms are faster than curves.
Timing and labor round out the list. Bids soften when crews are hungry, so pricing the job for shoulder season rather than peak spring can find better numbers. Self-performing the slow parts, demolition, excavation, base, and forms, converts labor lines into your own effort while leaving the pour to professionals. Doing your own resealing keeps ownership cheap for decades. What should never be cut is the structure: the base, the thickness, the reinforcement, and the grading are what keep the patio flat and uncracked, and savings there are borrowed at bad interest. Cut the finish, the size, the shape, and the schedule, never the ground the slab sits on. A plain patio on a good base outlives a stamped one on a bad base every time.
A worked example: a 16 by 20 patio priced
Take the common case end to end: a 16 by 20 foot broom-finish patio behind a house, flat yard, decent soil, truck access down the side. The area is 320 square feet. At the illustrative 8 dollar midpoint the planning figure is about 2,560 dollars installed. Inside that number sits the physical job: excavation and grading, a compacted gravel base, forms, mesh, about 4 cubic yards of concrete once a 4 inch depth and a modest overage are counted, a crew placing and finishing it, tooled joints, and a first seal. At an illustrative 160 dollars per yard delivered, the concrete itself is roughly 700 dollars, which is the point worth staring at: the material is barely a quarter of the installed price. The rest is work.
Now flex the levers. The same patio colored runs near 3,200 dollars, exposed aggregate near 3,840, mid-grade stamped near 5,120. Add an old cracked pad to remove at an illustrative 3 dollars per square foot and any of those figures climbs about 960 dollars. Give the yard bad access, wheelbarrows instead of a chute, and the labor line grows; give it a slope and the base work does. Run it DIY with hired finishing and the total can fall meaningfully below the installed figure, paid for in your own weekends. The footprint never changed: every swing came from finish, site, and labor, which is the entire lesson of this brief. Price your own version in the companion below and watch the same levers move your number.
The bottom line
Concrete patio cost comes down to a short list in a fixed order: the area, the finish, the ground, and the access. Carry the illustrative rates, 6 to 12 dollars per square foot installed for a plain broom finish with a midpoint near 8, roughly 10 for colored, 12 for exposed aggregate, and 12 to 22 for stamped, then multiply by your measured square footage for the base figure. Remember that a patio quote prices a finished surface, base and grading and sealing included, not a bare slab, and that labor, not concrete, is the largest share, so your region and your site move the real number more than any table. Concrete undercuts pavers and a deck on flat ground while asking little in upkeep beyond periodic sealing; its honest weakness is that cracks are permanent, which is why the base is sacred and the low bid that skimps on it is expensive. Measure with the estimator, price your finish in the companion below, read our concrete cost brief for the material side, then collect written bids that all cover the same scope. A patio priced that way arrives as a decision, not a surprise.
This cost brief is workbench education for planning a patio budget, not a quote, a design, or a construction specification. Every dollar figure in it, per square foot, per finish, and per project, is an illustrative planning number, and your soil, slope, drainage, access, finish choices, local labor market, and season will each move a real bid, sometimes substantially. A patio slab still has structural requirements, thickness, base, reinforcement, joints, and grading, that depend on your ground and climate and may be governed by local codes or permit rules, so have them specified by a qualified contractor for your site rather than borrowed from a general article. Concrete cracks by nature, and outcomes ride on prep work you cannot inspect after the pour, which is one more reason to hire on scope and reputation rather than price alone. Build your actual budget on current written bids from local contractors, not on any single figure printed here.
Frequently asked questions
How much does a concrete patio cost per square foot?
As an illustrative planning range, a plain broom-finish concrete patio commonly runs somewhere around 6 to 12 dollars per square foot installed, with a working midpoint near 8 dollars. That installed figure bundles the excavation, the compacted base, the forms, the concrete, the finishing, and usually a sealer, which is why it is far more useful than the bare material price a batch plant quotes per cubic yard. Decorative finishes raise the rate: colored concrete runs nearer an illustrative 10 dollars, exposed aggregate nearer 12, and stamped concrete somewhere around 12 to 22 dollars per square foot. Site conditions, access, thickness, and regional labor rates all move the figure, so treat any single number as a starting point and collect written local bids.
How much does a 20 by 20 concrete patio cost?
A 20 by 20 patio is 400 square feet, so at an illustrative 8 dollars per square foot for a plain broom finish it lands near 3,200 dollars as a planning figure. Step the same footprint up to colored concrete near 10 dollars and it reads about 4,000 dollars, and a mid-grade stamped finish near 16 dollars pushes it toward 6,400 dollars. The area math is the easy part: multiply length by width, then multiply by the installed rate for the finish you want. What the quick math cannot see is your site, so a sloped yard, poor soil, tight access, or an old slab that has to come out first will each add to the base figure. Use the area method for a defensible starting number, then let local bids set the real one.
Is a concrete patio cheaper than pavers?
Usually, yes, and often by a meaningful margin. As illustrative installed figures, a plain concrete patio runs near 8 dollars per square foot while a paver patio runs near 18 dollars, because pavers are individual units set by hand on a screeded base and that hand labor is expensive. Even a stamped concrete patio near 16 dollars typically undercuts pavers while imitating their look. The trade-off shows up later: a damaged paver lifts out and swaps in, while a crack across a concrete patio is harder to repair invisibly. If the up-front budget rules, concrete usually wins; if long-term repairability matters more, pavers earn their premium. Compare both on installed bids for your actual site before deciding.
What is the difference between a patio quote and a slab quote?
A patio is a finished outdoor surface, so a patio quote prices the whole product: excavation, base, forms, concrete, the finish you chose, jointing, and usually sealing. A bare slab quote can be just the structural pour, sometimes on a base someone else prepared, with a basic finish and nothing decorative. That is why a patio bid per square foot usually reads higher than a bare-slab figure for the same dimensions, and why comparing the two directly misleads. When you collect bids, confirm what each number includes: the base, the thickness, the reinforcement, the finish, the sealer, and haul-away. Two quotes only compare fairly when they cover the same scope, and the patio scope is the larger one.
How thick should a concrete patio be?
A residential patio that carries only foot traffic and furniture is commonly poured at about 4 inches thick, which is the standard slab depth for the job. Going thicker adds material cost across the whole area and buys little for a furniture-and-people surface, while going thinner invites cracking and is a false economy. The thickness that matters as much as the number is what sits under it: a compacted gravel base on well-draining soil. If a corner of the patio will ever carry something heavy, a hot tub or a masonry feature, that zone may want a thicker section or its own footing, which is a structural decision for your contractor. Confirm thickness, base depth, and reinforcement in writing on every bid so the numbers compare fairly.
Do I need rebar or mesh in a concrete patio?
Reinforcement is common and cheap insurance, though practice varies by region and soil. Welded wire mesh or fiber reinforcement is typical for a 4 inch patio, with rebar appearing where soils are poor or sections are thicker. Reinforcement does not stop concrete from cracking, nothing does, but it holds the slab together so hairline cracks stay tight instead of widening or offsetting. Control joints do the other half of the job by steering shrinkage cracks along straight lines. The cost of mesh or fiber is small against the whole project, so it is rarely the place to save money. Ask each bidder what reinforcement and what joint plan the quote includes, because a bare low bid sometimes omits exactly these quiet items.
Can I pour a concrete patio myself?
A small patio is one of the more realistic concrete projects for a confident do-it-yourselfer, and the savings are real because labor is the largest share of an installed price. The base work, excavating, compacting gravel, and setting forms, is straightforward physical labor, and our slab-pouring manual walks the full sequence. The honest caution is the pour itself: concrete sets on its own schedule, a 300 square foot pour is several cubic yards arriving in one truck, and finishing that much surface before it hardens takes helpers and some practiced technique. Many owners split the difference by doing the excavation and base themselves and hiring the pour and finish. Price both paths before you commit, and be realistic about crew size on pour day.
How long does a concrete patio last, and what maintenance does it need?
A well-built concrete patio commonly lasts an illustrative 30 years or more, and the fundamentals decide it: a compacted base, adequate thickness, sensible joints, and drainage that moves water away from the slab. Maintenance is light, which is part of the appeal. Rinse it, clean stains promptly, avoid harsh de-icing salts in winter, and reseal periodically, commonly every few years, at an illustrative 0.50 to 0.75 dollars per square foot professionally or less as a DIY task. Cracks are the main thing that ages a patio; small ones are normal and repairable, while wide or offset cracks usually trace back to base or drainage problems. Keep water managed and the sealer current and the surface stays presentable for decades.